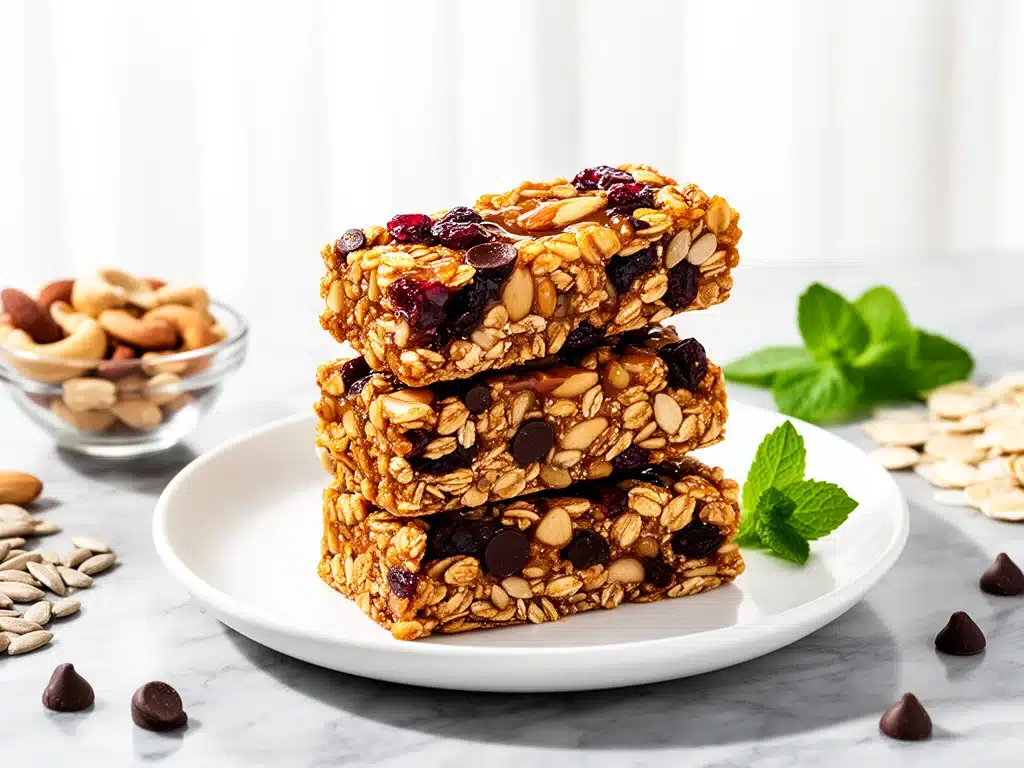
I have a confession to make. For years, I was a granola bar snob. You know the type. I’d buy the expensive, organic, kale-infused bars from the health food store, take one bite, and spit it out because they tasted like sawdust and regret. They were dry, crumbly, and required the strength of a weightlifter to chew through. I was convinced that homemade granola bars had to be complex, requiring seven different types of nuts, a food processor, and a degree in chemistry just to get them to stick together.
Then, about three years ago, I was packing lunches for a cross-country road trip with my husband. We were stopping at rest stops every two hours, and I realized I’d spent $40 on those sad, stale store-bought bars that had turned into little rocks in the back of our minivan. Desperate, I raided the pantry. I had oats, honey, peanut butter, and a bag of trail mix that had been sitting in the back of the cupboard since last Christmas. I dumped it all into a bowl, threw it in a pan, pressed it down, and hoped for the best.
I was terrified they’d fall apart the second I tried to pick one up. But when I broke one open? It was chewy. Gooey. Perfectly sweet but not cloying. And the best part? It took less time than it takes to drive to the grocery store. That accidental experiment became a staple in our house. I’ve made these chewy trail mix granola bars at least fifty times since then. I’ve tweaked the ratios, tested different nut butters, and even tried adding dark chocolate chips (spoiler: yes, they’re amazing). But the core recipe? It’s still the same five ingredients. Simple, stupid easy, and ridiculously delicious.
These aren’t just snacks for hiking. They’re my go-to afternoon pick-me-up, my emergency lunchbox filler, and the thing I make when I want a treat that feels somewhat healthy but tastes like a candy bar. If you’re tired of dry, crumbly bars that require a glass of water to swallow, you need to try this. Seriously. Once you taste how soft and chewy these get, you’ll never go back to the store-bought stuff again.
Why You’ll Love This Simple Granola Bar Recipe
There are a million reasons to keep this recipe pinned to your fridge, but let’s be real: you’re probably here because you want something that works without a headache. Here’s why this chewy trail mix granola bars recipe has completely taken over my kitchen:
- Five Ingredients Max — I’m not exaggerating. Five. Oats, nut butter, honey, trail mix, and a pinch of salt. If you can stir these together in a bowl, you can make these bars. No fancy equipment, no confusing techniques. Just mix, press, chill, eat.
- No-Bake Convenience — The best part? You don’t even turn on the oven. This means no preheating, no waiting for cookies to bake, and no heating up your kitchen in the summer. It’s all done on the stovetop and in the fridge. It’s the ultimate low-effort, high-reward recipe.
- Actually Chewy — I’ve tried so many “no-bake” recipes that turn into hard as a rock bricks once they cool. The secret here is the ratio of wet to dry ingredients and letting them chill long enough. These bars are soft, chewy, and hold together perfectly in your hand. No crumbling into your lap while you drive.
- Pantry Staple Friendly — You probably have 80% of these ingredients right now. Rolled oats? Check. Peanut butter or almond butter? Check. Honey? Check. If you have a bag of mixed nuts or chocolate chips, you’re golden. It’s a great way to use up those random ingredients cluttering your cupboards.
- Meal Prep Hero — I make a big batch on Sunday, cut them into squares, and store them in the fridge for the week. They last up to two weeks in the fridge or three months in the freezer. They’re my secret weapon for busy mornings when I don’t have time for breakfast but need energy before my workout.
Real talk: these bars have saved me more times than I can count. Whether I’m packing a quick lunch, need a snack for the kids’ after-school slump, or just want something sweet without guilt, these are always in the fridge. They’re reliable, delicious, and proof that you don’t need a complicated recipe to make something amazing.
Ingredients You’ll Need
Here’s the beauty of this recipe: it’s not a long list of obscure ingredients from a specialty store. It’s five simple items you likely already have. I’m particular about a couple of these, so let’s break down exactly what to look for and why it matters.
The Base
Old-Fashioned Rolled Oats (3 cups / 270g) — Do not use instant oats or steel-cut oats. Instant oats are too small and will turn your bars into mush. Steel-cut oats are too hard and chewy. You want the medium-sized, flat rolled oats. They absorb the honey and nut butter perfectly, creating that soft, chewy texture. I usually buy the large canisters from the bulk bin—they’re cheaper and stay fresh longer.
Nut Butter (1 cup / 250g) — This is your binder. Peanut butter is the classic choice and works beautifully. Almond butter is a bit nuttier and slightly drier, so you might need an extra tablespoon of honey. Cashew butter is milder and sweeter. Sunflower seed butter works if you’re nut-free, but it can sometimes be gritty, so make sure it’s the creamy, smooth kind. Avoid the “natural” nut butters that separate with oil on top unless you mix them *very* well. The oil separation can make the bars greasy.
The Sweetener & Flavor
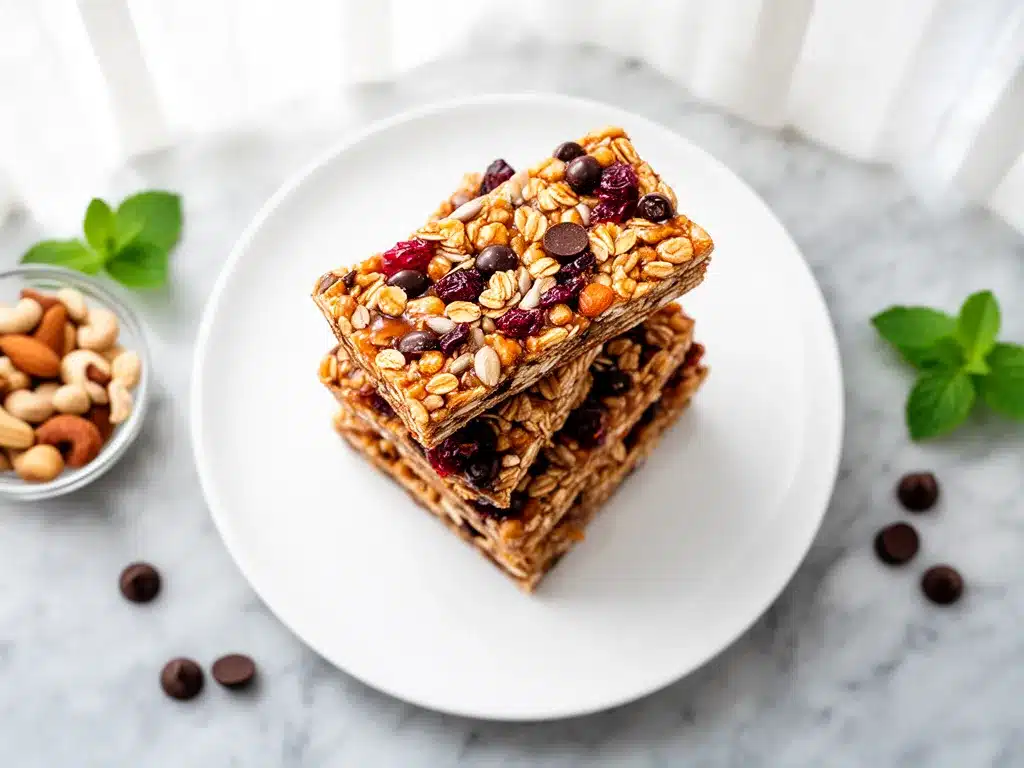
Honey (½ cup / 170g) — Honey is what makes these bars chewy. Maple syrup is a common substitute, but it’s thinner and can make the bars too soft or sticky. If you must use maple syrup, reduce the heat slightly and chill longer. Raw honey is great, but regular grocery store honey works fine. If your honey is crystallized or hard, just microwave it for 15-20 seconds to make it pourable.
Salt (½ teaspoon) — Don’t skip this! Salt balances the sweetness of the honey and nut butter. It makes the flavors pop. Use fine sea salt or table salt. If you’re using a very salty nut butter, you can reduce this to ¼ teaspoon, but I usually add the full amount.
The Mix-Ins
Trail Mix or Nuts/Chips (1.5 cups / 150g) — This is where you get creative. I use a store-bought trail mix because it’s convenient, but you can make your own blend. I like a mix of peanuts, raisins, and chocolate chips. If you’re using plain nuts, I recommend a combination: half peanuts for crunch and half raisins or dried cranberries for chewiness. Chocolate chips are optional but highly encouraged. Mini chocolate chips distribute evenly, but regular chips give you those glorious gooey pockets. If you use a pre-made trail mix, check if it’s too salty. If it is, reduce the added salt in the recipe.
Equipment Needed
You don’t need anything fancy for this. Here’s what I actually use in my kitchen:
Medium Saucepan — I use a 3-quart saucepan. It needs to be big enough to hold the oats and the melted mixture without overflowing. Stainless steel is great because you can see how the honey is melting. Non-stick works too, but make sure it’s in good condition so nothing sticks.
Large Mixing Bowl — A big bowl, at least 4-quart size. You need room to stir the oats into the hot mixture without making a mess. Glass or ceramic bowls are nice because they don’t retain heat, so the mixture cools slightly before you start stirring, making it easier to handle.
8×8 Inch Baking Pan — This is the standard size for these bars. Line it with parchment paper for easy removal. If you don’t have parchment, grease it lightly with butter or cooking spray, but parchment is so much easier for cleanup.
Spatula — A sturdy silicone spatula is best for stirring the hot mixture and pressing it into the pan. You need something that can handle the heat and push the oats down firmly.
Cheese Grater or Food Processor — Only if you’re using whole nuts. If you’re using a pre-chopped trail mix, you’re good to go. I like to chop my own nuts sometimes for a better texture, but it’s not necessary.
Knife or Pizza Cutter — For cutting the bars after they’ve chilled. A sharp knife works well, but a pizza cutter is surprisingly effective for clean cuts without squishing the bars.
How to Make It: Step-by-Step
Alright, let’s make these! It’s incredibly simple, but there are a few tricks to getting that perfect chewy texture. I’m walking you through exactly how I do it.
Step 1: Prep Your Pan
Line your 8×8 inch baking pan with parchment paper, leaving an overhang on the sides. This is crucial. It creates a “sling” so you can lift the entire block of bars out of the pan once they’re set. Without this, you’ll be digging out crumbly pieces with a spoon, and nobody wants that. Lightly grease the parchment with a little butter or cooking spray if you want extra insurance against sticking.
Step 2: Melt the Wet Ingredients
In your medium saucepan, combine the nut butter and honey over low heat. This is the most important step. Do not rush it. Stir constantly with your spatula. You want the nut butter and honey to melt together into a smooth, glossy sauce. This usually takes about 3-5 minutes. If the heat is too high, the honey can burn or the nut butter can separate. Low and slow is the key. Once it’s smooth and bubbling gently, remove it from the heat.
Step 3: Add the Salt
Stir in the salt. It might seem like a small step, but it helps distribute the salt evenly throughout the mixture. If you’re using a salty trail mix, taste the mixture now. If it’s already salty enough, you can skip this or use less.
Step 4: Combine with Oats
Pour the warm nut butter-honey mixture over the rolled oats in your large mixing bowl. Stir vigorously. The oats will absorb the liquid quickly. You want every oat to be coated. If the mixture looks too dry and crumbly, you might need a little more honey. If it looks too wet and soupy, add a little more oats. You’re aiming for a sticky, cohesive mass that holds together when you squeeze it in your hand.
Step 5: Fold in the Mix-Ins
Now, add your trail mix, nuts, raisins, or chocolate chips. Fold them in gently. If you’re using chocolate chips, make sure the mixture has cooled slightly so they don’t melt completely. You want distinct pockets of chocolate, not a uniform brown color. Stir until everything is evenly distributed.
Step 6: Press into the Pan
Pour the mixture into your prepared pan. This is where you need to be firm. Use the back of your spatula (or your hands if you don’t mind getting sticky) to press the mixture down firmly and evenly. Pack it down tight. If it’s loose, the bars will crumble. Press until the top is smooth and flat. Don’t be afraid to press hard—it needs to be compact.
Step 7: Chill
Place the pan in the refrigerator for at least 2 hours, or until completely firm. This is non-negotiable. If you try to cut them while they’re warm, they’ll fall apart. I usually make them in the morning so they’re ready by dinner, or the night before. For best results, chill for at least 4 hours. Overnight is even better.
Step 8: Cut and Serve
Once firm, lift the block out of the pan using the parchment sling. Place it on a cutting board. Use a sharp knife or pizza cutter to slice into bars. I like to cut them into 12-16 squares, depending on how hungry you are. Store them in an airtight container in the fridge.
Expert Tips & Tricks
Here’s everything I’ve learned from making these dozens of times. These tips will save you from my mistakes.
The Chilling Factor
I cannot stress this enough: let them chill. I’ve been tempted to cut them early, and I’ve always regretted it. The nut butter and honey need to solidify to bind the oats together. If you’re in a hurry, you can put them in the freezer for 30 minutes, but the fridge is best for even setting. Cold bars also taste better—crisp and firm rather than soft and sticky.
Don’t Skimp on the Press
When you press the mixture into the pan, be aggressive. I’ve made bars that fell apart because I was too gentle. Pack it down like you’re trying to crush the oats. The tighter you pack it, the less likely it is to crumble. Use the bottom of a measuring cup if you want even pressure.
Nut Butter Consistency
If your nut butter is very thick or cold, it might be hard to melt with the honey. Warm it up slightly in the microwave for 10 seconds before adding to the pan. This makes it easier to combine with the honey and creates a smoother mixture. Avoid “natural” nut butters that separate unless you mix them thoroughly beforehand. The oil can make the bars greasy.
Chocolate Chip Strategy
If you’re adding chocolate chips, wait until the oat mixture has cooled slightly before folding them in. If the mixture is too hot, the chips will melt and disappear. You want those distinct, melty pockets. Mini chips are great for even distribution, but regular chips give a better textural contrast.
Storage Secrets
Store these in an airtight container in the fridge for up to 2 weeks. If you want to keep them longer, freeze them. Wrap each bar individually in plastic wrap or parchment paper, then put them in a freezer bag. They’ll last up to 3 months. Thaw at room temperature for 10 minutes before eating. They freeze beautifully because of the high fat content in the nut butter.
Variations & Substitutions
Once you’ve nailed the basic version, here’s how you can mix it up. I’ve tried all of these, and they’re all winners.
Protein Power
Add a scoop of vanilla or chocolate protein powder to the dry oats before mixing. This adds about 15-20g of protein per bar. Start with 2 tablespoons and adjust if needed. The protein powder can absorb more moisture, so you might need an extra tablespoon of honey.
Seed-Only Version
For nut-free schools or allergies, swap the nut butter for sunflower seed butter or soy nut butter. Use pumpkin seeds, sunflower seeds, and dried fruit instead of nuts. The texture is slightly different but still delicious. I use a mix of sunflower seeds, pumpkin seeds, and raisins for a classic “Squirrel Butter” vibe.
Dark Chocolate & Sea Salt
Skip the trail mix and use dark chocolate chunks and a sprinkle of flaky sea salt on top before chilling. This feels more gourmet and less like a kid’s snack. The bitterness of the dark chocolate balances the sweetness perfectly.
Tropical Twist
Use coconut oil instead of half the nut butter for a lighter texture. Add dried mango, pineapple, and coconut flakes. Use almond butter for a nutty base. It’s a fun, fruity variation that’s great for summer.
Breakfast Bars
Add a tablespoon of chia seeds or flaxseed to the oats. This adds fiber and omega-3s. I also like to add a dash of cinnamon for a “oatmeal cookie” flavor. These make great grab-and-go breakfasts.
Serving & Storage
These bars are versatile. I usually serve them straight from the fridge, but they’re also great at room temperature if you’ve let them sit out for 10 minutes.
Side Dishes
They pair well with a glass of cold milk, a cup of coffee, or a piece of fruit. I often eat one with a banana for a balanced snack. They’re also great packed in a lunchbox with a cheese stick and some grapes.
Storage Instructions
Refrigerator: Store in an airtight container for up to 2 weeks. Layer them with parchment paper to prevent sticking. They’ll stay soft and chewy.
Freezer: Wrap individually in plastic wrap or parchment paper. Place in a freezer-safe bag for up to 3 months. Thaw at room temperature before eating.
Room Temperature: Not recommended for more than a day, especially in warm weather. The nut butter can melt and make the bars greasy. If your kitchen is cool, you can keep them out for a day, but the fridge is safer.
Pro Tip
If you’re making these for a party or gift, cut them into smaller squares and wrap them in cellophane bags with a ribbon. They make wonderful, homemade gifts that are healthy and delicious. Just label them with the date and ingredients if you’re using nuts.
Nutrition Information
I’m not a nutritionist, but here’s the breakdown if you’re tracking. Note that this is an estimate based on standard ingredients.
Per Bar (based on 16 bars):
- Calories: 180
- Protein: 5g
- Carbs: 22g
- Fiber: 2g
- Sugar: 12g
- Fat: 9g
- Saturated Fat: 2g
- Cholesterol: 0mg
- Sodium: 60mg
What’s Good: Decent fiber from oats, healthy fats from nut butter, no refined flour. What to Know: Higher in sugar due to honey and trail mix. Use dark chocolate and less sweet trail mix to reduce sugar. Contains nuts and gluten (unless using GF oats).
Final Thoughts
So that’s my go-to chewy trail mix granola bars recipe! I’ve probably talked your ear off at this point, but when you make a recipe this often, you have a lot to say about it. These bars have saved me more times than I can count. They’re my answer to “what’s for a snack” when I’m tired, don’t want to cook, and still want something that tastes really good. My kids are happy, my husband’s happy, and I’m happy because I’m not stressed about making something complicated.
Make it yours! Try different nut butters, swap in your favorite dried fruits, or add extra chocolate. The best recipes are the ones you adapt to your family’s tastes. If you make this, drop a comment and let me know what you think! I love hearing how recipes turn out in your kitchen. And if something doesn’t work, tell me that too—I’m here to help troubleshoot.
Happy snacking! And I hope your kitchen smells half as good as mine does right now.
Frequently Asked Questions
Can I use maple syrup instead of honey?
You can, but the bars will be softer and stickier. Honey is thicker and helps create that chewy texture. If you use maple syrup, reduce the heat slightly and chill for at least 4 hours. You might also need to add a little more oats to absorb the extra liquid. I’ve done it when I ran out of honey—it works, just not quite as chewy.
Why did my bars fall apart?
This usually happens for two reasons: you didn’t press them down firmly enough, or you didn’t chill them long enough. Pack the mixture down tight in the pan, and let them chill in the fridge for at least 2 hours, preferably 4. If they’re still crumbly, your nut butter might have been too cold or the honey too cold, preventing a smooth mix. Next time, warm the nut butter and honey slightly before mixing.
Can I make these gluten-free?
Yes! Just use certified gluten-free rolled oats. Most other ingredients like honey, nut butter, and nuts are naturally gluten-free, but check your trail mix to make sure it doesn’t contain any gluten-containing additives. I use Bob’s Red Mill gluten-free oats, and they work perfectly.
How do I store these bars?
Store them in an airtight container in the fridge for up to 2 weeks. For longer storage, freeze them. Wrap each bar individually in plastic wrap or parchment paper, then place them in a freezer bag. They’ll last up to 3 months in the freezer. Thaw at room temperature for 10 minutes before eating.
Can I use almond butter instead of peanut butter?
Absolutely. Almond butter works great and has a slightly nuttier flavor. It can be a bit drier than peanut butter, so you might need an extra tablespoon of honey to get the right consistency. Cashew butter is another good option—it’s milder and sweeter.
Why are my bars too hard?
If your bars are hard as a rock, you likely used too many oats or not enough wet ingredients. The ratio is key. If you’re measuring by volume, make sure you’re packing the oats down in the cup. If you’re using a scale, weigh your ingredients for accuracy. Next time, add a little more honey or nut butter to soften them up.
Can I double this recipe?
Yes! Double all the ingredients and use a larger saucepan and mixing bowl. Press the mixture into a 9×13 inch pan instead of an 8×8. The cooking and chilling times remain the same. I do this when I’m meal-prepping for the whole week.
Pin This Recipe!
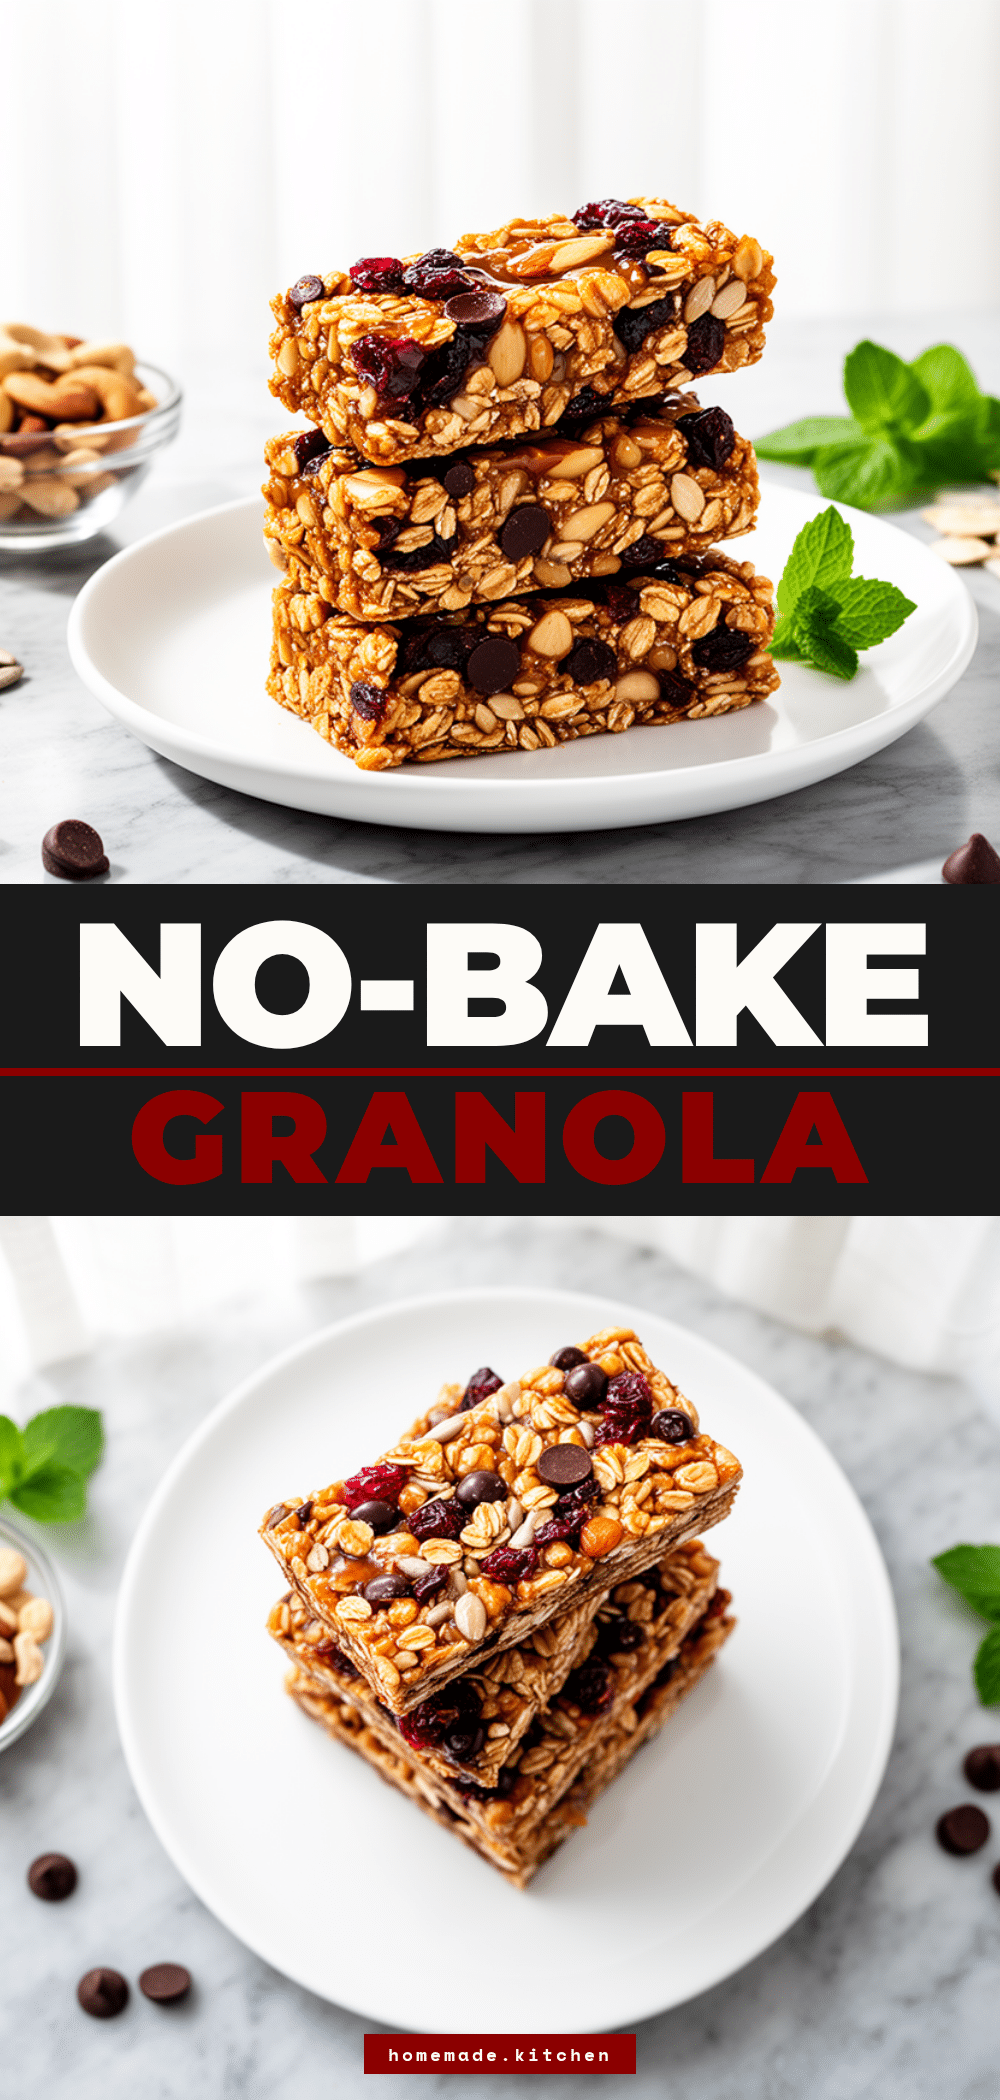
Chewy Trail Mix Granola Bars: 5-Ingredient Easy Recipe
- Total Time: 2 hours 15 minutes
- Yield: 16 servings 1x
Description
These no-bake granola bars are incredibly chewy, gooey, and made with just five simple pantry ingredients. Perfect for meal prep, hiking, or a quick healthy snack that tastes like a candy bar.
Ingredients
- 3 cups old-fashioned rolled oats
- 1 cup nut butter (peanut, almond, or cashew)
- ½ cup honey
- 1.5 cups trail mix (nuts, raisins, chocolate chips)
- ½ teaspoon salt
Instructions
- Line an 8×8 inch baking pan with parchment paper, leaving an overhang on the sides for easy removal.
- In a medium saucepan over low heat, combine the nut butter and honey. Stir constantly for 3-5 minutes until melted and smooth. Remove from heat.
- Stir in the salt.
- Pour the warm nut butter-honey mixture over the rolled oats in a large mixing bowl. Stir vigorously until every oat is coated and the mixture forms a sticky, cohesive mass.
- Fold in the trail mix, nuts, raisins, or chocolate chips gently.
- Pour the mixture into the prepared pan. Press down firmly and evenly with a spatula or hands to pack it tight.
- Refrigerate for at least 2 hours, preferably 4 hours or overnight, until completely firm.
- Lift the block out of the pan using the parchment sling. Cut into 12-16 bars using a sharp knife or pizza cutter.
- Store in an airtight container in the fridge.
Notes
Do not use instant or steel-cut oats; use old-fashioned rolled oats for the correct texture. If using natural nut butter, ensure it is well-mixed to avoid greasiness. For best results, chill for at least 4 hours. Bars can be frozen for up to 3 months.
- Prep Time: 10 minutes
- Cook Time: 5 minutes
- Category: Snack
- Cuisine: American
Nutrition
- Serving Size: 1 bar
- Calories: 180
- Sugar: 12
- Sodium: 60
- Fat: 9
- Saturated Fat: 2
- Carbohydrates: 22
- Fiber: 2
- Protein: 5
Keywords: granola bars, no-bake, trail mix, healthy snack, meal prep, peanut butter, honey, oats, chewy bars, easy recipe