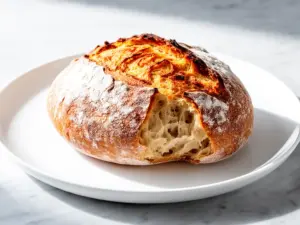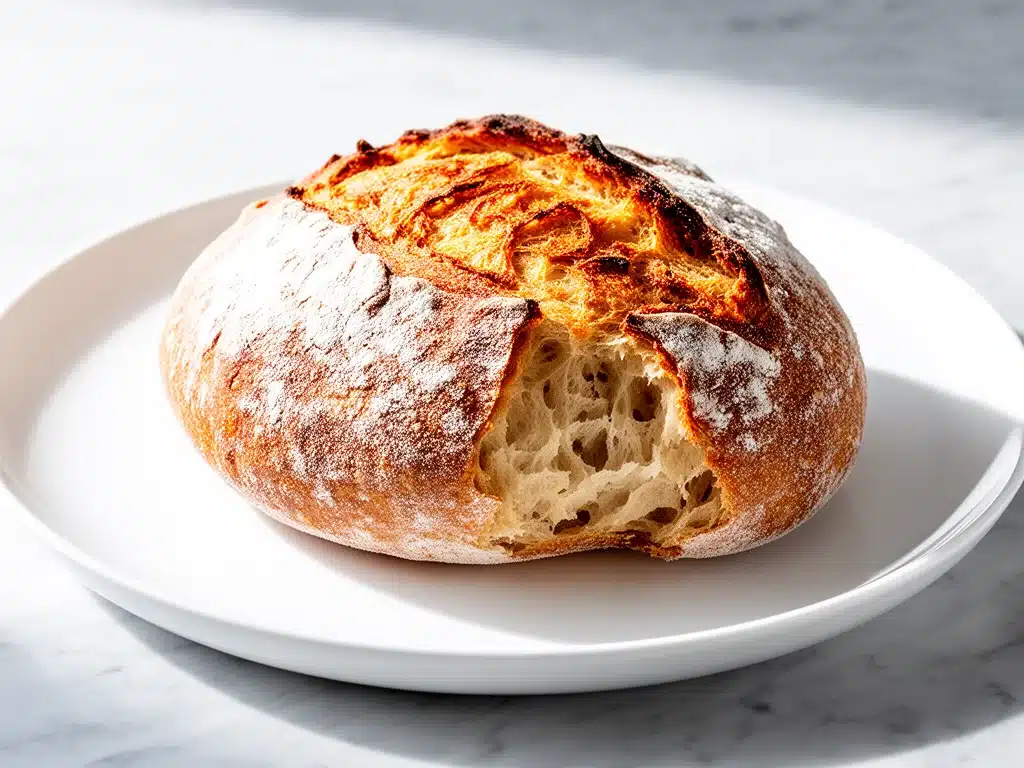
I still remember the exact moment I fell in love with this bread. It was a rainy Tuesday in November, the kind where the house feels too quiet and the only sound is the hum of the refrigerator. I was exhausted, my feet ached from standing all day at work, and the idea of chopping vegetables, heating up the stove, and actively cooking dinner felt impossible. I just wanted something warm. Something that smelled like a bakery. Something that didn’t require me to think.
So I made this soft no-knead artisan bread. Just flour, water, salt, and a tiny bit of yeast. I mixed it in a bowl while watching TV, threw it in the fridge, and forgot about it. When I woke up the next morning, the smell hit me before I even got out of bed. It smelled like comfort. It smelled like safety.
This isn’t just bread. It’s my reset button. It’s the recipe I make when I need to slow down. It’s the loaf I slice up for my husband when he’s had a bad day at the office. And honestly? It’s the easiest thing I cook. No stand mixer. No kneading. No fuss. Just a few minutes of mixing and hours of waiting. If you’ve ever been intimidated by bread making, this is your invitation to stop worrying and start baking. This soft no-knead artisan bread you’ll make on repeat is about to become your new best friend.
Why You’ll Love This Recipe
There are a million bread recipes out there. I have books full of them. Sourdough, brioche, focaccia, baguettes. But this specific loaf? It’s the one I come back to. Here’s why it deserves a permanent spot in your kitchen rotation:
- Zero Kneading Required — Seriously. If you can stir a spoon in a bowl, you can make this. I’ve made it while holding a baby, while on the phone, and while half-asleep. The long fermentation does all the work for you. Your hands stay clean and relaxed.
- Forgiving Timing — You don’t need to be home at a specific hour. The dough sits in the fridge for 12 to 18 hours. That’s it. Make it at 6 PM, bake it at 8 AM the next day. Or make it at 8 AM and bake it at 6 PM. Life happens, and this recipe doesn’t care. It waits for you.
- Crispy Outside, Pillowy Inside — This is the holy grail of bread textures. The crust shatters when you tap it, but the inside? It’s soft, airy, and chewy in the best way. It’s not dense like a brick. It’s not dry like a cracker. It’s perfect.
- Pantry Staples Only — You don’t need fancy flours or expensive starters. All-purpose flour, water, salt, and yeast. That’s it. No sourdough starter to feed. No butter to soften. No eggs to separate. Just simple ingredients you already have.
- Smells Like Heaven — I’m not exaggerating. The smell of this bread baking fills the entire house. My neighbors have asked if I started a bakery. My kids wake up and walk into the kitchen like they’re in a dream. It’s that good.
This bread has saved me more weeknights than I can count. It’s my answer to “what’s for dinner?” when I have no energy but still want to feed my family something homemade. It’s reliable. It’s delicious. And it’s ridiculously easy.
Ingredients You’ll Need
Here’s the best part: you probably have everything you need right now. I’m not asking you to go to three different stores for obscure ingredients. This soft no-knead artisan bread you’ll make on repeat relies on simplicity. Here’s what goes into the bowl:
The Dough Basics
All-Purpose Flour (4 cups / 500g) — I use Gold Medal or King Arthur. You don’t need bread flour for this. The long rise develops enough gluten on its own. All-purpose keeps it soft, which is what we want.
Water (1 ½ cups / 360ml) — Room temperature or slightly warm. Not hot! Hot water kills yeast. Just tap water is fine. I don’t bother measuring it precisely; eyeballing it works because the flour absorbs differently based on humidity.
Salt (1 ½ teaspoons / 9g) — Kosher salt is best because it’s easier to measure. If you use table salt, reduce to 1 teaspoon. Salt isn’t just for flavor; it controls the yeast and strengthens the gluten. Don’t skip it.
Instant Yeast (½ teaspoon) — Yes, just half a teaspoon. This recipe uses a tiny amount of yeast and a long fermentation time. Active dry yeast works too, but you might need to let it rise a bit longer. Instant is just more convenient because you don’t need to activate it in water first.
Sugar (1 teaspoon / optional) — I add a teaspoon of sugar to help the yeast kickstart, especially if my kitchen is cold. It also helps with browning. You can skip it if you’re strict about carbs, but I recommend it for better color.
For the Pan

Cornmeal or Flour (for dusting) — I use cornmeal because it adds a nice crunch to the bottom crust. All-purpose flour works too. This keeps the bread from sticking to the pan.
What You Might Want (Optional)
Olive Oil Brush — Some people brush the top with olive oil before baking for a softer crust. I prefer a crispy crust, so I skip this. But if you like a softer, restaurant-style crust, go for it.
Seeds or Herbs — Sesame seeds, poppy seeds, rosemary, or garlic powder. I sometimes sprinkle these on top before baking for extra flavor. It’s a nice touch, but not necessary.
Pro Tip: I keep a bag of flour and a jar of yeast in my pantry at all times. When I see them, I think, “I could make bread.” It’s become a habit. If you’re new to baking, buy a small jar of yeast and a bag of flour. They last for months.
Equipment Needed
You don’t need fancy equipment for this. Here’s what I actually use. If you don’t have these exact items, don’t worry. There are alternatives.
Large Mixing Bowl — I use a 5-quart ceramic bowl. Any large bowl works as long as it can hold 4 cups of flour and 1 ½ cups of water without overflowing. Glass or ceramic is best because it’s heavy and doesn’t tip over.
Spoon or Spatula — A wooden spoon works great. I use a silicone spatula because it scrapes the sides of the bowl better. You just need something to mix the dough until it comes together.
Cling Wrap or Plastic Wrap — To cover the bowl. I use plastic wrap because it sticks to the bowl and keeps the dough from drying out. You can use a damp towel, but plastic is easier.
Baking Sheet or Dutch Oven — I use a baking sheet because it’s easier. But a Dutch oven gives you a more professional crust. If you have a Dutch oven, use it. If not, a baking sheet is fine. I’ve made this bread on both and both work.
Parchment Paper — I line the baking sheet with parchment paper. It makes cleanup a breeze. You can use a silicone baking mat, but parchment is cheaper and disposable.
Cooling Rack — Essential. You can’t cut the bread while it’s hot. It will be gummy. A wire rack lets air circulate underneath so the bottom doesn’t get soggy.
Sharp Knife or Bread Knife — For slicing. I use a serrated knife because it cuts through the crust without squishing the soft inside. A regular knife works too, but it’s harder.
Timer — Your phone works. I set multiple timers because I lose track of time when I’m baking. It’s a lifesaver.
How to Make It: Step-by-Step
Alright, let’s make this! I’m walking you through exactly how I do it, including the little tricks I’ve picked up over the years. This soft no-knead artisan bread you’ll make on repeat is about as simple as it gets.
Step 1: Mix the Dough (5 Minutes)
In your large bowl, whisk together the flour, salt, sugar (if using), and yeast. Make a well in the center and pour in the water. Stir with a spoon or spatula until the flour is hydrated and there are no dry patches. The dough will look shaggy and messy. That’s okay. It should stick to the spoon. If it’s too dry, add a tablespoon of water. If it’s too wet, add a tablespoon of flour. Don’t worry about perfection.
Step 2: Cover and Rest (10 Minutes)
Cover the bowl with plastic wrap or a damp towel. Let it sit at room temperature for 10 minutes. This gives the flour time to absorb the water. You’ll notice the dough becoming smoother and more cohesive. It’s not sticky anymore. It’s ready for the fridge.
Step 3: The Long Rise (12-18 Hours)
Place the bowl in the refrigerator. Let it sit for 12 to 18 hours. This is the magic step. The cold temperature slows down the yeast, allowing the flavors to develop and the gluten to relax. The dough will bubble and rise. It might look deflated when you take it out. That’s normal. It’s full of gas and flavor.
Step 4: Shape the Loaf (5 Minutes)
Generously dust a baking sheet with cornmeal or flour. Turn the dough out onto the sheet. Don’t knead it! Just fold the edges into the center to form a rough ball. The dough will be sticky. Wet your hands slightly to handle it. Place it seam-side down on the baking sheet. Cover loosely with plastic wrap and let it rise at room temperature for 1-2 hours. It should puff up and look jiggly. This is the final proof.
Step 5: Preheat the Oven (15 Minutes)
Preheat your oven to 450°F (230°C). If you’re using a Dutch oven, put it in the oven to heat up. If you’re using a baking sheet, just let the oven heat up. High heat is crucial for a good crust.
Step 6: Score and Bake (30-35 Minutes)
Just before baking, use a sharp knife or razor blade to score the top of the loaf. Make one or two deep slashes. This controls where the bread expands. Put the loaf in the oven. Bake for 30-35 minutes. The crust should be golden brown and sound hollow when you tap the bottom. If it sounds dull, it needs more time.
Step 7: Cool Completely (30 Minutes)
Take the bread out of the oven and transfer it to a cooling rack. Do not cut it yet! I know it’s tempting. But the inside is still cooking. If you cut it hot, the steam escapes and the crumb becomes gummy. Wait at least 30 minutes. The smell will drive you crazy, but wait. It’s worth it.
Total Time: About 15-20 minutes active work, plus 12-18 hours of waiting.
Expert Tips & Tricks
Here’s everything I’ve learned from making this dozens of times. These tips will save you from my mistakes.
Don’t Rush the Rise
The long rise is what makes this bread special. If you rush it, the flavor will be flat. Let it sit in the fridge for at least 12 hours. 18 hours is even better. The longer it sits, the more complex the flavor.
Handle Gently
This dough is delicate. Don’t punch it down. Don’t knead it. Just fold it. The goal is to preserve the gas bubbles that give the bread its airy texture. If you overwork it, you’ll lose the air.
Watch the Oven
Ovens vary. My oven runs hot, so I check at 30 minutes. If it’s browning too fast, cover it with foil. If it’s not browning enough, bake for 5 more minutes. Look for a deep golden brown, not pale.
Use a Thermometer
If you want to be precise, use a meat thermometer. The internal temperature should be 190-200°F (88-93°C). If it’s lower, it’s underbaked. If it’s higher, it’s overbaked. This is the most reliable way to know it’s done.
Store Properly
Once cooled, store the bread in a paper bag or a bread box. Plastic bags make the crust soft. Paper bags keep it crisp. If you want it soft, use plastic. If you want it crusty, use paper.
Common Mistakes:
– Dough too sticky: Add flour a tablespoon at a time.
– Dough too dry: Add water a tablespoon at a time.
– Flat bread: You overworked the dough or didn’t let it rise long enough.
– Pale crust: Oven wasn’t hot enough or you didn’t bake long enough.
Variations & Substitutions
Once you’ve nailed the basic version, here’s how you can mix it up. I’ve tried all of these.
Whole Wheat Version
Replace half the all-purpose flour with whole wheat flour. It adds a nutty flavor and more fiber. The bread will be denser, but still soft. I use a 50/50 mix.
Garlic Herb Loaf
Add 2 teaspoons of dried rosemary and 1 teaspoon of garlic powder to the flour. It’s amazing with soup. I make this for my kids’ school lunches.
Seeded Bread
Sprinkle sesame seeds, poppy seeds, or sunflower seeds on top before baking. Brush with water first so they stick. It adds crunch and visual appeal.
Olives and Sun-Dried Tomatoes
Fold in ½ cup of chopped sun-dried tomatoes and ½ cup of chopped olives after the first rise. It’s Mediterranean-inspired and delicious.
Dairy-Free
This recipe is naturally dairy-free. No milk, no butter. Just flour, water, salt, and yeast. Perfect for vegans and those with allergies.
Gluten-Free
You can use a gluten-free flour blend, but the texture will be different. It won’t be as chewy. I haven’t tested this extensively, but I’ve heard it works with a xanthan gum blend.
Serving & Storage
How to enjoy your soft no-knead artisan bread you’ll make on repeat.
Serving Suggestions:
Slice it thick and toast it. Top with butter, jam, or avocado. It’s perfect for breakfast. Or serve it with soup, salad, or pasta. It’s versatile. I usually serve it with a simple olive oil and balsamic dip.
Storage Instructions:
Store at room temperature in a paper bag for up to 3 days. It will stay fresh. If you want to keep it longer, freeze it. Slice it first, then freeze in a ziplock bag. Toast slices directly from the freezer. It tastes like fresh bread.
Reheating:
If the bread gets stale, spray it with water and bake at 350°F for 10 minutes. It will crisp up. Or toast it. Toasting is the best way to revive day-old bread.
Nutrition Information
I’m not a nutritionist, but here’s the breakdown if you’re tracking. This is per slice (1/12th of the loaf).
| Nutrient | Amount |
|---|---|
| Calories | 90 |
| Protein | 3g |
| Carbs | 18g |
| Fiber | 1g |
| Sugar | 0g |
| Fat | 0.5g |
| Sodium | 150mg |
It’s simple. Just carbs and a little protein. No added sugars or fats. It’s a clean ingredient list. Perfect for a balanced meal.
Final Thoughts
So that’s my go-to soft no-knead artisan bread. I’ve probably talked your ear off at this point, but when you make a recipe this often, you have a lot to say about it. This bread has changed my life. It’s my comfort food. It’s my stress relief. It’s my way of slowing down in a fast world.
Make it yours. Try different seeds. Try different flours. Add herbs. The possibilities are endless. But start with the basics. Get the technique down. Then experiment. The best recipes are the ones you adapt to your family’s tastes.
If you make this, drop a comment and let me know what you think! I love hearing how recipes turn out in your kitchen. And if something doesn’t work, tell me that too—I’m here to help troubleshoot. Happy baking! And I hope your kitchen smells half as good as mine does right now.
Frequently Asked Questions
Can I use active dry yeast instead of instant yeast?
Yes, you can. But you might need to let the dough rise a bit longer. Instant yeast is more active and works faster. Active dry yeast needs to be activated in warm water first, but for this no-knead method, you can just mix it with the flour. The result will be the same, just a slightly longer rise time.
Why is my bread dense?
This usually means you overworked the dough. Don’t knead it! Just fold it. Or you didn’t let it rise long enough. The long rise is crucial for airiness. Make sure you let it sit in the fridge for at least 12 hours. Also, check your yeast. If it’s old, it might not be active.
Can I freeze this bread?
Absolutely. Slice it first, then freeze it in a ziplock bag. It will last for up to 3 months. Toast slices directly from the freezer. It tastes like fresh bread. I do this all the time. It’s my backup plan for busy weeks.
How do I know when the bread is done?
The crust should be golden brown. The bottom should sound hollow when you tap it. If you have a thermometer, the internal temperature should be 190-200°F. If it’s lower, bake for 5 more minutes. Don’t cut it until it’s cool.
Can I make this in a bread machine?
No, this recipe is designed for hand mixing and long fermentation. A bread machine won’t give you the same texture. Stick to the bowl and fridge method. It’s easier and better.
Why did my bread collapse?
This happens if you over-proofed it. The dough rose too much and couldn’t support its own weight. Next time, let it rise for a shorter time. Or check your yeast. Too much yeast can cause rapid rising and collapse.
Can I use whole wheat flour?
Yes, but replace only half the all-purpose flour. Whole wheat absorbs more water and makes denser bread. If you use 100% whole wheat, add more water. But for a soft loaf, a 50/50 mix is best.
Pin This Recipe!
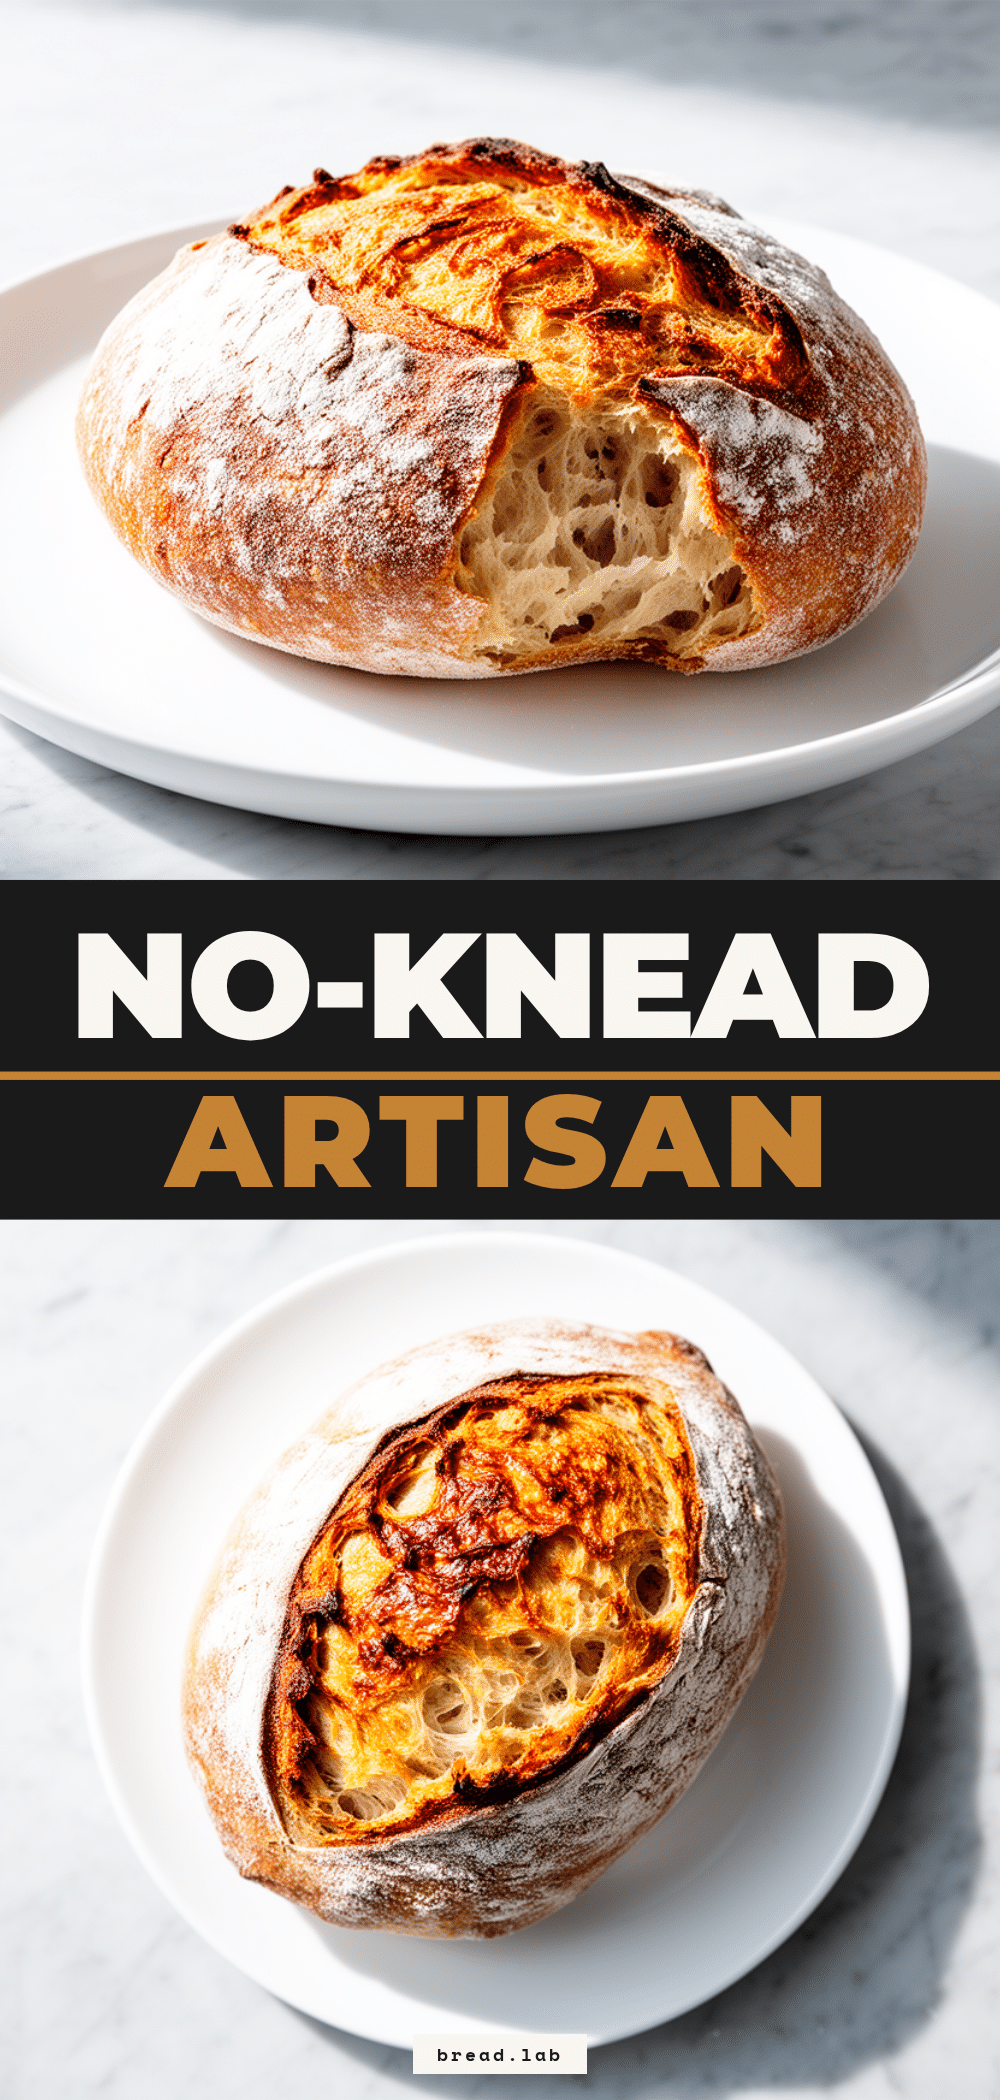
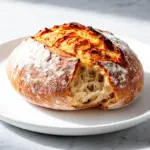
Soft No-Knead Artisan Bread: Perfect & Easy
- Total Time: 13 hours 55 minutes
- Yield: 1 loaf (12 slices) 1x
Description
A simple, forgiving artisan bread recipe that requires zero kneading and relies on a long cold fermentation for flavor and texture. It yields a loaf with a crispy crust and soft, airy interior using only pantry staples.
Ingredients
- 4 cups (500g) All-Purpose Flour
- 1 ½ cups (360ml) Water (room temperature)
- 1 ½ teaspoons Kosher Salt (or 1 tsp table salt)
- ½ teaspoon Instant Yeast
- 1 teaspoon Sugar (optional)
- Cornmeal or Flour (for dusting pan)
- Olive Oil (optional, for brushing)
- Seeds or Herbs (optional, for topping)
Instructions
- In a large bowl, whisk together the flour, salt, sugar (if using), and yeast.
- Make a well in the center and pour in the water. Stir with a spoon or spatula until the flour is hydrated and there are no dry patches. The dough should be shaggy and sticky.
- Cover the bowl with plastic wrap or a damp towel and let it sit at room temperature for 10 minutes to allow the flour to absorb the water.
- Place the covered bowl in the refrigerator and let it rise for 12 to 18 hours.
- Generously dust a baking sheet with cornmeal or flour. Turn the dough out onto the sheet.
- Fold the edges of the dough into the center to form a rough ball without kneading. Wet hands slightly if the dough is sticky.
- Place the loaf seam-side down on the baking sheet, cover loosely with plastic wrap, and let it rise at room temperature for 1-2 hours until puffy and jiggly.
- Preheat the oven to 450°F (230°C). If using a Dutch oven, place it in the oven to heat up.
- Score the top of the loaf with a sharp knife or razor blade to control expansion.
- Bake for 30-35 minutes until the crust is golden brown and the bottom sounds hollow when tapped.
- Transfer the bread to a cooling rack and let it cool completely for at least 30 minutes before slicing.
Notes
The long rise in the refrigerator is crucial for developing flavor and texture. Do not rush this step. If the dough is too sticky, add flour a tablespoon at a time; if too dry, add water. Store in a paper bag to keep the crust crisp, or plastic to keep it soft. Internal temperature should be 190-200°F when done.
- Prep Time: 20 minutes
- Cook Time: 35 minutes
- Category: Side Dish
- Cuisine: American
Nutrition
- Serving Size: 1 slice (1/12th of t
- Calories: 90
- Sodium: 150
- Fat: 0.5
- Carbohydrates: 18
- Fiber: 1
- Protein: 3
Keywords: no-knead bread, artisan bread, easy bread recipe, soft bread, crispy crust, overnight bread, vegan bread, gluten-free option