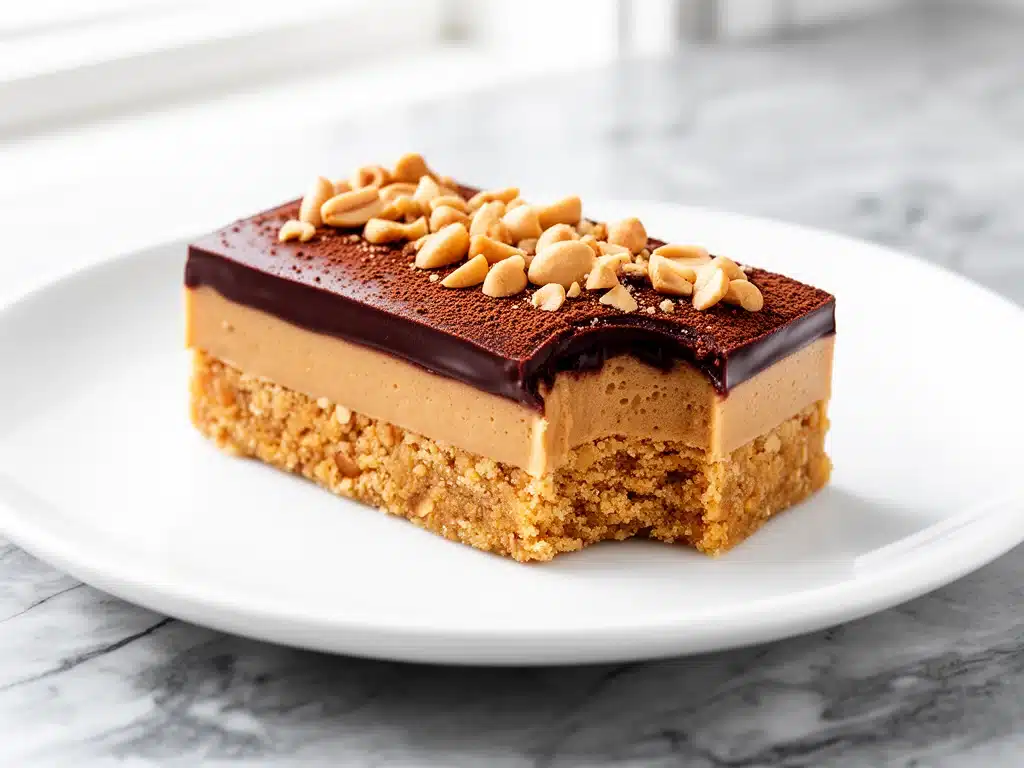
One rainy Saturday afternoon, I found myself rummaging through my pantry with a serious sweet tooth but zero motivation to turn on the oven. I wanted something chocolatey, peanut buttery, and quick—comfort food that didn’t involve a mess or heat. After a bit of experimenting (and a few sticky fingers), these chocolate peanut butter no-bake bars were born. I’ve made them at least a dozen times since then, each batch disappearing faster than the last.
What makes these bars stand out? It’s the perfect balance of creamy peanut butter and rich chocolate, all held together with just a handful of simple ingredients you probably already have. Plus, no baking means you can whip them up in about 15 minutes, then let the fridge do the work. Whether it’s a last-minute dessert, a snack for the kids, or an energy boost before a workout, these bars have become my go-to treat that I can’t stop making on repeat.
Here’s the thing: I wasn’t aiming for fancy or complicated. I wanted something reliable, delicious, and fuss-free. And honestly, these bars hit every mark. I’m excited to share the recipe with you so you can experience that same “how did this get so good?” moment at home.
Why You’ll Love This Recipe
There are so many reasons I keep coming back to this chocolate peanut butter no-bake bars recipe. But here are the big ones:
- Ridiculously Simple Ingredients — No weird additives or specialty items here. Just peanut butter, chocolate chips, oats, and a few pantry staples. I always have these on hand, so I can throw this together on a whim.
- No Oven Needed — Seriously, no baking required. This is a lifesaver when it’s hot outside or when I just don’t want to babysit the oven.
- Fast and Fuss-Free — From start to fridge, it takes about 15 minutes. I’ve made these while juggling laundry and phone calls, and they still turned out perfect.
- Perfect Texture — Chewy, chocolatey, and just a little bit crunchy from the oats. It’s the kind of snack that hits your sweet tooth without being overly gooey or crumbly.
- Kid-Approved — My niece and nephew practically stole the entire pan last time I made these. If you have picky eaters, this recipe is a win.
- Makes Great Leftovers — These bars keep well in the fridge for days. I love grabbing one as a quick breakfast on busy mornings or an afternoon pick-me-up.
Honestly, these bars have become a staple in my kitchen. They’re that reliable recipe I turn to when I want something sweet, satisfying, and quick without any fuss. I’m betting you’ll feel the same way once you try them.
Ingredients You’ll Need
Here’s the best part: you probably have most of these ingredients tucked away in your pantry or fridge already. I’m pretty particular about the peanut butter and chocolate because they really make or break the flavor.
- Natural Peanut Butter (1 cup / 250g) — I use creamy natural peanut butter with just peanuts and salt. Avoid the super sweetened or hydrogenated stuff for the best texture and flavor. If you prefer chunky, go for it, but I like smooth for easier mixing.
- Honey or Maple Syrup (⅓ cup / 80ml) — This acts as the natural sweetener and binder. Honey gives a nice depth, but maple syrup works well if you want a slightly different flavor or need a vegan option.
- Old-Fashioned Rolled Oats (2 cups / 180g) — These add chewiness and structure. Don’t use instant oats—they get too mushy.
- Mini Chocolate Chips (1 cup / 170g) — I prefer mini chips because they melt more evenly and don’t overwhelm the bars. Semi-sweet or dark chocolate both work great.
- Vanilla Extract (1 teaspoon / 5ml) — Just a little boost of flavor magic that brings everything together.
- Salt (¼ teaspoon / 1.5g) — Balances the sweetness and enhances the chocolate and peanut butter flavors.
Optional Add-Ins:
- Chopped nuts (like peanuts or almonds) for extra crunch
- Shredded coconut for a tropical twist
- Flaxseed or chia seeds for a nutritional boost
Equipment Needed
You don’t need fancy tools to make these bars—just what you can find in any average kitchen.
- Mixing Bowl — I use a large glass or metal bowl that’s easy to scrape down.
- Spoon or Spatula — For mixing everything together. Silicone spatulas work great for scraping the sides.
- 8×8-inch Baking Pan — You can use glass or metal. If you don’t have one, a loaf pan works too, just a bit thicker bars.
- Parchment Paper — Helps to lift the bars out cleanly without sticking. If you don’t have parchment, lightly grease the pan.
- Measuring Cups and Spoons — Standard kitchen tools to keep the ratios right.
How to Make It: Step-by-Step
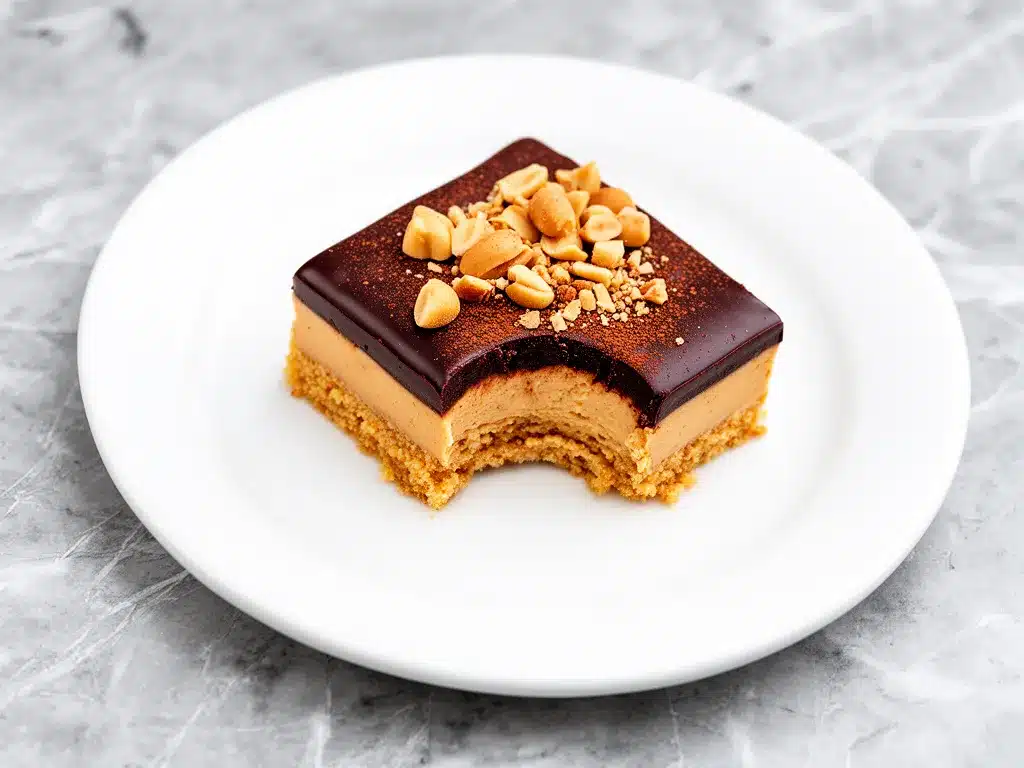
Alright, let’s make these chocolate peanut butter no-bake bars! I’m walking you through exactly how I do it, including little tricks to get the texture just right.
Step 1: Prep Your Pan and Ingredients (5 minutes)
Line your 8×8-inch baking pan with parchment paper, leaving an overhang on the sides—this makes it way easier to lift out the bars later. Measure out your peanut butter, honey, oats, and chocolate chips so everything’s ready to go.
Step 2: Combine Peanut Butter and Honey (2 minutes)
In your mixing bowl, stir together the peanut butter and honey until smooth and well combined. If your peanut butter is thick, warming it for 20 seconds in the microwave helps make mixing easier. Add the vanilla extract and salt and stir again.
Step 3: Add Oats and Chocolate Chips (3 minutes)
Fold in the rolled oats and mini chocolate chips. Stir gently but thoroughly so everything is evenly coated in the peanut butter mixture. The mixture will be thick and sticky—that’s exactly how you want it.
Step 4: Press Into Pan (3 minutes)
Transfer the mixture to your prepared pan. Use a spatula or your hands (lightly greased or dampened) to press the mixture firmly and evenly into the pan. This step is important for bars that hold together well and slice cleanly.
Step 5: Chill Until Firm (at least 1 hour)
Place the pan in the fridge and let it chill for at least an hour or until the bars are firm. This waiting is the hardest part (trust me, I always sneak a little taste). Once set, use the parchment overhang to lift the bars out and cut into squares.
Step 6: Serve and Enjoy
These bars taste best chilled but can be eaten straight from the fridge or at room temperature. Store leftovers in an airtight container in the fridge.
Expert Tips & Tricks
- Warm Your Peanut Butter: If your peanut butter is too stiff, warm it slightly to make mixing easier and prevent clumps.
- Press Firmly: Don’t be shy about pressing the mixture firmly into the pan. It ensures the bars hold together instead of crumbling.
- Use Mini Chocolate Chips: They melt just enough to create little pockets of gooey chocolate without turning the whole bar into a melted mess.
- Don’t Skip the Chill: The bars need time to set in the fridge. If you try to cut them too soon, they’ll fall apart.
- Mix-ins Are Your Friend: I love tossing in chopped peanuts or a sprinkle of sea salt on top for extra texture and flavor.
- Storage Matters: Keep these bars in the fridge to stay firm. If your kitchen is warm, they’ll get too soft otherwise.
Variations & Substitutions
Once you’ve nailed the classic chocolate peanut butter no-bake bars, mixing things up is fun and easy. Here’s what I’ve tried and loved:
- Almond Butter Swap — Use almond butter instead of peanut butter for a nuttier, slightly sweeter twist.
- Vegan Version — Swap honey for pure maple syrup and use dairy-free chocolate chips.
- Protein Boost — Stir in a scoop of your favorite protein powder (vanilla or chocolate) with the oats for a post-workout snack.
- Crunch Factor — Add chopped pretzels or crushed cereal for extra crunch.
- Chocolate Topping — Melt extra chocolate and drizzle over the bars for a fancier look and extra chocolate hit.
- Peanut Butter Swirl — Drop small dollops of additional peanut butter on top before chilling and swirl with a knife.
Serving & Storage
How to Serve: These bars are perfect straight from the fridge as a quick snack or dessert. I’ve brought them to potlucks, packed them in lunchboxes, and even sliced them into bite-sized pieces for parties. They pair amazingly with a cold glass of milk or a hot cup of coffee.
Storage: Store leftover bars in an airtight container in the refrigerator for up to 7 days. If you want to keep them longer, they freeze beautifully—just wrap the pan tightly in plastic wrap and foil. Thaw in the fridge overnight before cutting.
Reheating: These bars are best cold or at room temperature. If you prefer them softer, pop a bar in the microwave for 10 seconds, but watch out—they get melty fast!
Nutrition Information
I’m no nutritionist, but here’s a rough idea of what you’re getting per bar (assuming 12 bars per batch):
| Nutrient | Per Serving |
|---|---|
| Calories | 180 |
| Protein | 5g |
| Carbohydrates | 18g |
| Fiber | 3g |
| Sugar | 9g |
| Fat | 10g |
| Saturated Fat | 2g |
| Sodium | 70mg |
These bars are a satisfying treat with a good balance of protein and carbs, though they do have some sugar and fat from the peanut butter and chocolate. Adding seeds or nuts can boost fiber and healthy fats. For me, they’re an indulgence that also fuels me through busy afternoons.
Final Thoughts
So that’s my favorite chocolate peanut butter no-bake bars recipe! I’ve probably made these more times than I can count, and every time they come out perfectly chewy, chocolatey, and peanut buttery.
This recipe has saved me from many snack crises—whether it’s a last-minute dessert or a quick energy boost. No oven, no fuss, just simple ingredients and a quick chill. If you love the classic combo of chocolate and peanut butter but don’t want to turn on the oven, this is your new best friend.
Make it yours—add your favorite mix-ins, swap your nut butter, or drizzle with extra chocolate. I’d love to hear how your batch turns out, so please drop a comment below! And if you hit any snags, I’m here to help troubleshoot.
Happy no-baking! I hope your kitchen smells as irresistible as mine does right now.
Frequently Asked Questions
Q: Can I use crunchy peanut butter instead of creamy?
A: Absolutely! Crunchy peanut butter adds a nice texture contrast. Just be aware the bars might be a bit more crumbly, so press them firmly into the pan.
Q: My bars are too sticky—what did I do wrong?
A: Sticky bars usually mean you didn’t chill them long enough or the peanut butter-to-oats ratio is off. Make sure to press firmly and refrigerate at least an hour. If it’s still sticky, add a little more oats next time.
Q: Can I substitute peanut butter with another nut or seed butter?
A: Yes! Almond, cashew, or sunflower seed butter all work well. Just pick a creamy version for easier mixing, and keep the flavor in mind—it’ll change the taste but still be delicious.
Q: How long do these bars keep in the fridge?
A: Stored in an airtight container, they’ll stay good for up to a week. I usually don’t have any leftovers past 3 days, but if you want to keep them longer, freezing is a great option.
Q: Can I add protein powder to make these more filling?
A: Definitely! Adding a scoop or two of vanilla or chocolate protein powder mixes in well with the oats and peanut butter. You might need to add a splash of milk or extra peanut butter to keep the right texture.
Q: Can I use regular chocolate chips instead of mini ones?
A: You can, but mini chips melt more evenly and create little bursts of gooey chocolate. Regular chips might not distribute as well and can make the bars a bit messier.
Q: Is there a way to make these bars vegan?
A: Yes! Replace honey with pure maple syrup and use dairy-free chocolate chips. The texture might be slightly softer, but still delicious.
By the way, if you’re into easy no-bake treats, you might enjoy my no-bake Nutella bars or peanut butter energy bites—both use simple ingredients and zero oven time!
Pin This Recipe!
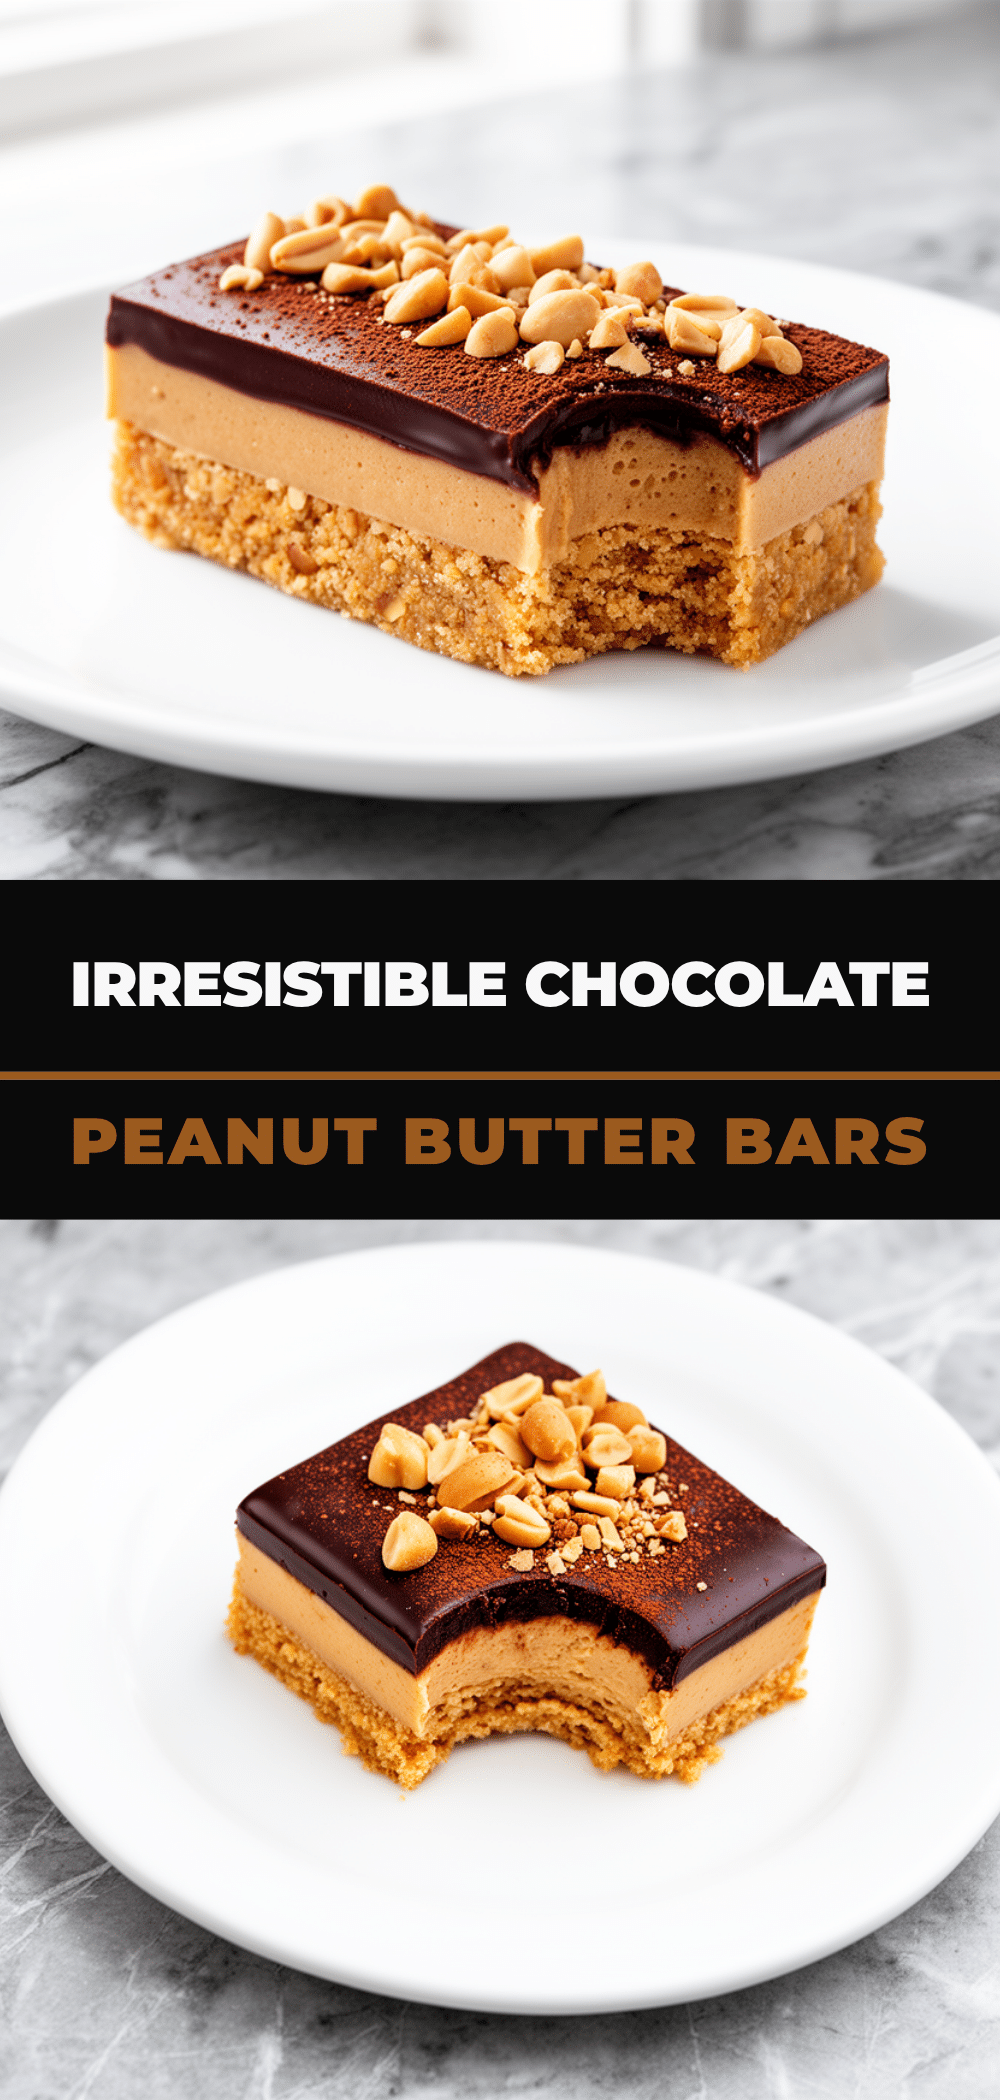
Chocolate Peanut Butter No-Bake Bars
- Total Time: 1 hour 10 minutes
- Yield: 12 bars 1x
Description
These no-bake bars combine creamy peanut butter and rich chocolate with oats for a quick, fuss-free, and delicious treat that requires no oven and can be made in about 15 minutes.
Ingredients
- 1 cup (250g) natural creamy peanut butter
- ⅓ cup (80ml) honey or maple syrup
- 2 cups (180g) old-fashioned rolled oats
- 1 cup (170g) mini chocolate chips (semi-sweet or dark)
- 1 teaspoon (5ml) vanilla extract
- ¼ teaspoon (1.5g) salt
- Optional add-ins: chopped nuts (peanuts or almonds), shredded coconut, flaxseed or chia seeds
Instructions
- Line an 8×8-inch baking pan with parchment paper, leaving an overhang on the sides.
- Measure out peanut butter, honey, oats, and chocolate chips.
- In a mixing bowl, stir together peanut butter and honey until smooth. Warm peanut butter for 20 seconds if too thick.
- Add vanilla extract and salt, stir again.
- Fold in rolled oats and mini chocolate chips until evenly coated.
- Transfer mixture to prepared pan and press firmly and evenly.
- Chill in the refrigerator for at least 1 hour until firm.
- Lift bars out using parchment overhang and cut into squares.
- Serve chilled or at room temperature. Store leftovers in an airtight container in the fridge.
Notes
Warm peanut butter slightly if too stiff for easier mixing. Press mixture firmly into pan to prevent crumbling. Use mini chocolate chips for better melting and texture. Chill bars at least one hour before cutting. Store bars in fridge for up to 7 days or freeze for longer storage.
- Prep Time: 10 minutes
- Cook Time: 0 minutes
- Category: Dessert
- Cuisine: American
Nutrition
- Serving Size: 1 bar
- Calories: 180
- Sugar: 9
- Sodium: 70
- Fat: 10
- Saturated Fat: 2
- Carbohydrates: 18
- Fiber: 3
- Protein: 5
Keywords: no-bake bars, chocolate peanut butter bars, easy dessert, no oven dessert, peanut butter snack, quick no-bake recipe



