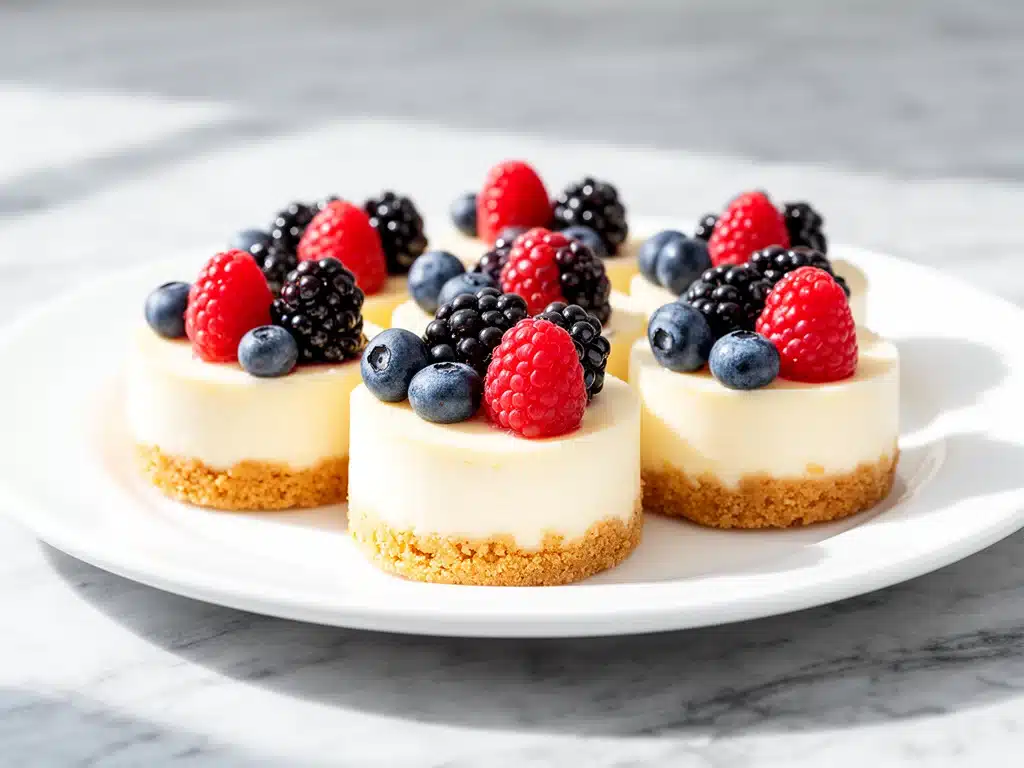
One chilly Sunday afternoon, I found myself rummaging through my fridge, desperately trying to whip up something sweet for an unexpected visit from my niece and nephew. I needed a dessert that was quick, fuss-free, and kid-approved—but also something that felt special. That’s when these mini cheesecake bites with berry topping were born. I had no idea that a batch of these tiny delights would vanish in under 10 minutes and spark requests for “more, please!” from everyone around the table.
Since then, this recipe has become my secret weapon for family gatherings, potlucks, and even those evenings when I just want a little indulgence without the hassle of a full-sized cheesecake. What makes these mini cheesecake bites with berry topping so irresistible is how creamy, tangy, and perfectly portioned they are—plus, the burst of fresh berries on top adds just the right pop of brightness. Honestly, I’ve made these at least 15 times, tweaking the crust and berry combos each time, and every single version has been a hit.
If you’re craving a dessert that’s easy to make, beautifully portable, and loved by both kids and adults, you’re going to want to keep reading. This recipe is my go-to for when I want a little homemade magic without spending hours in the kitchen.
Why You’ll Love This Recipe
There are a ton of reasons I keep making these mini cheesecake bites, but here are the big ones that make them a family favorite:
- Perfectly Portable — These bite-sized treats are great for lunchboxes, parties, or just snacking straight from the fridge. No knives or plates required.
- Easy to Customize — Swap the berry topping with whatever fruit you love or have on hand. Blueberries, raspberries, or even a drizzle of caramel works like a charm.
- Family-Friendly — My picky eaters (and my in-laws) all agree—these little cheesecakes hit the sweet spot without being overly sweet.
- Make-Ahead Friendly — I often bake these a day in advance. They hold up beautifully in the fridge and taste even better after the flavors meld together.
- No Fancy Equipment Needed — Just a muffin tin and some basic kitchen tools. Seriously, if you can measure and mix, you’re set.
This recipe has saved me more times than I can count when I needed a quick, crowd-pleasing dessert that doesn’t feel like a last-minute scramble. It’s become a little family tradition—something I make whenever I want smiles around the table without the stress.
Ingredients You’ll Need
Here’s the best part: most of these ingredients are probably sitting in your pantry or fridge right now. I’m pretty particular about a couple of things, and I’ll explain why as we go along.
- Graham cracker crumbs (1 ½ cups / 150g) — This is the base of your crust. I crush my own from full crackers because it’s fresher and has better texture, but pre-made crumbs work in a pinch.
- Unsalted butter (6 tablespoons / 85g, melted) — Use real butter here; it makes the crust rich and holds it together perfectly.
- Cream cheese (16 ounces / 450g, softened) — Full-fat only. I’ve tried light versions, and the texture just isn’t as creamy or smooth.
- Granulated sugar (¾ cup / 150g) — Sweetens the cheesecake filling just enough without overpowering it.
- Vanilla extract (1 teaspoon) — Adds warmth and depth to the filling. Pure vanilla is worth the splurge here.
- Egg (1 large) — Helps the cheesecake set without making it rubbery.
- Sour cream (½ cup / 120ml) — This is my secret ingredient for smoothness and a slight tang that balances the sweetness.
- Fresh mixed berries (1 cup / 150g, such as strawberries, blueberries, raspberries) — For the topping. Use whatever’s freshest or your favorite combo.
- Powdered sugar (optional, 1 tablespoon) — To dust on top or lightly sweeten the berries if they’re tart.
Pro tip: When softening cream cheese, leave it out for 30-60 minutes or microwave in 10-second bursts. This helps avoid lumps in your batter. Also, I like to use fresh berries instead of canned because the flavor and texture are so much better.
Equipment Needed
You don’t need fancy tools for these mini cheesecake bites. Here’s what I use every time:
- Muffin tin — A standard 12-cup muffin pan works perfectly for bite-sized portions. I use paper liners to make them easy to pop out, but you can grease the pan if you prefer.
- Mixing bowls — One large bowl for the filling and one smaller for mixing the crust.
- Electric mixer or hand mixer — I swear by my handheld mixer for smooth, lump-free cheesecake batter. You can also whisk by hand if you’re feeling strong.
- Measuring cups and spoons — Basic, but crucial for getting the balance right.
- Spoon or spatula — For mixing and smoothing the batter into the crust.
- Food processor or rolling pin — To crush graham crackers if you’re not using pre-made crumbs.
Quick note: Don’t have a muffin tin? You can bake these in mini ramekins or even use silicone baking cups. Just adjust baking time slightly and keep an eye on them.
How to Make It: Step-by-Step
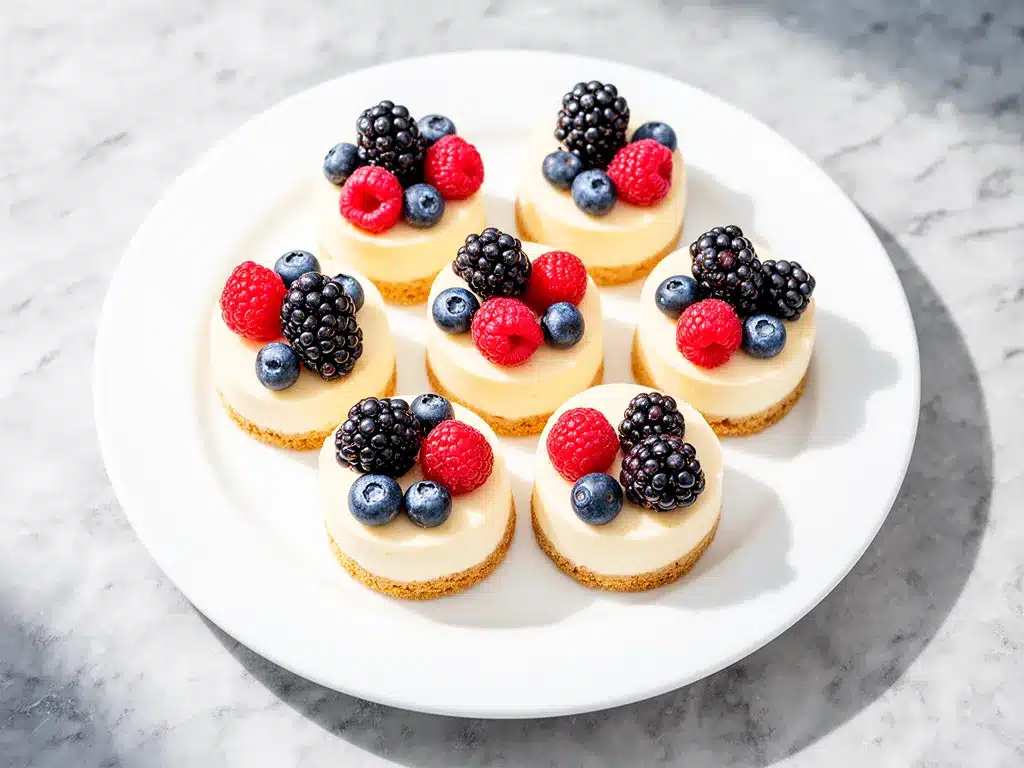
Alright, let’s get into it! I’m walking you through exactly how I make these mini cheesecake bites, including little tricks that make a big difference.
Step 1: Make the Crust (5 minutes)
Preheat your oven to 325°F (160°C). Mix the graham cracker crumbs and melted butter in a bowl until the crumbs are evenly coated and look like wet sand. Scoop about 1 tablespoon of the mixture into each muffin cup and press firmly into the bottom to create an even crust. I like to use the back of a spoon or a small glass to get a nice compact base.
Step 2: Prepare the Filling (10 minutes)
In a large bowl, beat the softened cream cheese with an electric mixer on medium speed until it’s smooth and fluffy—no lumps! Add the sugar and vanilla extract, and mix until combined. Crack in the egg and mix again, but don’t overbeat. Finally, fold in the sour cream until everything is silky and well incorporated.
Step 3: Fill the Muffin Cups (5 minutes)
Spoon the cheesecake filling evenly over each crust, filling the cups almost to the top. Use the back of a spoon or a small offset spatula to smooth the surface. Don’t worry if the batter looks thick—that’s exactly what you want.
Step 4: Bake (18-20 minutes)
Place the muffin tin in the oven and bake for about 18-20 minutes. The edges should be set, but the centers will still have a slight jiggle when you gently shake the pan. That’s the sweet spot for creamy cheesecake bites. Overbaking leads to cracks or rubbery texture, so keep an eye on them.
Step 5: Cool and Chill (At least 2 hours)
Let the cheesecakes cool in the pan for 30 minutes at room temperature, then transfer the pan to the fridge to chill for at least 2 hours. Overnight is even better if you can wait. Chilling helps the bites firm up and develop that rich, creamy texture we all love.
Step 6: Add the Berry Topping (5 minutes)
Just before serving, toss your fresh berries with a little powdered sugar if desired, then spoon a small mound onto each cheesecake bite. The tartness of the berries balances the creamy richness of the cheesecake perfectly.
Step 7: Serve and Enjoy
Pop the mini cheesecake bites out of the muffin tin (if you used liners, this is super easy) and arrange them on a pretty platter. Watch how fast they disappear!
Expert Tips & Tricks
Here’s everything I’ve learned after making these mini cheesecake bites dozens of times. These tips will save you stress and guarantee success.
- Room Temperature Ingredients — Always bring your cream cheese, egg, and sour cream to room temperature. This helps prevent lumps and ensures a smooth batter.
- Don’t Overmix — Once you add the egg, mix just until combined. Overbeating can trap air and cause cracks or a spongy texture.
- Press Crust Firmly — A well-compacted crust keeps the base from crumbling when you bite into it. Use the bottom of a glass or spoon to press firmly.
- Chill Thoroughly — Don’t rush this step. Chilling for at least 2 hours (preferably overnight) gives you that perfect creamy set.
- Fresh Berries Over Jam — I’ve tried both, and fresh berries add the best brightness and texture. If you must use jam, warm it slightly and brush on top.
- Use Paper Liners — They make cleanup a breeze and keep the bites intact when you remove them.
Common Mistakes:
- Soggy crust: Make sure to press the crust firmly and bake it a couple of minutes before adding the filling to prevent sogginess.
- Cracked cheesecakes: Don’t overbake or overmix. A gentle jiggle in the center is perfect.
- Watery topping: Drain berries if they’re extra juicy or pat them dry with a paper towel before topping.
Variations & Substitutions
Once you’ve nailed the classic mini cheesecake bites with berry topping, you can have fun mixing things up. Here’s what I’ve tested and loved:
- Chocolate Lovers — Add ¼ cup melted dark chocolate to the filling for a rich twist. Top with shaved chocolate instead of berries.
- Citrus Zest — Stir in 1 teaspoon lemon or orange zest into the filling for a bright, fresh flavor that pairs beautifully with berries.
- Tropical Version — Swap berries for diced mango, pineapple, and shredded coconut for a summery vibe.
- Nutty Crust — Mix crushed pecans or almonds into the graham cracker crust for extra crunch and flavor.
- Dairy-Free — Use dairy-free cream cheese and butter substitutes. I’ve found coconut-based cream cheese works best.
- Gluten-Free — Use gluten-free graham cracker crumbs or almond flour for the crust. The texture is slightly different but still delicious.
My family especially loves the citrus zest version in spring, and the chocolate twist is a hit at birthday parties. It’s fun to switch up the fruit topping seasonally too—blackberries in summer, pomegranate seeds in winter.
Serving & Storage
These mini cheesecake bites are pretty versatile when it comes to serving and storing:
- How to Serve — I love serving these chilled straight from the fridge. If you want to get fancy, dust with a little powdered sugar or add a sprig of fresh mint.
- Party-Ready — Arrange on a tiered dessert stand for a crowd-pleasing display. They’re great finger foods for potlucks or holiday get-togethers.
- Storage — Keep leftovers in an airtight container in the fridge for up to 4 days. The crust might soften a bit but the flavor stays amazing.
- Reheating — I don’t recommend reheating these. They’re best enjoyed cold or at room temperature.
- Freezing — You can freeze mini cheesecakes without the berry topping for up to 2 months. Thaw in the fridge overnight before adding fresh berries.
Nutrition Information
I’m not a nutritionist, but here’s a rough idea if you’re tracking or curious (based on 12 mini cheesecake bites):
| Nutrient | Per Serving (1 bite) |
|---|---|
| Calories | 150 |
| Protein | 3g |
| Carbohydrates | 12g |
| Fiber | 1g |
| Sugar | 8g |
| Fat | 10g |
| Saturated Fat | 6g |
| Cholesterol | 35mg |
| Sodium | 90mg |
| Calcium | 60mg |
What to know: These are a treat, thanks to cream cheese and butter, but they’re portion-controlled, which helps. Adding fresh berries boosts vitamins and fiber. I like to balance indulgence with fruit whenever I can.
Final Thoughts
So that’s my go-to recipe for mini cheesecake bites with berry topping that your whole family will crave. I’ve probably talked your ear off by now, but that’s what happens when you find a dessert that works every time and makes everyone happy.
This recipe has been my trusty answer for everything from last-minute visitors to quiet weekend treats. It’s simple enough for weeknight baking but special enough for celebrations. Plus, it’s fun to customize and make your own.
Don’t be shy about trying different fruit toppings or adding little twists—cooking should be creative and joyful. If you give this recipe a try, please drop a comment and tell me how it goes! I love hearing your stories, tweaks, and even the “oops” moments. I’m here to help you nail it.
Happy baking! I hope your kitchen smells as irresistible as mine does right now.
Frequently Asked Questions
Q: Can I make these mini cheesecake bites without eggs?
A: Yes! You can substitute 1 tablespoon of cornstarch mixed with 3 tablespoons of water for the egg. It helps the cheesecake set but keeps it egg-free. I’ve tested this substitution, and the texture is still creamy but a little more delicate.
Q: How do I prevent cracks on top of my mini cheesecakes?
A: Cracks usually happen from overbaking or overmixing. Bake until just set with a slight jiggle in the center and don’t beat the batter excessively once the egg is added. Also, cooling them gradually by turning off the oven and leaving the door ajar for 15 minutes can help.
Q: Can I use frozen berries for the topping?
A: You can, but thaw and drain them well first to avoid watery toppings. Fresh berries give the best texture and flavor, but frozen work in a pinch—just be sure to pat them dry before adding.
Q: What’s the best way to soften cream cheese quickly?
A: Take it out of the fridge 30-60 minutes before baking. In a hurry? Microwave it in 10-second bursts, flipping and checking between, until just soft—not melted. This makes mixing much easier and prevents lumps.
Q: Can I double or halve this recipe?
A: Absolutely! Double it for a crowd and bake in two muffin tins, or halve it for a smaller batch. Baking time stays roughly the same, but keep an eye on them as ovens vary.
Q: How do I store leftover mini cheesecake bites?
A: Store in an airtight container in the fridge for up to 4 days. They’re best eaten cold or at room temperature. Avoid freezing with the berry topping, but you can freeze plain bites and add fresh berries when ready.
Q: Can I use flavored cream cheese?
A: I recommend sticking to plain cream cheese for the best results. Flavored varieties can alter the texture and sweetness, making it tricky to balance the filling. However, if you want to experiment, try small batches first.
Pin This Recipe!
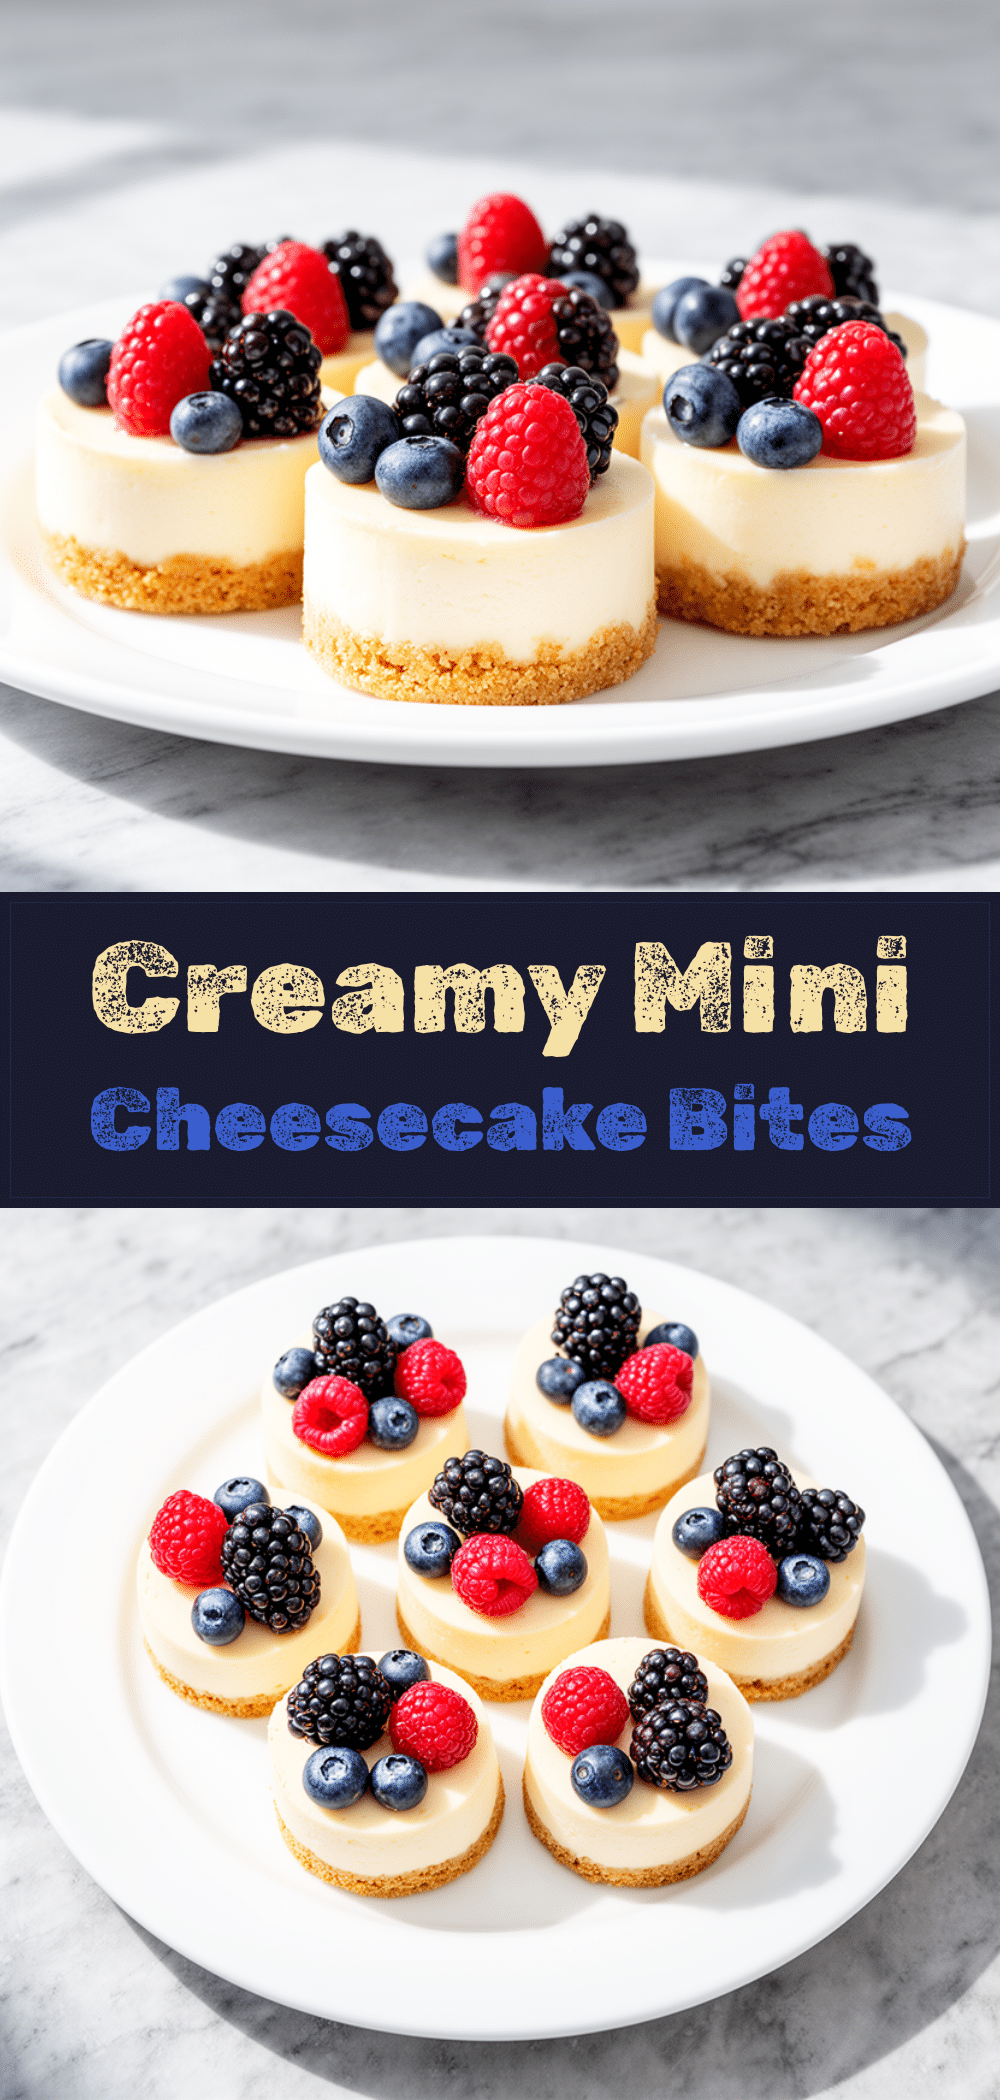
Mini Cheesecake Bites with Berry Topping
- Total Time: 2 hours 40 minutes
- Yield: 12 servings 1x
Description
These mini cheesecake bites are creamy, tangy, and perfectly portioned with a fresh berry topping. They are easy to make, portable, and loved by both kids and adults.
Ingredients
- 1 ½ cups (150g) graham cracker crumbs
- 6 tablespoons (85g) unsalted butter, melted
- 16 ounces (450g) cream cheese, softened
- ¾ cup (150g) granulated sugar
- 1 teaspoon vanilla extract
- 1 large egg
- ½ cup (120ml) sour cream
- 1 cup (150g) fresh mixed berries (such as strawberries, blueberries, raspberries)
- 1 tablespoon powdered sugar (optional)
Instructions
- Preheat oven to 325°F (160°C). Mix graham cracker crumbs and melted butter until evenly coated and resembling wet sand.
- Scoop about 1 tablespoon of crust mixture into each muffin cup and press firmly to create an even crust.
- In a large bowl, beat softened cream cheese with an electric mixer until smooth and fluffy.
- Add sugar and vanilla extract, mix until combined.
- Crack in the egg and mix again, but do not overbeat.
- Fold in sour cream until silky and well incorporated.
- Spoon cheesecake filling evenly over each crust, filling cups almost to the top and smooth the surface.
- Bake for 18-20 minutes until edges are set but centers have a slight jiggle.
- Cool in pan for 30 minutes at room temperature, then chill in fridge for at least 2 hours or overnight.
- Just before serving, toss fresh berries with powdered sugar if desired and spoon onto each cheesecake bite.
- Pop mini cheesecake bites out of muffin tin and serve.
Notes
Bring cream cheese, egg, and sour cream to room temperature before mixing to avoid lumps. Do not overmix after adding egg to prevent cracks. Press crust firmly to avoid sogginess. Chill thoroughly for best texture. Use fresh berries for topping and drain if very juicy. Paper liners make removal easier.
- Prep Time: 20 minutes
- Cook Time: 20 minutes
- Category: Dessert
- Cuisine: American
Nutrition
- Serving Size: 1 mini cheesecake bi
- Calories: 150
- Sugar: 8
- Sodium: 90
- Fat: 10
- Saturated Fat: 6
- Carbohydrates: 12
- Fiber: 1
- Protein: 3
Keywords: mini cheesecake bites, berry topping, easy cheesecake, portable dessert, kid-friendly dessert, homemade cheesecake, party dessert



