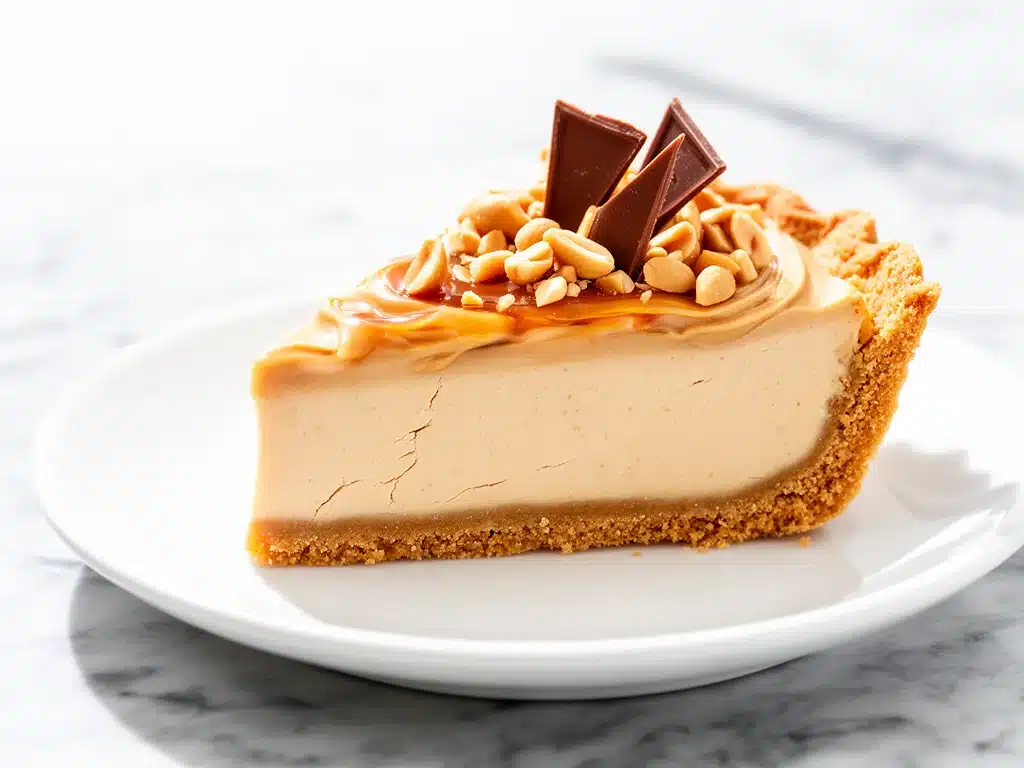
One summer afternoon, I found myself staring at a fridge full of ingredients but zero motivation to turn on the oven. The last thing I wanted was to heat up the kitchen baking a dessert, yet I was craving something indulgent, peanut buttery, and just a little bit fancy. That’s when I stumbled upon this no-bake peanut butter pie recipe, and honestly, it changed everything.
I’ve made this pie more times than I can count since that day—sometimes for last-minute guests, sometimes just because I needed a sweet pick-me-up after a long week. The silky smooth filling feels like a hug in dessert form, and the best part? It’s ridiculously easy to whip up, no oven required. If you’re anything like me and love peanut butter (and who doesn’t?), this pie is going to become your new obsession. I promise you’ll make it on repeat.
Over the years, I’ve tweaked the filling just enough to get it perfectly creamy without ever feeling too heavy. And the crust? Oh, the crust. It’s buttery, crunchy, and just enough to balance the luscious filling without stealing the spotlight. If you’ve ever been intimidated by making pies from scratch, this no-bake peanut butter pie is your gateway drug.
Why You’ll Love This No-Bake Peanut Butter Pie Recipe
I can’t stress enough how this pie has saved my dessert game more times than I can count. Here are the top reasons I keep coming back to this recipe:
- Effortlessly Delicious — This pie takes just 15 minutes to throw together, and the results taste like you spent hours fussing over it. I once made it in a rush for a dinner party, and it disappeared within minutes.
- Silky Smooth Filling — The secret is the cream cheese and whipped cream combo that makes the filling velvety without being too dense. My nephew even asked if it was ice cream!
- No Oven Needed — Perfect for hot summer days or when you want dessert fast without heating the kitchen. I make this all year round, honestly.
- Peanut Butter Lovers Unite — The rich, nutty flavor is front and center, but it’s never overpowering. I’ve served this to friends who aren’t even big peanut butter fans—they end up loving it.
- Make-Ahead Friendly — You can prepare it a day in advance, so it’s perfect for parties or weeknight treats. Just keep it chilled until serving.
This pie is more than just a dessert; it’s become my go-to when I want something that feels indulgent but is actually super simple. Every time I make it, I get asked for the recipe—which is always a good sign.
Ingredients You’ll Need
Here’s the thing: this recipe looks like it requires a bunch of fancy stuff, but honestly, you probably have most of these ingredients already. I’m picky about a few of them, and I’ll explain why.
- Cream Cheese (8 oz / 225g, softened) — This gives the filling its creamy body and a subtle tang. Make sure it’s softened to room temperature for smooth mixing. Cold cream cheese makes lumps, trust me.
- Peanut Butter (1 cup / 250g, creamy) — Use your favorite brand, but creamy works best here for that silky texture. I’m partial to natural peanut butter without added sugar, but regular is fine if you prefer sweeter.
- Powdered Sugar (1 cup / 120g) — This sweetens the filling without gritty texture. Don’t swap with granulated sugar; it won’t dissolve well.
- Heavy Whipping Cream (1 cup / 240ml) — Whipped until stiff peaks form, it adds lightness to the filling. Full-fat only—half-and-half won’t hold.
- Vanilla Extract (1 teaspoon / 5ml) — Adds warmth and depth. Fresh vanilla makes a difference; don’t skip it.
- Chocolate Cookie Crust (1 pre-made 9-inch / 23cm crust or homemade) — I love using chocolate wafer crumbs mixed with melted butter for a crunchy, chocolatey base that complements the peanut butter filling perfectly.
- Optional Toppings: Chopped peanuts, shaved chocolate, or a drizzle of melted chocolate for extra flair. I always keep chopped salted peanuts on hand—they add a lovely crunch contrast.
Equipment Needed
You don’t need anything fancy to make this no-bake peanut butter pie. Here’s what I use every single time:
- Mixing Bowls — At least two: one for whipping the cream and another for combining the cream cheese and peanut butter. I have a set of glass bowls that I swear by.
- Electric Mixer — Handheld or stand mixer works. Whipping cream by hand is doable but takes forever and can leave you with sore arms.
- Spatula — For folding the whipped cream gently into the peanut butter mixture. Silicone spatulas are my favorite because they’re flexible and easy to scrape.
- 9-inch Pie Dish — Any pie plate or springform pan will work. I prefer glass because it lets me see the layers.
- Measuring Cups and Spoons — Standard kitchen tools. No need to overthink it.
- Optional: Food Processor — If you want to make your own chocolate cookie crust, this makes crushing the cookies a breeze.
How to Make No-Bake Peanut Butter Pie: Step-by-Step
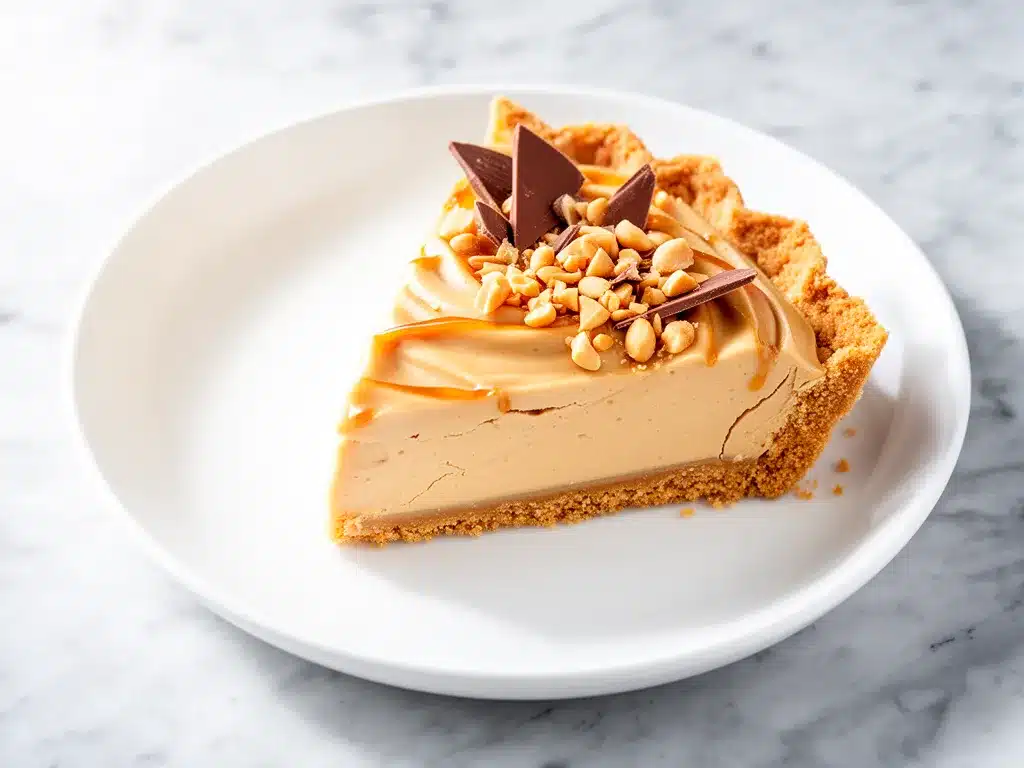
Alright, let’s get to the good stuff. This no-bake peanut butter pie comes together quickly, but I’m going to walk you through every step with all my little tricks.
Step 1: Prepare the Crust (5 minutes)
If you’re using a store-bought chocolate cookie crust, great—skip to step 2. If you want to make your own, crush about 1 ½ cups (150g) of chocolate wafer cookies in a food processor or a sealed bag with a rolling pin. Mix the crumbs with 5 tablespoons (70g) melted butter until it looks like wet sand. Press this evenly into your pie dish and pop it in the fridge while you make the filling. It firms up nicely without baking.
Step 2: Beat the Cream Cheese and Peanut Butter (3-4 minutes)
In a large bowl, beat the softened cream cheese with an electric mixer until smooth and creamy. Add the peanut butter and vanilla extract, then continue beating until fully combined and silky. No lumps here—if your cream cheese was cold, this step will be a little bumpier, so don’t rush it.
Step 3: Add Powdered Sugar (2 minutes)
Sift in the powdered sugar to avoid any clumps. Beat again on medium speed until the mixture is smooth and thick. This sweetness balances the peanut butter’s natural saltiness.
Step 4: Whip the Heavy Cream (5 minutes)
In a separate bowl, whip the heavy cream with clean beaters until stiff peaks form. You’ll know it’s ready when you lift the beaters and the cream stands up without collapsing. Don’t overwhip or you’ll get butter. This whipped cream is what makes the filling so light and airy.
Step 5: Fold the Whipped Cream into the Peanut Butter Mixture (3 minutes)
This is the delicate part. Gently fold about a third of the whipped cream into the peanut butter mixture to lighten it. Then fold in the rest carefully, so you keep as much air as possible. The filling should be fluffy and smooth—no deflated messes here.
Step 6: Assemble the Pie (2 minutes)
Spread the filling evenly into the chilled crust. Smooth the top with your spatula or the back of a spoon. Cover the pie with plastic wrap and refrigerate for at least 4 hours, ideally overnight. This chilling step is what sets the filling to that perfect sliceable consistency.
Step 7: Garnish and Serve (5 minutes)
Right before serving, sprinkle with chopped peanuts, shaved chocolate, or drizzle melted chocolate over the top. The contrast of crunchy and creamy is irresistible. Slice with a sharp knife, wiping between cuts for clean edges.
Expert Tips & Tricks
Making this no-bake peanut butter pie smooth and delicious every time is easier when you keep these tips in mind:
- Use room temperature cream cheese: Cold cream cheese makes lumps and a gritty texture. Take it out 30 minutes before starting.
- Don’t rush the chilling: The filling firms up best when chilled overnight. If you’re in a hurry, at least 4 hours in the fridge will do.
- Fold, don’t stir: When adding whipped cream, folding preserves the airiness. Stirring deflates it and makes the filling dense.
- Make your own crust: It’s simple and tastes way better than pre-made. Use chocolate wafer cookies or even crushed Oreos for a chocolate-peanut butter dream.
- Skip the jarred peanut butter for best flavor: Natural or creamy peanut butter without added oils or sugars will give you the cleanest, richest taste.
- Toast your peanuts: If you’re topping with peanuts, a quick toast in a dry pan amps their flavor and crunch.
Variations & Substitutions
Once you’ve nailed the classic no-bake peanut butter pie, try these twists to keep things interesting:
- Chocolate Peanut Butter Pie — Stir ½ cup (90g) melted semi-sweet chocolate into the peanut butter filling before folding in the whipped cream. Chocolate heaven.
- Crunchy Crunch — Fold in ½ cup chopped roasted peanuts or crushed pretzels for texture inside the filling.
- No-Bake Oreo Crust — Swap the chocolate cookie crust for an Oreo crust for a cookies-and-cream vibe.
- Peanut Butter Banana Pie — Layer sliced ripe bananas on the crust before adding the filling. It’s like a peanut butter banana split.
- Vegan Version — Use vegan cream cheese, coconut whipped cream, and natural peanut butter. For the crust, check ingredients to make sure it’s vegan.
- Lower Sugar — Reduce powdered sugar to ¾ cup or swap half for a natural sweetener like monk fruit. The filling will be less sweet but still yummy.
Serving & Storage
This pie is best served chilled straight from the fridge. I usually slice it right on the pie dish and serve with a side of fresh berries or a drizzle of chocolate sauce if I’m feeling fancy.
Storage: Keep leftovers covered tightly in the fridge for up to 4 days. The filling will firm up more but stay delicious. When you’re ready to eat, take it out 10 minutes beforehand for easier slicing.
Reheating: This pie is meant to be served cold, so no reheating needed. If you want it softer, let it sit at room temperature a bit before serving.
Freezing: I don’t recommend freezing this one. The creamy filling can separate and get grainy when thawed.
Nutrition Information
| Nutrient | Per Serving (1/8 pie) |
|---|---|
| Calories | 370 |
| Protein | 8g |
| Carbohydrates | 28g |
| Fiber | 2g |
| Sugar | 20g |
| Fat | 26g |
| Saturated Fat | 10g |
| Cholesterol | 50mg |
| Sodium | 250mg |
| Calcium | 120mg |
Look, this pie is dessert—it’s rich and indulgent, packed with creamy peanut butter and butter in the crust. But it also delivers protein and calcium from the cream cheese and cream, which is a nice bonus. If you want it lighter, try the variations with less sugar or add fruit to balance the richness.
Final Thoughts
So that’s my no-bake peanut butter pie with silky smooth filling you’ll make on repeat. I’ve probably rambled enough to convince you this isn’t just a recipe—it’s a little piece of my kitchen life. When I want a dessert that’s effortless but feels special, this pie never lets me down.
It’s saved me on busy nights, impressed guests who can’t believe it’s no-bake, and satisfied my peanut butter cravings like nothing else. The best part? You can customize it endlessly to suit your mood or pantry.
If you decide to give this pie a try, let me know! I love hearing how it turns out for you, whether it’s your new favorite or you added your own twist. And if you hit any snags, I’m here to help troubleshoot—it happens to all of us.
Happy baking (or, well, no-baking)! I hope your kitchen smells as amazing as mine does right now.
Frequently Asked Questions
Q: Can I use crunchy peanut butter instead of creamy?
A: You can, but the filling won’t be as silky smooth. The crunchy bits can make the texture uneven. If you love that crunch, try folding in a handful of chopped peanuts after mixing the creamy peanut butter version.
Q: How long does this no-bake peanut butter pie last in the fridge?
A: Up to 4 days if stored tightly covered. The flavors actually deepen after a day, but the crust can soften a bit over time. For the best texture, enjoy within the first 2 days!
Q: Can I make this pie gluten-free?
A: Absolutely! Use gluten-free chocolate cookies for the crust or make a crust from gluten-free graham crackers. The filling is naturally gluten-free.
Q: My filling was a bit runny—what did I do wrong?
A: Most likely, the cream wasn’t whipped enough or the cream cheese wasn’t fully softened. Make sure to whip the heavy cream to stiff peaks and beat the cream cheese thoroughly before adding peanut butter. Also, chilling the pie for several hours helps the filling set properly.
Q: Can I freeze this pie?
A: I don’t recommend it. The creamy filling tends to separate and become grainy when thawed. It’s best enjoyed fresh or refrigerated.
Q: Is there a vegan way to make this pie?
A: Yes! Use vegan cream cheese (like cashew-based), coconut whipped cream, and natural peanut butter. For the crust, check ingredients or make your own with vegan cookies and coconut oil. It’s a bit different but still delicious.
Q: Can I substitute the cream cheese with something else?
A: Cream cheese gives that signature tang and firmness. You could try mascarpone for a milder flavor or Greek yogurt for tanginess, but the texture will be different. I haven’t had great results swapping cream cheese entirely.
By the way, if you’re into creamy, no-fuss desserts, you might really enjoy my easy no-bake chocolate mousse or the crowd-pleasing classic cheesecake bites. Both are perfect for summer and just as simple to make.
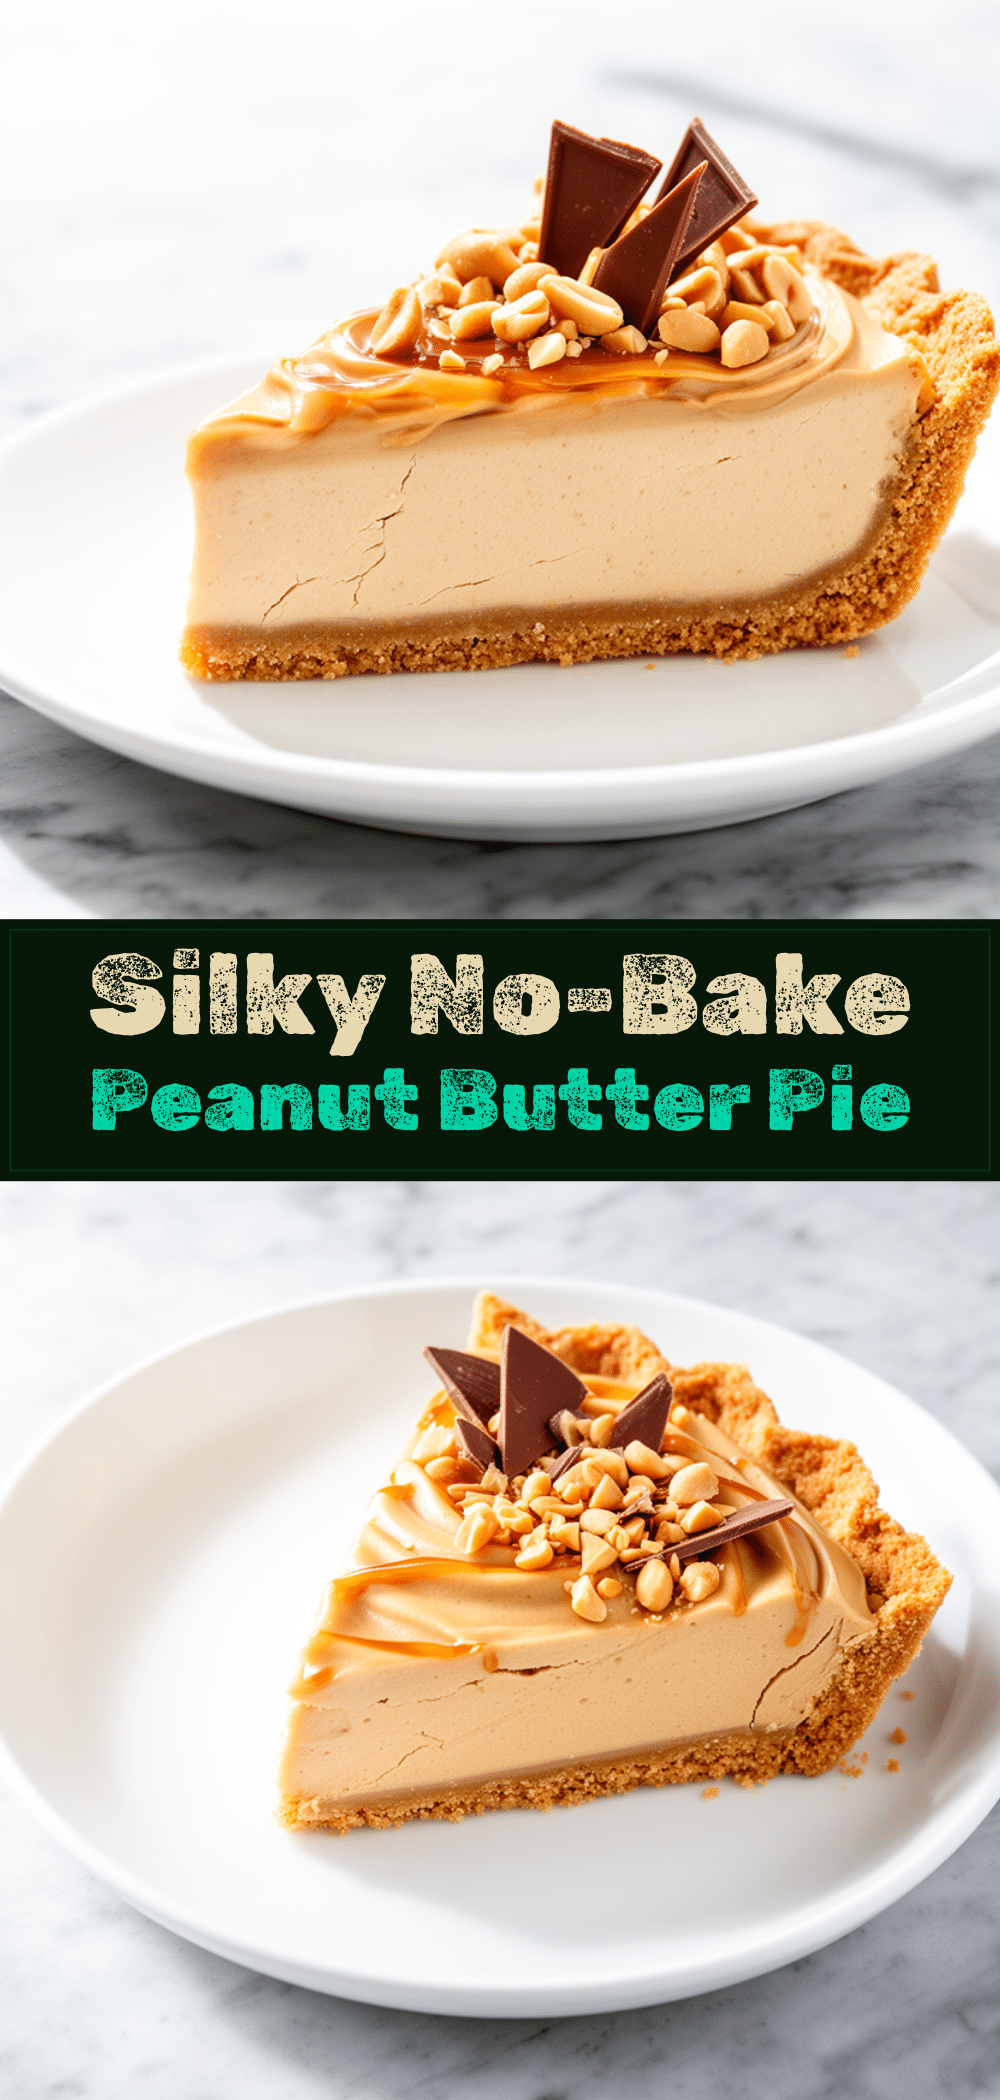
Pin This Recipe!
No-Bake Peanut Butter Pie
- Total Time: 4 hours 15 minutes
- Yield: 8 servings 1x
Description
A silky smooth, no-bake peanut butter pie with a creamy filling and crunchy chocolate cookie crust, perfect for an easy indulgent dessert without heating the kitchen.
Ingredients
- 8 oz (225g) cream cheese, softened
- 1 cup (250g) creamy peanut butter
- 1 cup (120g) powdered sugar
- 1 cup (240ml) heavy whipping cream
- 1 teaspoon (5ml) vanilla extract
- 1 pre-made 9-inch (23cm) chocolate cookie crust or homemade
- Optional toppings: chopped peanuts, shaved chocolate, melted chocolate drizzle
Instructions
- Prepare the crust: If using store-bought, skip this step. To make your own, crush 1 ½ cups (150g) chocolate wafer cookies and mix with 5 tablespoons (70g) melted butter. Press into a 9-inch pie dish and chill in the fridge.
- Beat the softened cream cheese with an electric mixer until smooth.
- Add peanut butter and vanilla extract to the cream cheese and beat until silky and combined.
- Sift in powdered sugar and beat on medium speed until smooth and thick.
- In a separate bowl, whip heavy cream until stiff peaks form.
- Gently fold one-third of the whipped cream into the peanut butter mixture to lighten it, then fold in the remaining whipped cream carefully to keep it airy.
- Spread the filling evenly into the chilled crust and smooth the top.
- Cover with plastic wrap and refrigerate for at least 4 hours, preferably overnight, to set.
- Before serving, garnish with chopped peanuts, shaved chocolate, or a drizzle of melted chocolate.
Notes
Use room temperature cream cheese to avoid lumps. Chill the pie for at least 4 hours or overnight for best texture. Fold whipped cream gently to keep filling airy. Toast peanuts before topping for extra crunch and flavor. Natural creamy peanut butter without added sugar or oils gives best flavor. Avoid freezing as filling may separate.
- Prep Time: 15 minutes
- Cook Time: 0 minutes
- Category: Dessert
- Cuisine: American
Nutrition
- Serving Size: 1 slice (1/8 of pie)
- Calories: 370
- Sugar: 20
- Sodium: 250
- Fat: 26
- Saturated Fat: 10
- Carbohydrates: 28
- Fiber: 2
- Protein: 8
Keywords: no-bake peanut butter pie, easy peanut butter dessert, creamy peanut butter pie, no oven dessert, chocolate cookie crust pie



