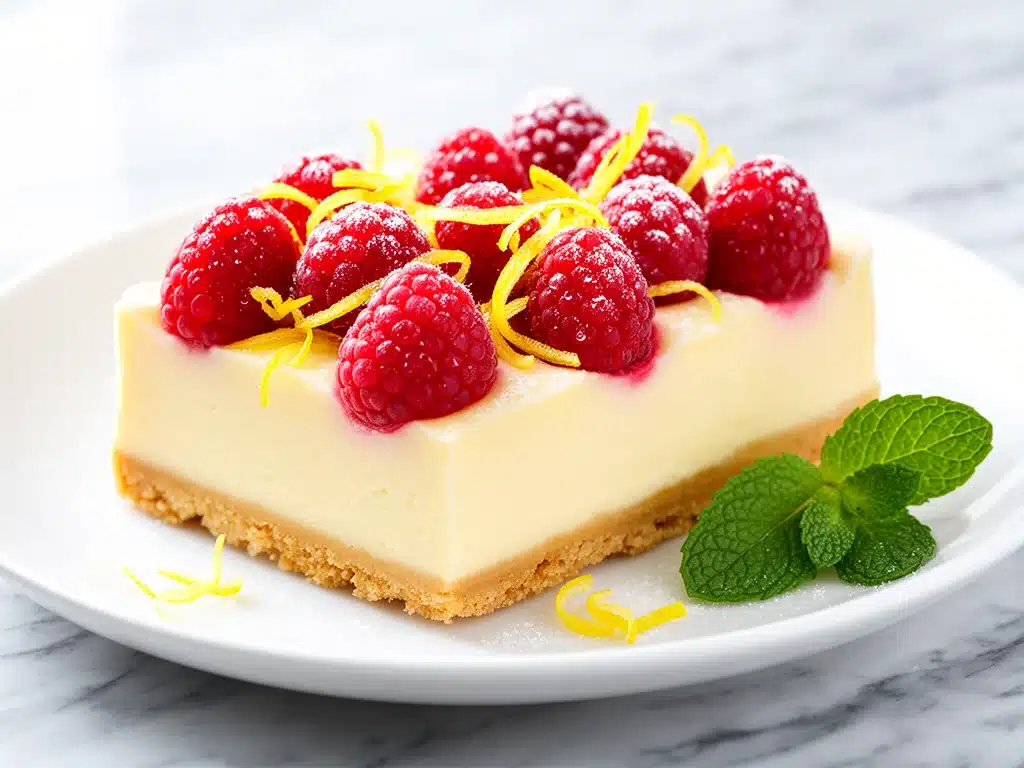
One rainy Saturday afternoon last spring, I found myself craving something bright and refreshing but with a comforting, creamy twist. I had a basket of fresh raspberries from the farmer’s market and a lemon that was just begging to be used. I started messing around in the kitchen, trying to create a dessert that felt like spring sunshine wrapped in a silky blanket. That’s how these lemon raspberry cheesecake bars were born—after a few happy accidents and a lot of taste-testing.
What surprised me most was the texture: unbelievably smooth, creamy, and just the right balance of tangy and sweet. My entire family couldn’t stop sneaking bites before dinner, and honestly, neither could I. After making these lemon raspberry cheesecake bars a dozen times, tweaking the crust and perfecting the swirl technique, I’m finally ready to share the recipe that’s become my go-to for birthdays, potlucks, and weekend treats.
Here’s the thing about these bars—they look fancy but come together easily, and the silky texture is just magical. Plus, the tart raspberries and zesty lemon brighten things up in a way that feels fresh and vibrant, not heavy or cloying. Whether you’re a cheesecake aficionado or just someone who loves a good dessert, this recipe will quickly become a favorite in your rotation.
Why You’ll Love This Recipe
Honestly, there are so many reasons I keep making these lemon raspberry cheesecake bars. Here are the big ones that convinced me (and my family) to keep coming back for more:
- Silky Smooth Texture — After testing 15+ cheesecake recipes, I finally nailed a batter that bakes into the creamiest, most velvety bars. No cracks, no graininess—just pure, luscious cheesecake.
- Bright, Balanced Flavors — The lemon zest and juice add just enough zing to cut through the richness, while the fresh raspberries provide bursts of tart sweetness. It’s like springtime in every bite.
- Easy to Make — Despite looking impressive, these bars come together in less than an hour. The crust is simple, and the batter mixes up in one bowl. I even get my kids involved in swirling the raspberries because it’s fun and mess-free.
- Perfect for Any Occasion — Birthday parties, potlucks, afternoon tea, or just because—you name it. These bars get rave reviews every time I bring them.
- Make-Ahead Friendly — I love that I can bake these a day ahead, and they actually taste better after chilling overnight. Plus, they slice cleanly, making serving a breeze.
Bottom line? These bars have become my secret weapon for dessert. They’re a total crowd-pleaser that looks like you put in way more effort than you actually did.
Ingredients You’ll Need
Here’s the best part: most of these ingredients are probably already hanging out in your pantry and fridge. I’m picky about a few things here, so I’ll explain why.
- Graham cracker crumbs (1½ cups / 150g) — This forms the buttery crust. I use regular honey graham crackers for that classic flavor, but you can swap in digestive biscuits if you like.
- Unsalted butter (6 tablespoons / 85g, melted) — Essential for binding the crust. Using unsalted lets you control the flavor better.
- Cream cheese (24 ounces / 680g, softened) — Full-fat, block cream cheese is a must for that silky texture. I always leave it out to soften at room temperature for at least 30 minutes.
- Granulated sugar (1 cup / 200g) — Sweetens the cheesecake but not overly so. I’ve tried less sugar, but this is the perfect balance.
- Large eggs (3) — They help set the cheesecake without making it rubbery. Always use room temperature eggs for smooth mixing.
- Lemon zest (2 teaspoons, from about 2 lemons) — Fresh zest gives a bright, fragrant lift. Don’t use dried lemon peel—it’s too bitter.
- Lemon juice (3 tablespoons / 45ml, freshly squeezed) — Adds that fresh tang that balances the richness.
- Vanilla extract (1 teaspoon) — Just a touch to round out the flavor.
- Sour cream (½ cup / 120ml) — Adds creaminess and a slight tang, making the texture even silkier.
- Fresh raspberries (1½ cups / 225g) — For swirling into the batter. Frozen won’t work as well because they release too much juice.
- Powdered sugar (2 tablespoons / 15g, optional) — Mix with raspberries to sweeten them slightly before swirling.
If you want to experiment, you can swap the raspberries for blueberries or blackberries, but fresh is key to keeping that clean, tangy flavor.
Equipment Needed
You don’t need any fancy gadgets for these lemon raspberry cheesecake bars. Here’s what I use every time:
- 9×13-inch baking pan — I line mine with parchment paper for easy lifting and clean edges. If you don’t have parchment, grease the pan really well.
- Mixing bowls — One large bowl for the cheesecake batter and a smaller one for the raspberry swirl mixture.
- Electric mixer
- Microplane or fine grater — For zesting the lemons. Fresh zest makes a big difference.
- Rubber spatula — Essential for scraping down the sides and folding in ingredients without overmixing.
- Measuring cups and spoons — Accuracy is key, especially with the lemon juice and zest.
- Small spoon or butter knife — For swirling the raspberries into the batter.
Optional but nice:
- Food processor — If you want to make your own graham cracker crumbs, but crushed crackers from a bag work just fine.
How to Make It: Step-by-Step
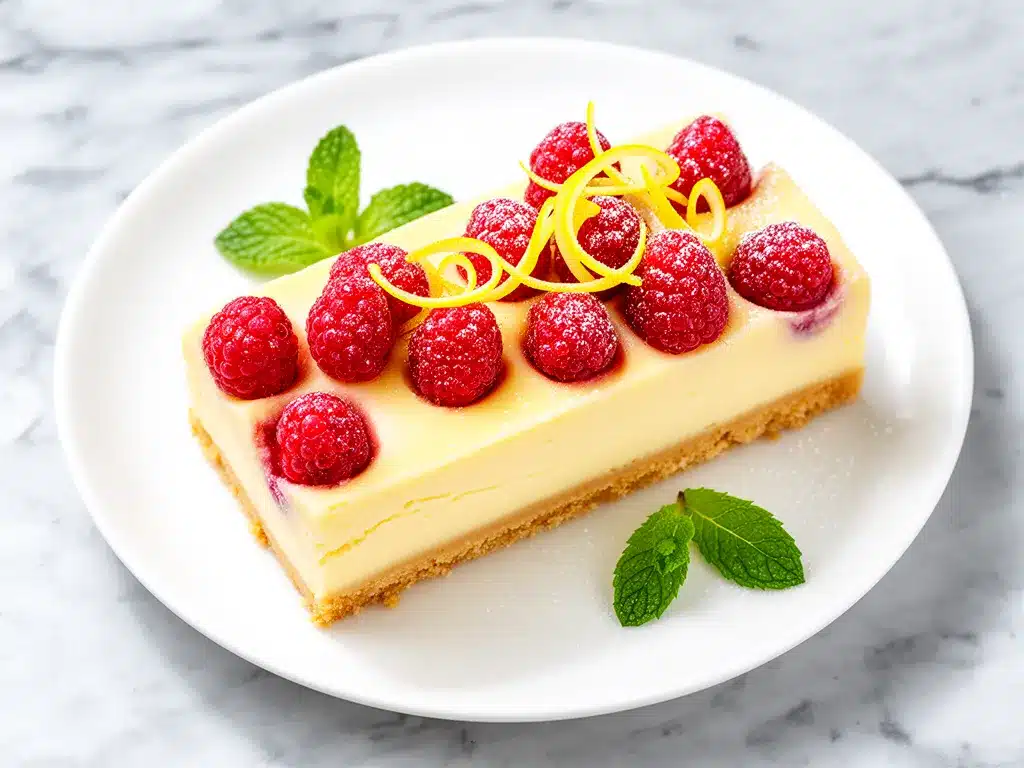
Alright, time to get to the good stuff! I’m walking you through exactly how I make these luscious lemon raspberry cheesecake bars, including the little tricks that make the texture silky and the swirl perfect.
Step 1: Prep Your Crust (10 minutes)
Preheat your oven to 350°F (175°C). In a medium bowl, combine the graham cracker crumbs and melted butter. Stir until the crumbs are evenly coated and feel like wet sand. Press the mixture firmly and evenly into the bottom of your lined 9×13-inch pan. I use the bottom of a measuring cup to really pack it down tight—it helps the crust hold together after baking.
Bake the crust for 8-10 minutes until it’s lightly golden and fragrant. This toasting step prevents sogginess once the cheesecake batter goes on. Let it cool while you make the filling.
Step 2: Make the Cheesecake Batter (15 minutes)
In a large mixing bowl, beat the softened cream cheese with an electric mixer on medium speed until smooth and creamy—no lumps! Add the granulated sugar and beat again until combined. Scrape down the sides with a spatula to make sure everything is mixed evenly.
Add the eggs, one at a time, beating just until combined after each. Overmixing here can make the cheesecake dense, so keep it gentle. Next, add the lemon zest, lemon juice, vanilla extract, and sour cream. Beat on low speed until smooth and well combined, scraping down the bowl as needed. The batter should be silky and pourable.
Step 3: Prepare the Raspberry Swirl (5 minutes)
Gently toss the fresh raspberries with powdered sugar in a small bowl. This sweetens them just enough without overpowering their natural tartness. Using a fork or potato masher, lightly mash the raspberries to release some juice but keep some chunks for texture.
Step 4: Assemble and Swirl (5 minutes)
Pour the cheesecake batter evenly over the cooled crust. Dollop spoonfuls of the raspberry mixture over the batter. Using a butter knife or skewer, swirl the raspberries through the batter in a figure-eight pattern or gentle circles, creating pretty marbled ribbons. Don’t over-swirl—the goal is pretty streaks, not a fully pink batter.
Step 5: Bake (30-35 minutes)
Bake the bars at 350°F (175°C) for 30-35 minutes. The edges should be set and slightly puffed, but the center will still have a slight jiggle when you gently shake the pan. This ensures a creamy, silky center instead of a dry, cakey one.
Turn off the oven, leave the door slightly ajar, and let the bars cool inside for 30 minutes. This gentle cooling helps prevent cracks.
Step 6: Chill and Serve (4+ hours)
Remove the bars from the oven and let them cool completely at room temperature, then transfer to the fridge for at least 4 hours or overnight. This chilling step is key for the bars to firm up and develop that luscious cheesecake texture.
When ready to serve, lift the bars out using the parchment paper and slice into squares with a sharp knife. Clean the knife between cuts for clean edges.
Expert Tips & Tricks
- Softened Cream Cheese Is Non-Negotiable: Cold cream cheese leads to lumps. Plan ahead and take it out 30-60 minutes before starting.
- Don’t Overmix the Batter: Once you add eggs, mix just until combined to keep the texture light and silky.
- Swirl Gently: Over-swizzling the raspberry puree can bleed the color and flatten the pretty marbling effect. Less is more.
- Use Fresh Lemons: Bottled lemon juice lacks brightness and zest aroma. Fresh juice and zest make all the difference.
- Chill Overnight: I know it’s tempting to dig in right away, but chilling really improves texture and flavor.
- Cut with a Warm Knife: Run your knife under hot water and dry it before slicing for smooth, clean cuts every time.
- Crust Fix: If your crust feels crumbly after baking, press it firmly before baking and don’t skip the butter.
Variations & Substitutions
Once you have this basic recipe down, feel free to get creative! Here are some of my favorite variations I’ve tested:
- Blueberry Lemon Bars: Swap raspberries for fresh blueberries and use lemon zest and juice as usual. Blueberries hold up beautifully and add a subtle sweetness.
- Chocolate Swirl: Add ¼ cup melted dark chocolate to the batter and swirl it alongside the raspberries for a decadent twist.
- Coconut Crust: Replace half the graham cracker crumbs with shredded coconut for extra texture and flavor.
- Gluten-Free: Use gluten-free graham crackers or almond flour for the crust. I’ve done this and the bars still come out silky and delicious.
- Vegan-Friendly: Substitute cream cheese with vegan cream cheese, use a flax egg (1 tbsp flaxseed meal + 3 tbsp water) instead of eggs, and coconut yogurt instead of sour cream. The texture is a bit different but still creamy and satisfying.
- Extra Tart: Add 1 tablespoon of lemon juice extra or fold in a teaspoon of lemon extract to amp up the zing.
Serving & Storage
I usually serve these bars chilled straight from the fridge, sometimes with a dusting of powdered sugar or a few fresh raspberries on top for presentation. They’re perfect for afternoon tea, picnics, or as a light dessert after dinner.
Storage:
- Refrigerator: Store leftovers in an airtight container for up to 5 days. The flavor actually deepens over time.
- Freezing: These bars freeze well. Wrap tightly and freeze for up to 2 months. Thaw overnight in the fridge before serving.
- Transport: The sturdy crust and chilled filling make these bars great for potlucks and picnics. Just keep them chilled until serving.
Nutrition Information
Not that I’m counting every bite, but here’s a rough estimate per serving (based on 12 bars):
| Nutrient | Amount |
|---|---|
| Calories | 320 |
| Protein | 6g |
| Carbohydrates | 28g |
| Fiber | 2g |
| Sugar | 18g |
| Fat | 21g |
| Saturated Fat | 12g |
| Cholesterol | 75mg |
| Sodium | 210mg |
| Calcium | 150mg |
This dessert is definitely indulgent, thanks to the cream cheese and butter, but it also offers a good dose of protein and calcium. Plus, the fresh fruit adds a bit of natural sweetness and vitamins. For a lighter option, try swapping sour cream for Greek yogurt or reducing the sugar slightly.
Final Thoughts
So that’s my recipe for lemon raspberry cheesecake bars with a silky texture your whole family will crave. I probably rambled more than I intended, but after making these bars over and over, I have a lot to say! They’ve saved me on more than one occasion when I needed a dessert that felt special but didn’t require hours in the kitchen.
These bars have become a staple at family gatherings, and I love that they’re easy enough to whip up on a weeknight yet fancy enough to impress guests. Don’t be afraid to make this recipe yours—add extra raspberries, experiment with different citrus, or try the variations I mentioned. The best desserts are the ones tailored to your tastes.
If you make these, please drop a comment and tell me how they turned out! I’m always here to troubleshoot or swap tips. Happy baking, and may your kitchen smell as bright and fresh as mine does right now.
Frequently Asked Questions
Q: Can I use frozen raspberries instead of fresh?
A: I wouldn’t recommend it for this recipe. Frozen raspberries release a lot of juice and can make the batter watery, ruining the texture and swirl effect. If you only have frozen, thaw and drain them very well, then use sparingly.
Q: Why did my cheesecake bars crack on top?
A: Cracking usually happens if you overbake or the oven temperature is too high. Also, rapid cooling can cause cracks. Try baking until just set with a jiggle in the center, then cool gradually with the oven door slightly open.
Q: Can I substitute Greek yogurt for sour cream?
A: Yes! Greek yogurt works well and adds a nice tang. Use the same amount. It might make the bars a bit lighter but still creamy.
Q: How do I get clean slices without the bars sticking to the knife?
A: Run a sharp knife under hot water, dry it quickly, and slice. Wipe the knife clean and reheat between cuts for perfect edges every time.
Q: Can I make this recipe dairy-free?
A: You can try using dairy-free cream cheese and coconut yogurt in place of sour cream. The texture will be slightly different but still delicious. Use a dairy-free butter substitute for the crust too.
Q: How long do leftover cheesecake bars last?
A: Stored in an airtight container in the fridge, they keep well for up to 5 days. I don’t recommend leaving them out at room temperature for long because of the cream cheese.
Q: Can I double the recipe?
A: Absolutely! Use a larger pan, like a 9×15-inch, and adjust baking time slightly. Keep an eye on the center—it might need a few extra minutes.
By the way, if you love desserts with a creamy texture, you might enjoy my creamy chocolate mousse recipe or these easy no-bake lemon bars—both are favorites around here!
Pin This Recipe!
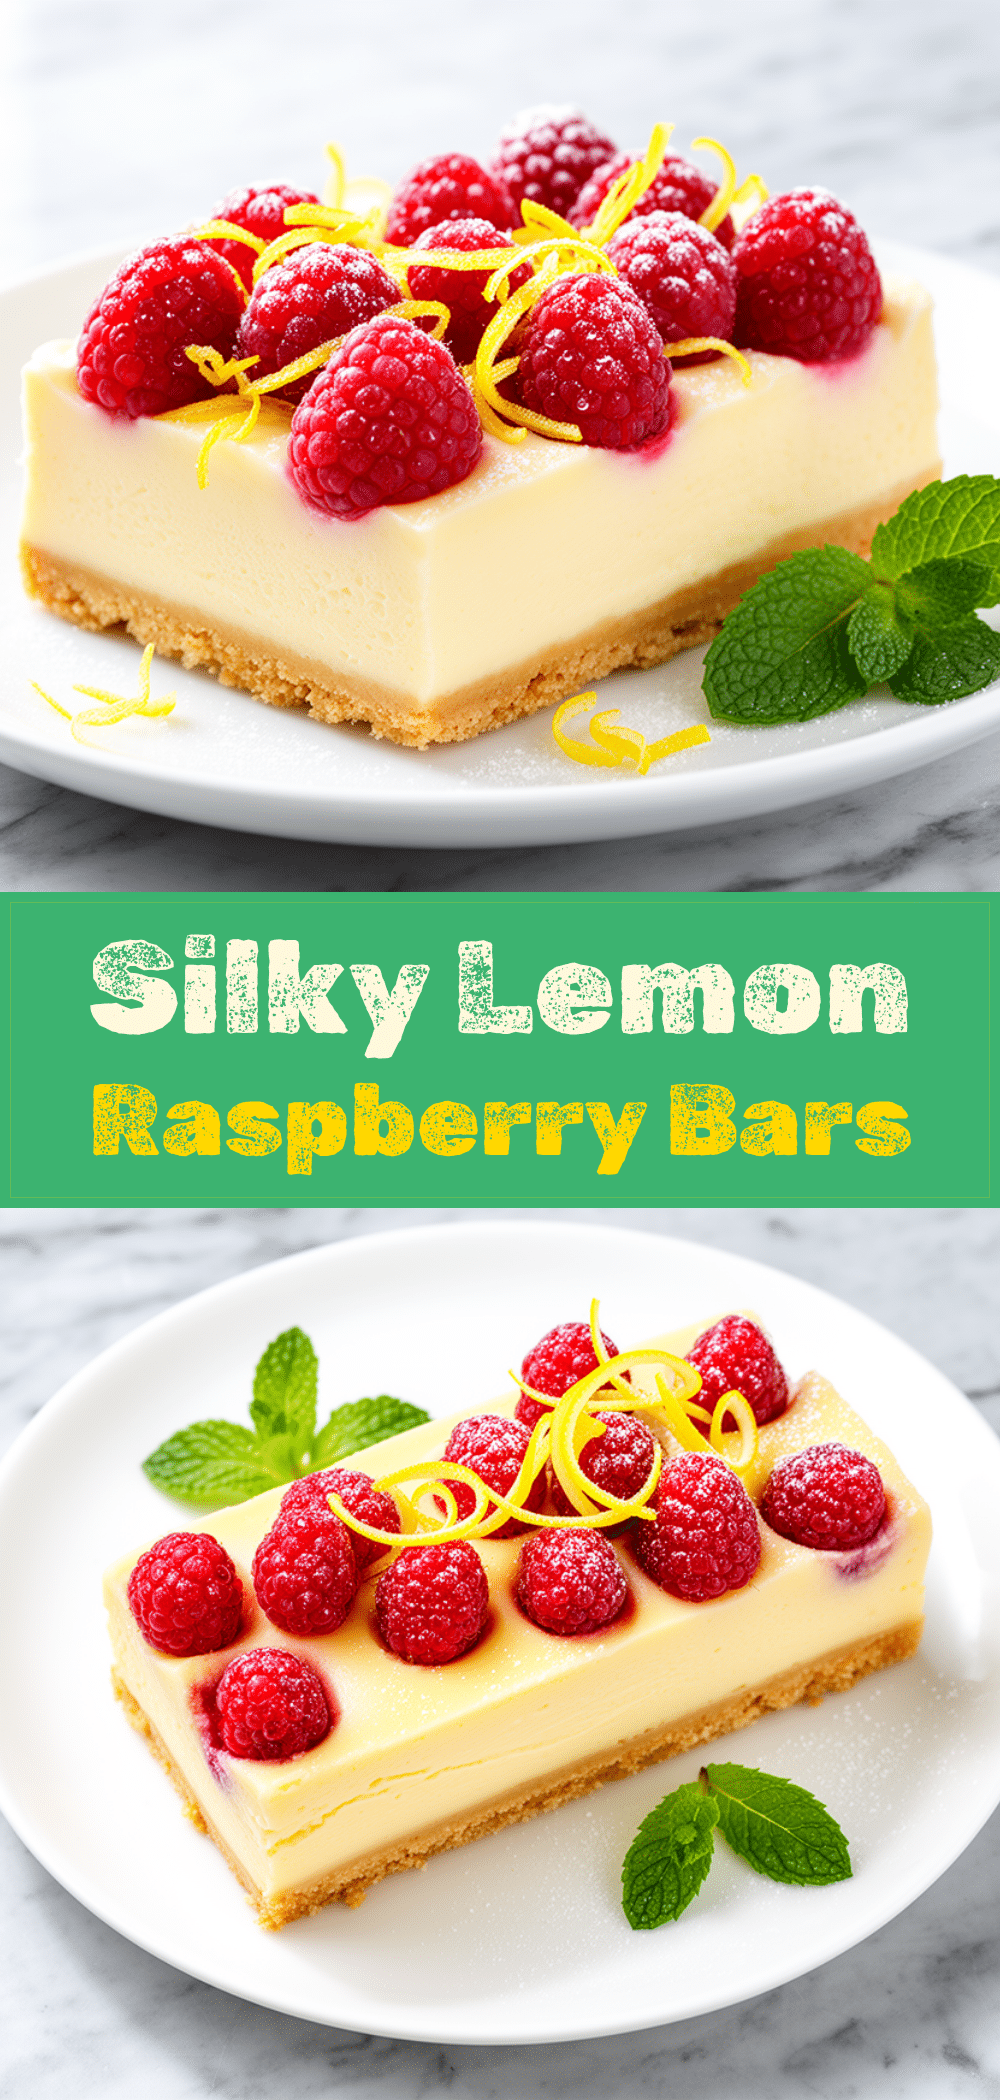
Lemon Raspberry Cheesecake Bars
- Total Time: 5 hours
- Yield: 12 servings 1x
Description
These lemon raspberry cheesecake bars feature a silky smooth texture with bright, balanced flavors of tart raspberries and zesty lemon. Easy to make and perfect for any occasion, they are a crowd-pleasing dessert with a creamy, luscious finish.
Ingredients
- 1½ cups graham cracker crumbs (150g)
- 6 tablespoons unsalted butter, melted (85g)
- 24 ounces cream cheese, softened (680g)
- 1 cup granulated sugar (200g)
- 3 large eggs
- 2 teaspoons lemon zest (from about 2 lemons)
- 3 tablespoons lemon juice, freshly squeezed (45ml)
- 1 teaspoon vanilla extract
- ½ cup sour cream (120ml)
- 1½ cups fresh raspberries (225g)
- 2 tablespoons powdered sugar (optional, 15g)
Instructions
- Preheat oven to 350°F (175°C). In a medium bowl, combine graham cracker crumbs and melted butter. Stir until crumbs are evenly coated and feel like wet sand. Press mixture firmly and evenly into the bottom of a lined 9×13-inch baking pan. Bake crust for 8-10 minutes until lightly golden and fragrant. Let cool.
- In a large mixing bowl, beat softened cream cheese with an electric mixer on medium speed until smooth and creamy. Add granulated sugar and beat until combined. Scrape down sides.
- Add eggs one at a time, beating just until combined after each. Add lemon zest, lemon juice, vanilla extract, and sour cream. Beat on low speed until smooth and well combined, scraping down bowl as needed.
- In a small bowl, gently toss fresh raspberries with powdered sugar. Lightly mash raspberries with a fork or potato masher to release some juice but keep chunks.
- Pour cheesecake batter evenly over cooled crust. Dollop spoonfuls of raspberry mixture over batter. Using a butter knife or skewer, swirl raspberries through batter in figure-eight or gentle circles to create marbled ribbons. Avoid over-swizzling.
- Bake bars at 350°F (175°C) for 30-35 minutes until edges are set and slightly puffed but center still jiggles slightly. Turn off oven, leave door slightly ajar, and cool bars inside for 30 minutes.
- Remove bars from oven and cool completely at room temperature. Transfer to refrigerator and chill for at least 4 hours or overnight.
- Lift bars out using parchment paper and slice into squares with a sharp knife. Clean knife between cuts for clean edges.
Notes
[‘Use softened cream cheese at room temperature to avoid lumps.’, ‘Do not overmix after adding eggs to keep texture light and silky.’, ‘Swirl raspberry puree gently to maintain pretty marbling effect.’, ‘Use fresh lemon zest and juice for best flavor.’, ‘Chill bars overnight for best texture and flavor.’, ‘Run a sharp knife under hot water and dry before slicing for clean cuts.’, ‘Press crust firmly before baking to prevent crumbliness.’]
- Prep Time: 15 minutes
- Cook Time: 40 minutes
- Category: Dessert
- Cuisine: American
Nutrition
- Serving Size: 1 bar (1/12th of rec
- Calories: 320
- Sugar: 18
- Sodium: 210
- Fat: 21
- Saturated Fat: 12
- Carbohydrates: 28
- Fiber: 2
- Protein: 6
Keywords: lemon raspberry cheesecake bars, cheesecake bars, lemon dessert, raspberry dessert, creamy cheesecake, easy cheesecake bars, spring dessert, potluck dessert



