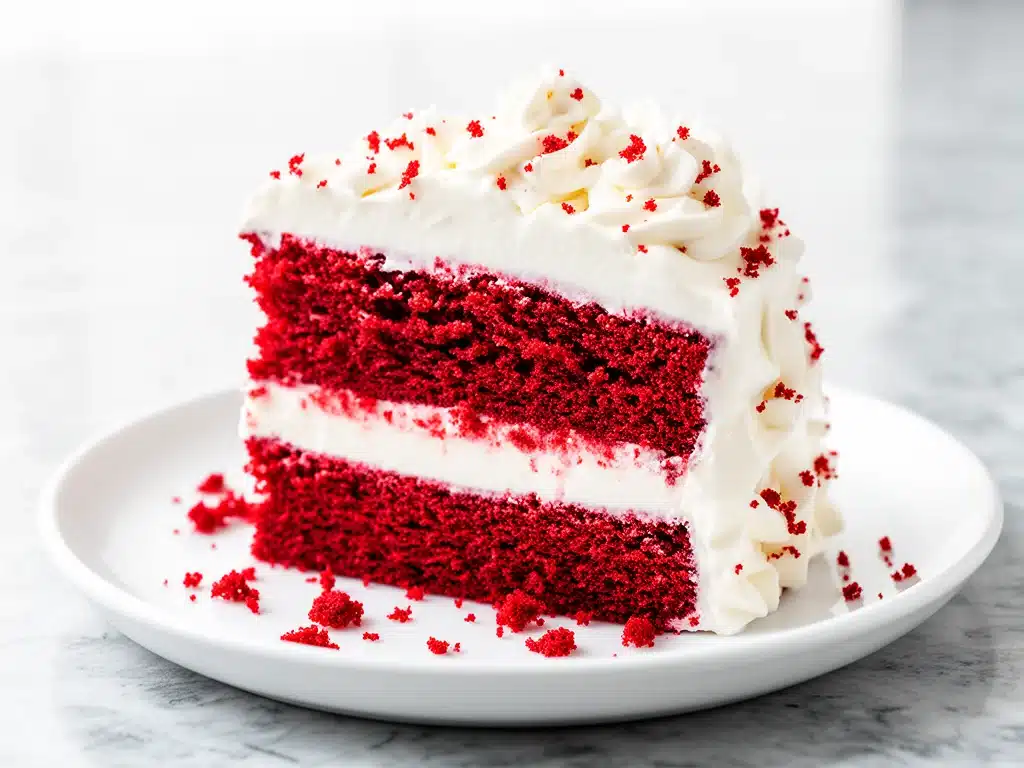
The first time I baked this red velvet cake with whipped cream cheese frosting, it wasn’t for a special occasion. Honestly, it was a last-minute save because I’d promised my niece a cake for her birthday and completely forgot to order one. I was scrambling through the pantry late at night, trying to find something impressive but doable. After a few experiments—and a couple of near disasters—I landed on this recipe that quickly became the “everyone always asks for it” cake in my family.
What makes this red velvet cake different? For starters, the frosting isn’t your typical dense cream cheese spread; it’s whipped to airy perfection, light enough to balance the rich, tender crumb. I’ve tested this recipe over 20 times, tweaking the batter and frosting until it was just right. The result is a vibrant, moist cake that tastes like a celebration in every bite.
Since that night, this red velvet cake with whipped cream cheese frosting has been requested for birthdays, anniversaries, potlucks—you name it. It’s the kind of recipe you’ll want to keep in your back pocket because it’s reliably delicious and surprisingly simple once you know the tricks. Plus, the frosting is a game changer—a fluffy, tangy cloud that smothers each slice and keeps everyone coming back for more.
Why You’ll Love This Recipe
There are so many reasons this red velvet cake with whipped cream cheese frosting has earned its loyal fan base. Here are the big ones:
- Perfect Texture: The cake is moist and tender with just a slight crumb that melts in your mouth. I’ve burned this cake twice before I got the balance right between cocoa and buttermilk, so trust me—it’s worth it.
- Whipped Frosting Magic: Unlike traditional cream cheese frosting, this one’s whipped to lightness, making it less sweet and heavy. It’s the frosting that even those who usually shy away from cream cheese frosting ask for seconds of.
- Striking Color: That classic deep red isn’t just for show—it’s subtle and natural, with just enough cocoa to deepen the flavor without overpowering the delicate tang of the buttermilk.
- Reliable for Any Occasion: I’ve made this for family gatherings, office parties, and casual weekend treats. It’s the cake that impresses without stress.
- Easy to Customize: Want to make cupcakes or a sheet cake? This batter is forgiving and flexible. I even swapped out the standard frosting for a chocolate ganache once, and it was a hit.
This recipe is my go-to when I want a dessert that feels fancy but doesn’t require me to clear my whole day for baking. It’s the cake everyone always asks for, and once you try it, you’ll understand why.
Ingredients You’ll Need
Here’s the thing: you probably have most of these ingredients in your kitchen already. But I’m picky about a few, and I’ll tell you why as we go.
For the Cake:
- All-purpose flour (2 ½ cups / 315g) — The backbone of the cake. I never use self-rising here because the balance of baking soda and vinegar creates the lift.
- Cocoa powder (1 ½ tablespoons / 11g) — Use natural unsweetened cocoa powder, not Dutch-processed. It gives that subtle chocolate flavor and reacts perfectly with the vinegar.
- Baking soda (1 teaspoon / 5g) — The leavening agent that works with vinegar to make the cake tender and light.
- Salt (½ teaspoon / 3g) — Balances the sweetness and enhances flavor. I use fine sea salt.
- Granulated sugar (1 ½ cups / 300g) — Sweetens the cake without overpowering. I use regular white sugar; brown sugar changes the texture.
- Vegetable oil (1 cup / 240ml) — Keeps the cake moist and tender. I prefer neutral oils like canola or sunflower.
- Eggs (3 large) — Room temperature eggs help bind everything and add richness.
- Buttermilk (1 cup / 240ml) — The star of the show for moisture and that classic tang. If you don’t have buttermilk, mix 1 cup milk with 1 tablespoon vinegar or lemon juice and let sit for 5 minutes.
- White vinegar (1 tablespoon / 15ml) — Reacts with baking soda to give the cake lift and a tender crumb.
- Vanilla extract (2 teaspoons / 10ml) — Adds warmth and enhances the cocoa flavor.
- Red food coloring (2 tablespoons / 30ml) — The iconic red hue. I use gel coloring for vibrant color without adding too much liquid.
For the Whipped Cream Cheese Frosting:
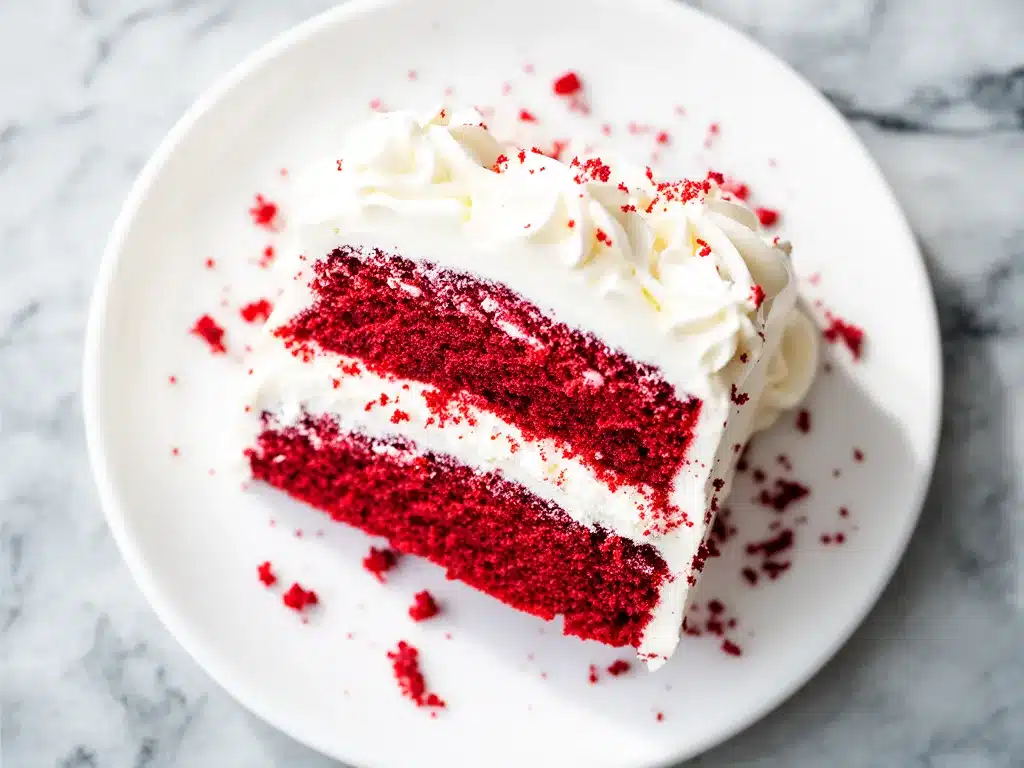
- Cream cheese (8 ounces / 225g, softened) — Use full-fat for the best flavor and texture. I always let it sit out for at least an hour.
- Unsalted butter (½ cup / 115g, softened) — Adds richness and helps achieve that fluffy texture.
- Powdered sugar (3 cups / 360g, sifted) — Sweetens the frosting smoothly without grit.
- Vanilla extract (1 teaspoon / 5ml) — A little extra warmth and depth.
- Heavy cream (2-3 tablespoons / 30-45ml) — Whipped into the frosting to lighten it up and make it spreadable.
Equipment Needed
You don’t need fancy gadgets for this. Here’s what I actually use:
- Two 9-inch round cake pans — I use non-stick, but you can also line pans with parchment paper if you’re worried about sticking.
- Electric mixer — Stand or hand mixer works. You’ll want this for whipping the frosting to the right texture.
- Mixing bowls — At least two: one for dry ingredients and one for wet.
- Measuring cups and spoons — Accurate measurements make a huge difference here.
- Rubber spatula — For folding the batter gently.
- Wire rack — To cool the cakes evenly and prevent sogginess.
- Offset spatula or butter knife — For spreading that luscious frosting smoothly.
How to Make It: Step-by-Step
Step 1: Prep Your Pans and Ingredients (10 minutes)
Preheat your oven to 350°F (175°C). Grease two 9-inch round pans with butter or non-stick spray, then lightly dust with flour or line with parchment circles. This prevents sticking and helps with a clean release.
Measure all ingredients carefully. I like to sift the flour, cocoa powder, baking soda, and salt together into a bowl—that keeps everything evenly mixed and aerated.
Step 2: Mix Dry Ingredients (2 minutes)
In a large bowl, sift together the flour, cocoa powder, baking soda, and salt. Give them a gentle whisk to combine, then set aside.
Step 3: Combine Wet Ingredients (5 minutes)
In another bowl, whisk the sugar and vegetable oil until well combined. Add the eggs, one at a time, beating well after each addition. Stir in the vanilla extract and red food coloring.
Next, alternate adding the dry ingredients and buttermilk, starting and ending with the dry. Mix on low speed just until combined—don’t overmix or your cake will be dense.
Finally, stir in the white vinegar. You’ll see the batter bubble a bit—that’s the reaction that gives this cake its tender crumb.
Step 4: Bake the Cake (30-35 minutes)
Divide the batter evenly between the two pans and smooth the tops. Pop them in the oven for about 30-35 minutes. Use a toothpick to test doneness—it should come out with a few moist crumbs but no wet batter.
Once baked, let the cakes cool in their pans for 10 minutes, then turn them out onto wire racks to cool completely. Don’t even think about frosting while the cakes are warm—it’ll melt and get messy.
Step 5: Make the Whipped Cream Cheese Frosting (10 minutes)
In a large mixing bowl, beat the softened cream cheese and butter together on medium speed until smooth and creamy—about 2-3 minutes.
Gradually add the sifted powdered sugar, beating on low to avoid a sugar cloud. Once combined, add the vanilla extract.
Increase the speed to high and whip for 2-3 minutes until light and fluffy. Finally, add the heavy cream a tablespoon at a time, whipping until the frosting reaches a spreadable, airy consistency.
Step 6: Assemble the Cake (10 minutes)
Place one cake layer on your serving plate. Spread a generous layer of frosting over the top (about one-third of your frosting). Stack the second layer on top, then cover the entire cake with the remaining frosting, smoothing it with an offset spatula.
If you want, garnish with fresh berries, crushed nuts, or a light dusting of cocoa powder. But honestly, this cake looks stunning all on its own.
Step 7: Chill and Serve
Pop the cake in the fridge for at least 30 minutes to let the frosting set. This makes slicing cleaner and keeps the frosting from getting too soft. Bring it back to room temperature about 20 minutes before serving so the cake and frosting are perfectly tender.
Expert Tips & Tricks
- Use Gel Food Coloring: Liquid food coloring can thin your batter and affect texture. Gel coloring gives that vivid red without messing with the batter’s consistency.
- Don’t Overmix: Once you add the flour, mix just enough for it to disappear. Overmixing develops gluten and makes the cake tough.
- Whip the Frosting Well: This is what sets this frosting apart. Take your time whipping the cream cheese, butter, and sugar until it’s fluffy—patience pays off.
- Room Temperature Ingredients: This matters especially for cream cheese and eggs. Cold ingredients can cause lumps in your batter and frosting.
- Test Your Oven: Every oven bakes differently. Start checking your cake at 30 minutes to avoid overbaking, which dries it out.
- Save Cake Scraps: If you have leftover crumbs, mix them with a bit of frosting and roll into balls for a quick cake pop treat.
Variations & Substitutions
Once you’ve nailed this classic, here’s how to make it your own:
- Chocolate Lovers: Add ½ cup mini chocolate chips to the batter for a decadent surprise.
- Vegan Version: Use vegan cream cheese and butter substitutes, flax eggs (3 tablespoons ground flaxseed + 9 tablespoons water), and plant-based milk with vinegar instead of buttermilk.
- Gluten-Free: Swap the flour for a 1-to-1 gluten-free baking blend. Sometimes you’ll need an extra egg or bit more liquid to get the same texture.
- Layer Cake to Cupcakes: Bake this batter in lined muffin tins for about 20 minutes for delicious red velvet cupcakes with whipped cream cheese frosting.
- Fruity Twist: Fold in ½ cup finely chopped fresh raspberries or strawberries to the batter for a subtle fruitiness.
Serving & Storage
This red velvet cake with whipped cream cheese frosting is best served at room temperature. I usually slice it up and serve with a cup of strong coffee or a glass of cold milk. For celebrations, it’s a showstopper that everyone seems to love.
Leftovers keep well in the fridge for up to 4 days, stored in an airtight container. The frosting firms up when chilled, so I recommend letting slices sit at room temperature for 20-30 minutes before eating.
When reheating, don’t microwave! Instead, bring to room temperature gently. If you want to make this in advance, bake the cake layers a day ahead and store wrapped tightly. Make the frosting and assemble the day of for the best texture.
Heads up: this cake doesn’t freeze well because the whipped frosting loses its lightness when thawed.
Nutrition Information
| Nutrient | Per Serving (1/12th cake) |
|---|---|
| Calories | 370 |
| Protein | 5g |
| Carbohydrates | 48g |
| Fat | 18g |
| Saturated Fat | 9g |
| Sugar | 35g |
| Cholesterol | 65mg |
| Sodium | 320mg |
Look, this isn’t a diet recipe—it’s indulgent and worth every bite. But it’s homemade, so you know exactly what’s in it. If you want to lighten it up, try using less sugar or swapping some oil for applesauce, but honestly, sometimes you just want a proper slice of red velvet cake.
Final Thoughts
So that’s the red velvet cake with whipped cream cheese frosting everyone always asks for! I’ve probably shared too many details, but when you bake this cake as often as I do, you pick up the little secrets that make it shine.
This cake has saved birthdays, potlucks, and last-minute dinner party desserts more times than I can count. It’s easy enough for a weeknight treat, yet elegant enough to impress guests. My family loves it, and I love that it’s reliable and forgiving.
Don’t be afraid to make it your own. Add more frosting, try a different shape, or experiment with mix-ins. The best part about this red velvet cake is how adaptable it is.
If you give it a try, leave a comment and tell me how it went! I’m always here to help if something doesn’t turn out right or you want to tweak it for your tastes.
Happy baking! And may your kitchen smell like vanilla, cocoa, and love.
Frequently Asked Questions
Q: Can I use milk instead of buttermilk?
A: You can, but the cake won’t be quite as tender or tangy. To mimic buttermilk, stir 1 tablespoon of white vinegar or lemon juice into 1 cup of milk and let it sit for 5 minutes before using. This reaction is important to get that classic red velvet texture.
Q: Why is my red velvet cake turning out dry?
A: Dry cake usually means it was overbaked or the oven temperature is too high. Start checking the cake at 30 minutes and remove it as soon as a toothpick comes out clean with a few moist crumbs. Also, make sure you measure flour correctly—too much flour can dry out the batter.
Q: Can I make the frosting ahead of time?
A: Yes! You can whip the frosting and store it in an airtight container in the fridge for up to 2 days. Before frosting, let it sit at room temperature for 30 minutes and give it a quick whip to bring back the light texture.
Q: My frosting turned out runny—what happened?
A: This usually means the cream cheese or butter was too warm or you added too much heavy cream. Make sure your ingredients are just softened, not melted. If it’s runny, chill the frosting for 15-20 minutes and then whip again.
Q: Can I use a different type of frosting?
A: Absolutely! A classic buttercream or chocolate ganache pairs beautifully with red velvet cake. I sometimes use chocolate ganache when I want a richer finish.
Q: How do I store leftover cake?
A: Keep leftovers in the fridge in an airtight container for up to 4 days. Let slices come to room temperature before serving for the best flavor and texture.
Q: Can I double this recipe for a larger cake?
A: Yes, just double all ingredients and bake in larger pans or multiple pans. Keep an eye on baking time—it might take a bit longer for thicker cakes.
Pin This Recipe!
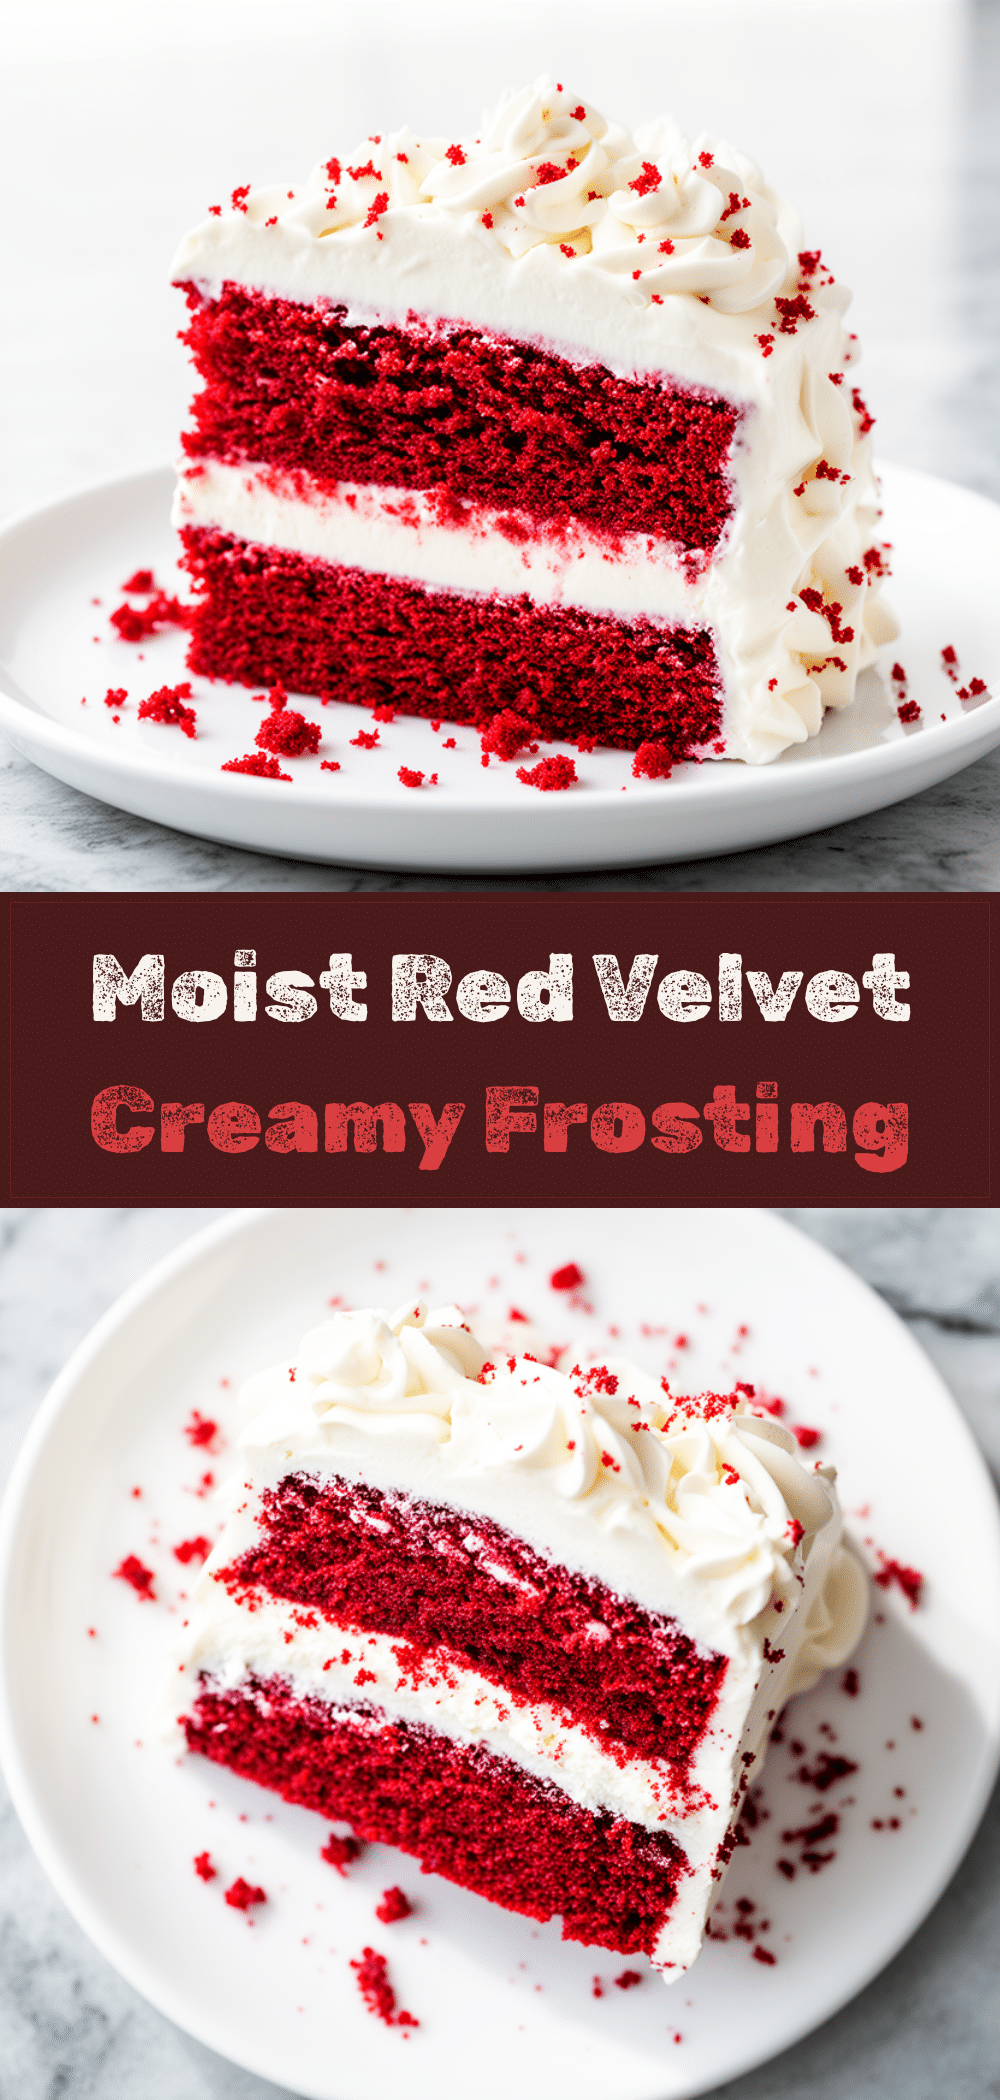
Red Velvet Cake with Whipped Cream Cheese Frosting
- Total Time: 57-62 minutes
- Yield: 12 servings 1x
Description
A moist and tender red velvet cake with a light, whipped cream cheese frosting that balances richness with airy sweetness. Perfect for birthdays, celebrations, and any occasion.
Ingredients
- 2 ½ cups (315g) all-purpose flour
- 1 ½ tablespoons (11g) natural unsweetened cocoa powder
- 1 teaspoon (5g) baking soda
- ½ teaspoon (3g) fine sea salt
- 1 ½ cups (300g) granulated sugar
- 1 cup (240ml) vegetable oil (canola or sunflower preferred)
- 3 large eggs, room temperature
- 1 cup (240ml) buttermilk (or 1 cup milk + 1 tablespoon vinegar/lemon juice, let sit 5 minutes)
- 1 tablespoon (15ml) white vinegar
- 2 teaspoons (10ml) vanilla extract
- 2 tablespoons (30ml) red gel food coloring
- 8 ounces (225g) cream cheese, softened
- ½ cup (115g) unsalted butter, softened
- 3 cups (360g) powdered sugar, sifted
- 1 teaspoon (5ml) vanilla extract
- 2–3 tablespoons (30-45ml) heavy cream
Instructions
- Preheat oven to 350°F (175°C). Grease two 9-inch round cake pans with butter or non-stick spray and dust with flour or line with parchment circles.
- Sift together flour, cocoa powder, baking soda, and salt in a large bowl. Whisk gently to combine and set aside.
- In another bowl, whisk sugar and vegetable oil until combined. Add eggs one at a time, beating well after each addition. Stir in vanilla extract and red food coloring.
- Alternate adding dry ingredients and buttermilk to the wet mixture, starting and ending with dry ingredients. Mix on low speed just until combined. Stir in white vinegar; batter will bubble.
- Divide batter evenly between pans and smooth tops. Bake 30-35 minutes or until a toothpick inserted comes out with a few moist crumbs.
- Cool cakes in pans for 10 minutes, then turn out onto wire racks to cool completely.
- For frosting, beat cream cheese and butter on medium speed until smooth (2-3 minutes). Gradually add powdered sugar on low speed. Add vanilla extract.
- Increase mixer speed to high and whip frosting 2-3 minutes until light and fluffy. Add heavy cream tablespoon by tablespoon, whipping until spreadable and airy.
- Place one cake layer on serving plate. Spread about one-third of frosting over top. Stack second layer and cover entire cake with remaining frosting, smoothing with offset spatula.
- Optional: garnish with fresh berries, crushed nuts, or dust with cocoa powder.
- Chill cake in fridge at least 30 minutes to set frosting. Bring to room temperature about 20 minutes before serving.
Notes
[‘Use gel food coloring for vibrant red without thinning batter.’, ‘Do not overmix batter to avoid tough cake.’, ‘Whip frosting thoroughly for light, fluffy texture.’, ‘Use room temperature eggs and cream cheese for best results.’, ‘Check cake doneness starting at 30 minutes to prevent dryness.’, ‘Leftover crumbs can be mixed with frosting to make cake pops.’, ‘Frosting can be made ahead and stored in fridge up to 2 days; rewhip before use.’, ‘Cake is best served at room temperature; chill frosting to set but allow slices to warm before serving.’, ‘Does not freeze well due to whipped frosting texture.’]
- Prep Time: 17 minutes
- Cook Time: 30-35 minutes
- Category: Dessert
- Cuisine: American
Nutrition
- Serving Size: 1 slice (1/12th of c
- Calories: 370
- Sugar: 35
- Sodium: 320
- Fat: 18
- Saturated Fat: 9
- Carbohydrates: 48
- Protein: 5
Keywords: red velvet cake, whipped cream cheese frosting, birthday cake, moist cake, easy red velvet, celebration cake



