Last Sunday, I stood in front of my open fridge, staring at a half-empty jar of hummus and a wilted bag of baby carrots. It was 6:30 PM on a Sunday, and I had already committed to cooking dinner for the week. The idea of stopping to prep a snack felt like too much. But then I remembered the bag of dried chickpeas sitting in my pantry from a chili recipe I’d made three weeks ago.
I didn’t have time to make hummus. But I had an air fryer. And I had 20 minutes.
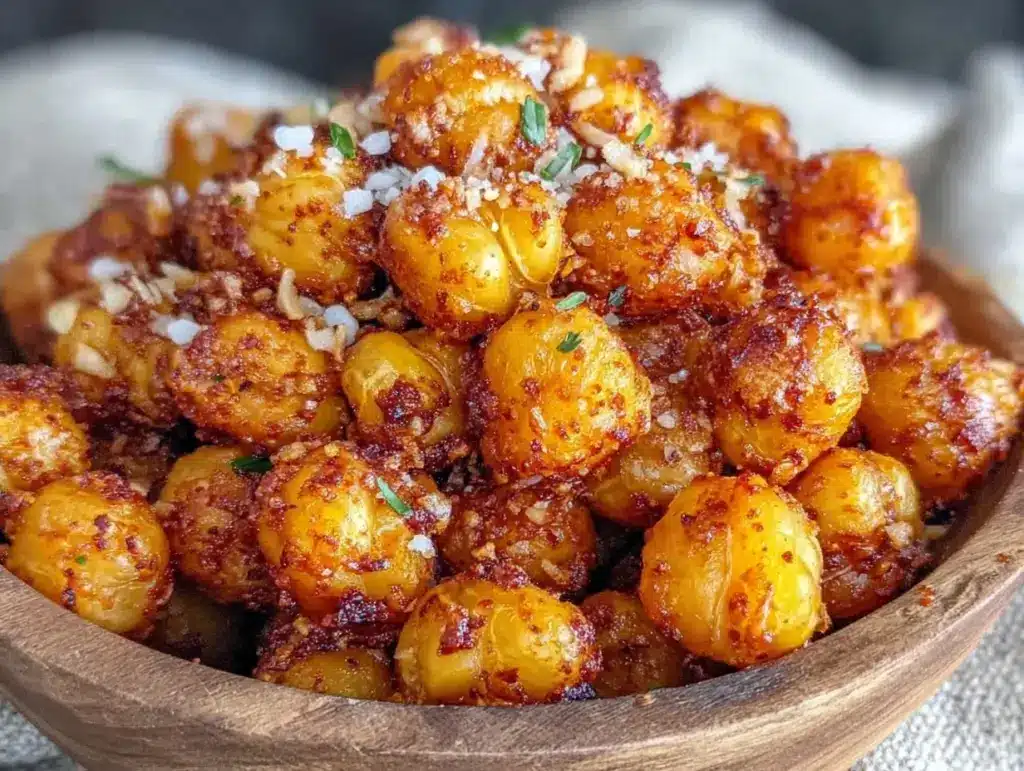
So I tossed those chickpeas with olive oil, smoked paprika, and garlic powder, cranked the air fryer to 390°F, and walked away. When I came back, they were crunchy, salty, and utterly addictive. I ate a whole bowl right out of the basket before I even started my meal prep. That was the moment everything clicked.
I’ve been meal prepping for five years, and I’ve tried every snack hack under the sun. I’ve made chewy trail mix granola bars that ended up too sticky. I’ve prepped honey cornbread muffins that got soggy by Wednesday. But air fryer chickpeas? They stay crisp. They hold up. And they are the single most efficient protein snack I’ve ever created.
This isn’t just a snack. It’s your “make it once, eat it four times this week” solution for afternoon cravings, lunchbox additions, and post-workout fuel. No baking. No frying in oil. Just dry, crunchy, perfectly seasoned chickpeas that keep for days. Let’s get into the method.
Why You’ll Love This Recipe
There are about ten reasons I keep making this batch every single Sunday, but here are the big ones that actually matter for your meal prep game.
Zero Oil Splatter, Maximum Crunch — Seriously, if you’ve ever deep-fried anything, you know the cleanup nightmare. The air fryer circulates hot air to crisp the skins without submerging them in oil. I use just one tablespoon of oil for two cans of chickpeas, and the result is restaurant-quality crunch with a fraction of the calories.
Meal Prep Friendly — These don’t go soggy in the fridge. Unlike roasted vegetables that turn to mush by day three, chickpeas retain their texture. I portion them into four small containers, and they’re still crunchy on Thursday night. That’s reliability.
Pantry Staple Power — You probably have chickpeas, olive oil, and spices already. I keep dried chickpeas on hand because they’re cheaper, but canned works fine if you’re short on time. This is a recipe you can throw together when you’re tired and still want something nutritious.
Protein-Packed Snack — Most snacks are just empty carbs. These chickpeas give you about 6-7 grams of protein per serving. That’s enough to keep you full between lunch and dinner, or to add to a salad for a quick boost. I pair them with my vegan pumpkin spice cold brew in the morning for a balanced start.
Customizable Flavor Profiles — One batch can be savory, one sweet, one spicy. I make one big batch of plain crunchy chickpeas and divide them into three bowls, tossing each with different seasoning blends. It feels like three different snacks for the price of one.
This is my go-to when I need to get ahead of my week. No complicated techniques, no weird ingredients, just reliable, crunchy food that makes snacking feel like part of the plan.
Ingredients You’ll Need
Here’s the best part: you probably have most of this already. I’m particular about the drying step, and I’ll tell you exactly why it matters.
Chickpeas (2 cans, 15 oz each / 425g each) — I use low-sodium canned chickpeas because I control the salt. Dried chickpeas work too, but you need to soak and cook them first (takes all day). For meal prep efficiency, canned is king. Drain and rinse them thoroughly.
Extra Virgin Olive Oil (1 tablespoon / 15ml) — You don’t need much. Just enough to coat. I use a light olive oil if I’m watching calories, but EVOO adds better flavor. Don’t skip the oil entirely, or they’ll taste dry.
Smoked Paprika (1 teaspoon / 3g) — This gives that deep, smoky flavor without heat. If you don’t have smoked paprika, regular paprika works, but it lacks that “roasted” depth. I buy a big jar because I use it for everything from maple bourbon glazed salmon to roasted veggies.
Garlic Powder (1 teaspoon / 2g) — Fresh garlic burns in the air fryer. Powder sticks to the surface and flavors evenly. Use the good stuff, not the dusty jar from 2019.
Onion Powder (½ teaspoon / 1g) — Adds savory backbone. Optional if you’re sensitive to onions, but I think it balances the smoke perfectly.
Salt (½ teaspoon / 3g) — Adjust to taste. If you used salted canned chickpeas, skip this or use less. Low-sodium chickpeas need the salt to taste good.
Black Pepper (¼ teaspoon / 0.5g) — Freshly cracked is best, but ground is fine. Adds a little bite.
Optional: Nutritional Yeast (1 tablespoon / 5g) — For a cheesy, nutty flavor without dairy. I add this to half my batch for a “cheesy” snack vibe.
Optional: Chili Powder or Cayenne (½ teaspoon) — If you like heat. Start small. You can always add more, but you can’t take it away.
Equipment Needed
You don’t need fancy equipment for this. Here’s what I actually use.
Air Fryer — I use a 5.8-quart basket style. It fits two cans comfortably in a single layer. If you have a smaller air fryer, you’ll need to cook in two batches. Don’t overcrowd the basket, or they’ll steam instead of crisp.
Cutting Board & Knife — For splitting any chickpeas that are still in pairs. This takes 2 minutes and ensures even cooking.
Paper Towels or Clean Kitchen Towel — Crucial for drying. Wet chickpeas = soggy chickpeas. I lay them out on a towel and pat them dry.
Small Mixing Bowls — Three small bowls if you’re doing multiple flavor profiles. Or one large bowl if you’re keeping it simple.
Measuring Spoons — Standard stuff. Dollar store versions work fine.
Storage Containers — Airtight glass or plastic containers for meal prep. I use four small containers, one for each day of the week.
Optional: Parchment Paper Liners — I don’t use them for chickpeas because air circulation is better without them. But if you hate cleaning your basket, go for it. Just know it might slow down crisping.
How to Make It: Step-by-Step
Alright, let’s make this! I’m walking you through exactly how I do it, including the little tricks I’ve picked up from making this dozens of times.
Step 1: Drain and Rinse (2 minutes)
Open your cans of chickpeas. Pour them into a colander and rinse them under cold water until the water runs clear. This removes the starchy canning liquid that makes them mushy. Shake off as much water as you can.
Step 2: Dry Them Thoroughly (5 minutes)
This is the most important step. Lay the chickpeas on a clean kitchen towel or paper towels. Pat them dry, then roll them around with the towel to remove surface moisture. I’ve made the mistake of skipping this, and the result was chewy, not crunchy. Wet chickpeas do not crisp. They steam. Be ruthless with the drying.
Step 3: Split Any Doubles (3 minutes)
Look through the chickpeas and split any that are still stuck together in pairs. Use your knife or fingers. This ensures they all cook evenly. It’s tedious, but it takes only three minutes and makes a huge difference in texture.
Step 4: Season and Toss (2 minutes)
Put the dried chickpeas in a large bowl. Drizzle with olive oil. Sprinkle with smoked paprika, garlic powder, onion powder, salt, and pepper. Toss well until every chickpea is coated. If you’re doing multiple flavors, divide the chickpeas into separate bowls first, then season each one differently.
Step 5: Air Fry (15-18 minutes)
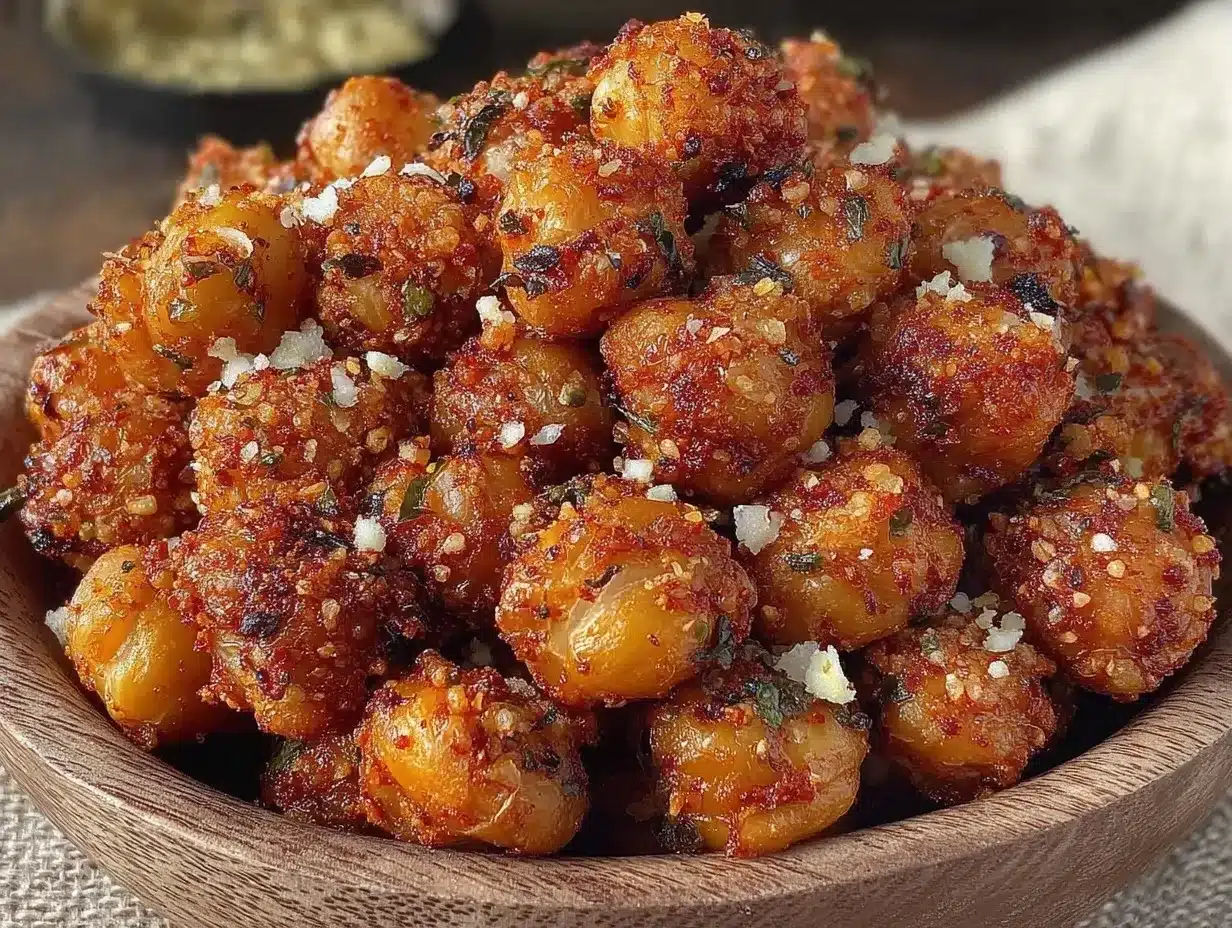
Preheat your air fryer to 390°F (200°C) for 3 minutes. Spread the chickpeas in a single layer in the basket. Do not overcrowd. Cook for 15-18 minutes, shaking the basket every 5 minutes. They’re done when they’re golden brown and sound hollow when you shake them. They’ll continue to crisp up as they cool.
Step 6: Cool Completely (10 minutes)
Transfer the chickpeas to a plate or cooling rack. Let them cool completely before storing. They might feel slightly soft when hot, but they crisp up as they cool. If you store them while warm, steam will build up and make them soggy.
Total Time: About 30 minutes (10 minutes active, 20 minutes mostly hands-off)
Expert Tips & Tricks
Here’s everything I’ve learned from making this dozens of times. These tips will save you from my mistakes.
Dryness is Key
I cannot stress this enough. If your chickpeas are wet, they won’t crisp. I’ve learned this the hard way with soggy, sad chickpeas that tasted like boiled beans. Now I pat them dry, then let them sit on a towel for 10 minutes before cooking. It’s worth the wait.
Don’t Overcrowd the Basket
Air needs to circulate. If you pile them up, the ones on the bottom steam instead of fry. Cook in batches if you have to. It takes longer, but the texture is worth it.
Season After Cooking (Optional)
Some people prefer to season after cooking so the spices don’t burn. I prefer seasoning before because the spices toast in the oil and develop deeper flavor. If you’re using delicate herbs like fresh parsley or cilantro, add those after cooking.
Check Early
Air fryers vary. Mine takes 15 minutes. Yours might take 18. Check at 15 minutes. They should be golden, not dark brown. Dark brown means burnt and bitter.
Cool Completely Before Storing
Warm chickpeas in a sealed container create condensation. Condensation makes them soggy. Let them cool to room temperature, then seal.
Variations & Substitutions
Once you’ve nailed the basic version, here’s how you can mix it up. I’ve tried all of these.
Spicy Kick
Add ½ teaspoon cayenne pepper and ½ teaspoon chili powder to the seasoning mix. This is my favorite when I want something with heat. Pairs well with a cold drink like my vegan pumpkin spice cold brew.
Cheesy (Vegan)
Add 1 tablespoon nutritional yeast to the seasoning. It adds a savory, cheesy flavor without dairy. Great for adding to salads or eating as a snack.
Sweet Cinnamon
Skip the savory spices. Use 1 tablespoon melted coconut oil, 1 tablespoon maple syrup, 1 teaspoon cinnamon, and a pinch of salt. These are like dessert chips. I eat these straight from the container.
Herb Garden
Use dried rosemary, thyme, and sage. Add these after cooking so they don’t burn. Drizzle with a little more olive oil after air frying to help the herbs stick.
Gluten-Free
Chickpeas are naturally gluten-free. Just make sure your spices are certified gluten-free if you’re sensitive. Most are, but cross-contamination happens.
Dairy-Free
This recipe is naturally dairy-free. No cheese, no butter. Just chickpeas and oil.
Serving & Storage
How to Serve:
I usually portion these into four small containers at the start of the week. One for Monday, one for Tuesday, etc. They’re great for:
- Snacking — Straight out of the container. Crunchy, salty, satisfying.
- Salad Topping — Adds crunch and protein to any salad. Better than croutons.
- Lunchbox Add-in — Great for kids’ lunches or office snacks.
- Trail Mix Base — Mix with nuts and dried fruit for a homemade trail mix.
Storage Instructions:
Refrigerator:
Store in an airtight container at room temperature for up to 5 days. I keep them in my pantry, but fridge is fine too. They stay crunchy for days.
Freezing:
Yes, you can freeze them. Store in a freezer-safe bag for up to 3 months. Thaw at room temperature. They might lose a little crunch, but they’re still good. I freeze extras for emergency snacks.
Reheating:
If they lose crunch, pop them in the air fryer at 350°F for 3-4 minutes. They’ll crisp right back up. Don’t microwave them—they’ll get chewy.
Nutrition Information
I’m not a nutritionist, but here’s the breakdown if you’re tracking. Per serving (based on 4 servings, ½ cup each):
| Nutrient | Amount |
|---|---|
| Calories | 180 |
| Protein | 8g |
| Carbs | 24g |
| Fiber | 7g |
| Sugar | 3g |
| Fat | 6g |
| Sodium | 350mg |
What’s Good:
High in fiber and protein. Low in sugar. No refined carbs. Great for blood sugar stability.
What to Know:
Contains sodium (adjust if needed). Moderate calories. High fiber (drink water!).
My Take:
Look, this is a snack. It’s not a meal replacement. But it’s way better than chips, costs less, and I know exactly what’s in it. When I want to make it lighter, I use less oil and more spices. But usually? I just eat a reasonable portion and enjoy it.
Final Thoughts
So that’s my air fryer chickpeas! I’ve probably talked your ear off at this point, but when you make a recipe this often, you have a lot to say about it.
This has saved my meal prep more times than I can count. It’s my answer to “what’s for a snack” when I’m tired, don’t want takeout, and still want something that tastes really good. My kids are happy, my husband’s happy, and I’m happy because I’m not stressed about cooking.
Make it yours! Try different spices, swap in your favorite herbs, adjust the salt. The best recipes are the ones you adapt to your family’s tastes.
If you make this, drop a comment and let me know what you think! I love hearing how recipes turn out in your kitchen. And if something doesn’t work, tell me that too—I’m here to help troubleshoot.
Happy prepping! And I hope your kitchen smells half as good as mine does right now.
Frequently Asked Questions
Can I use dried chickpeas instead of canned?
You can, but you need to soak them overnight and then boil them for about an hour until tender. This takes a lot more time than opening a can. For meal prep efficiency, canned is better. But if you have time, dried chickpeas taste slightly fresher.
Why are my chickpeas still chewy after air frying?
They probably weren’t dry enough. Moisture is the enemy of crispness. Pat them dry, let them air dry for 10 minutes, and make sure you’re not overcrowding the basket. Also, check your air fryer temperature—it might be running cool.
Can I make these ahead for the whole week?
Yes! That’s the point. Make them on Sunday, portion them into four containers, and store at room temperature. They stay crunchy for up to 5 days. I make them every Sunday for the week.
Do I need to preheat the air fryer?
I recommend it. Preheating ensures the chickpeas start cooking immediately, which helps with crisping. Preheat for 3 minutes at 390°F before adding the chickpeas.
Can I season them after cooking?
Yes, but the spices might not stick as well. If you season after, add a tiny bit of oil or water to help the spices adhere. I prefer seasoning before so the flavors toast and meld.
How do I store them to keep them crunchy?
Airtight container at room temperature. If you store them in the fridge, they might absorb moisture. If they get soft, pop them in the air fryer for 3 minutes to re-crisp.
Can I double this recipe?
Absolutely! Double everything and cook in two batches. Don’t overcrowd the basket. I make double batches on Sunday and freeze half for later in the month.
Pin This Recipe!
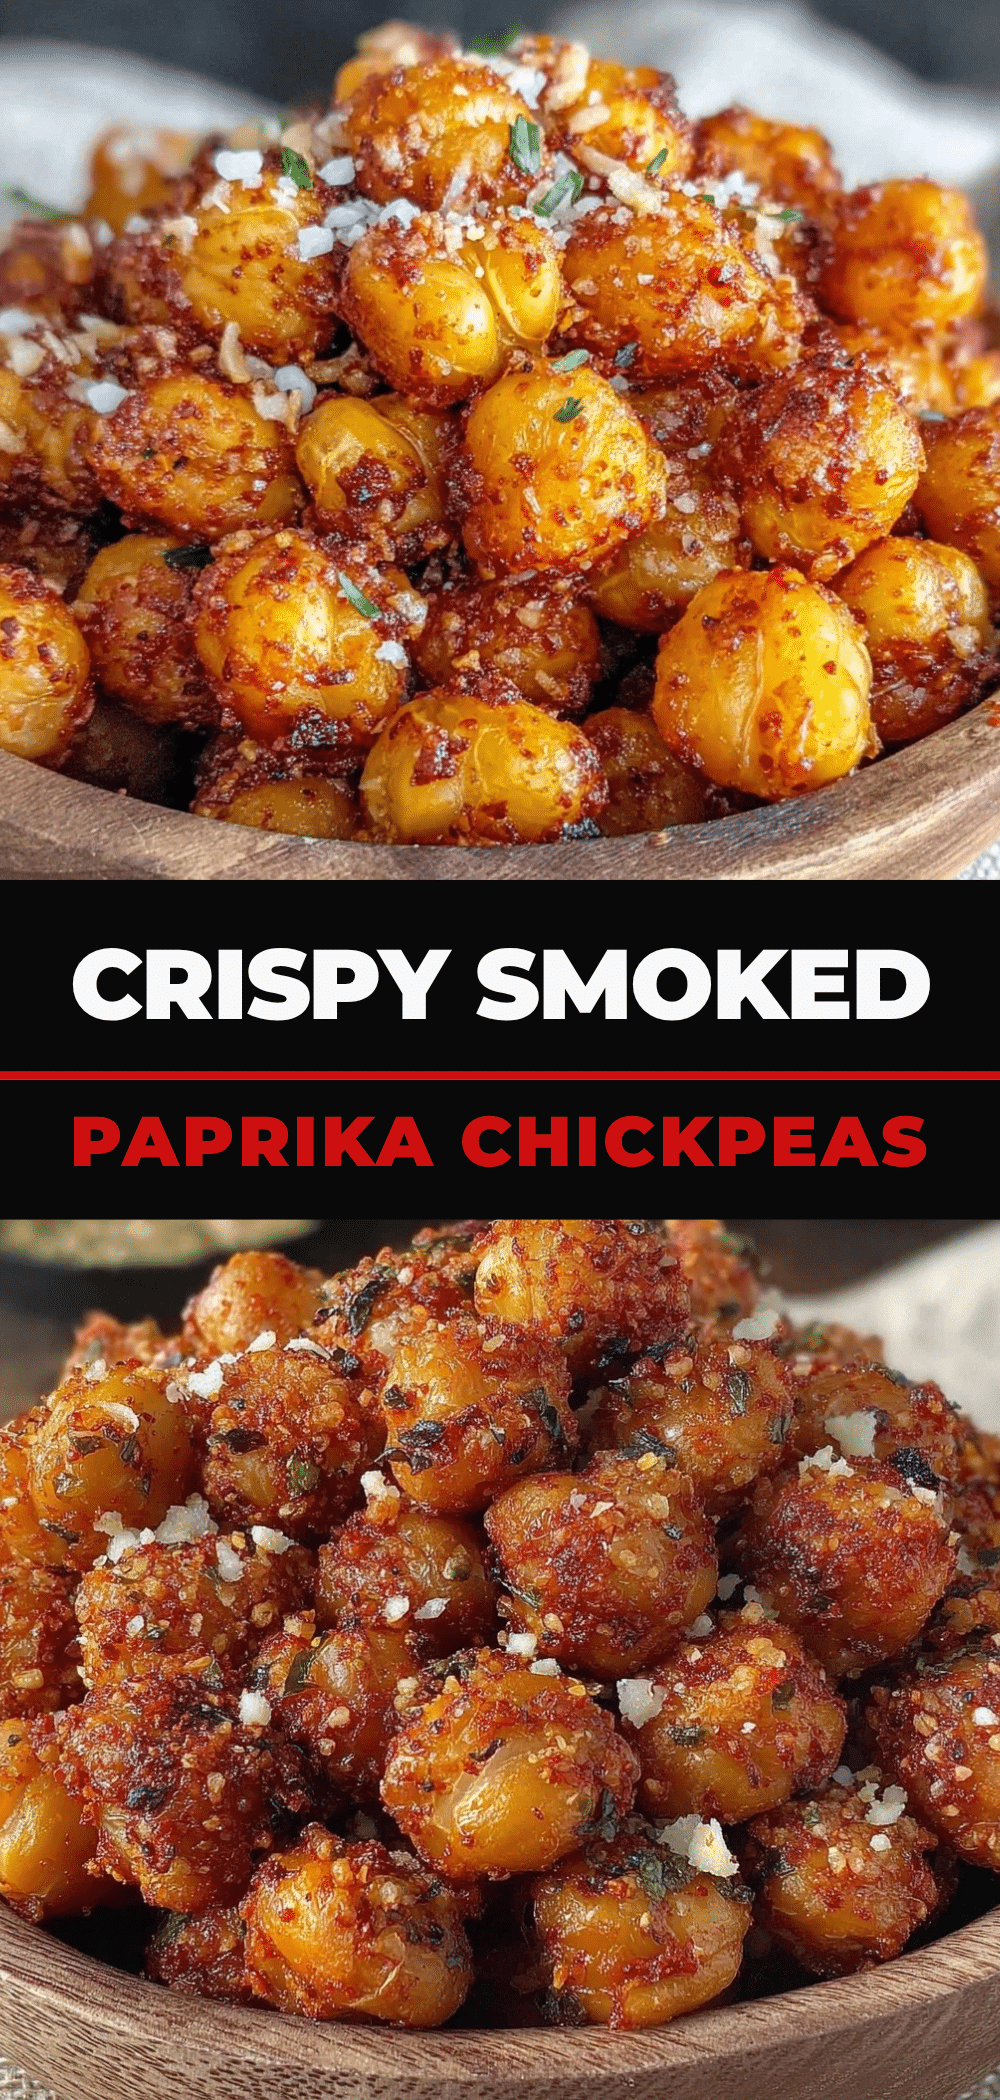

Air Fryer Chickpeas: Meal Prep Once, Eat 4x
- Total Time: 30 minutes
- Yield: 4 servings 1x
Description
Crunchy, protein-packed air fryer chickpeas that are perfect for meal prep. These snacks stay crisp for days and require minimal oil for maximum flavor.
Ingredients
- 2 cans (15 oz each) low-sodium chickpeas
- 1 tablespoon extra virgin olive oil
- 1 teaspoon smoked paprika
- 1 teaspoon garlic powder
- 1/2 teaspoon onion powder
- 1/2 teaspoon salt
- 1/4 teaspoon black pepper
- 1 tablespoon nutritional yeast (optional, for cheesy flavor)
- 1/2 teaspoon chili powder or cayenne (optional, for heat)
Instructions
- Drain and rinse the chickpeas thoroughly in a colander under cold water to remove starchy liquid. Shake off excess water.
- Pat the chickpeas completely dry using paper towels or a clean kitchen towel. Ensure no surface moisture remains to guarantee crispiness.
- Split any chickpeas that are stuck together in pairs to ensure even cooking.
- Place the dried chickpeas in a large bowl. Drizzle with olive oil and sprinkle with smoked paprika, garlic powder, onion powder, salt, and pepper.
- Toss well until every chickpea is evenly coated. If making multiple flavors, divide chickpeas into separate bowls before seasoning.
- Preheat the air fryer to 390°F (200°C) for 3 minutes.
- Spread the chickpeas in a single layer in the air fryer basket. Do not overcrowd.
- Air fry for 15-18 minutes, shaking the basket every 5 minutes, until golden brown and crunchy.
- Transfer to a plate or cooling rack and let cool completely before storing to prevent sogginess.
Notes
Drying the chickpeas thoroughly is the most critical step for achieving crunchiness. Do not overcrowd the air fryer basket; cook in batches if necessary. Store in an airtight container at room temperature for up to 5 days. If they lose crunch, re-crisp in the air fryer at 350°F for 3-4 minutes.
- Prep Time: 10 minutes
- Cook Time: 18 minutes
- Category: Snack
- Cuisine: American
Nutrition
- Serving Size: 1/2 cup
- Calories: 180
- Sugar: 3
- Sodium: 350
- Fat: 6
- Saturated Fat: 1
- Carbohydrates: 24
- Fiber: 7
- Protein: 8
Keywords: air fryer chickpeas, meal prep snacks, healthy snacks, high protein snack, gluten free snack, vegan snack, crunchy chickpeas



