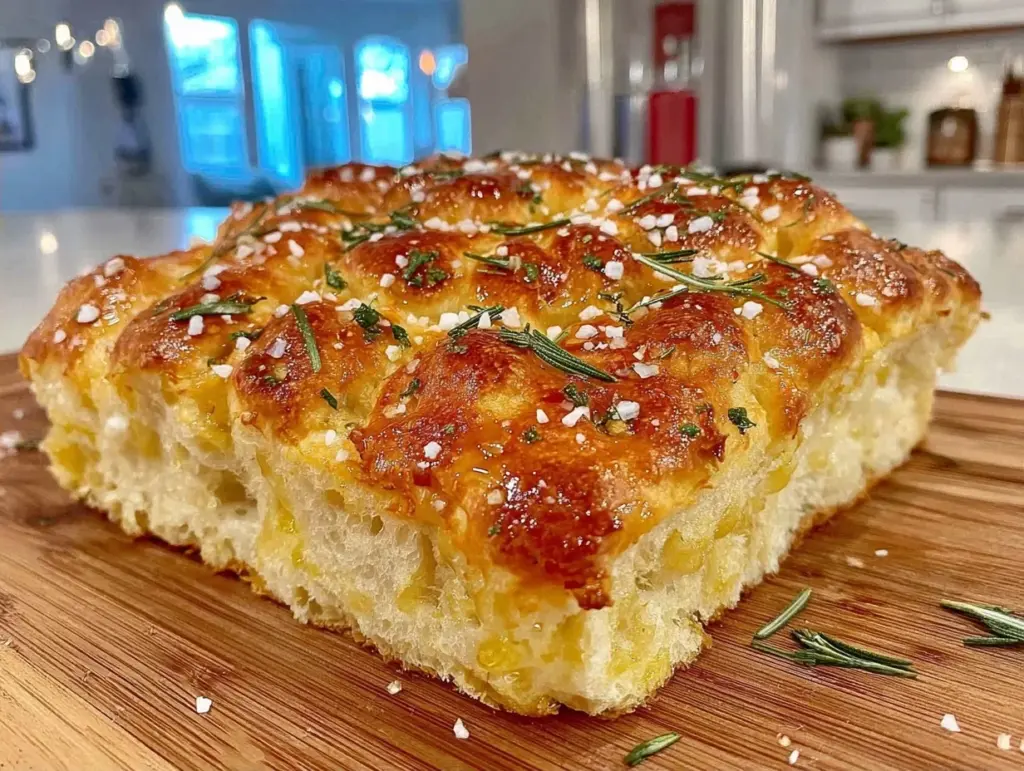
Last Saturday, I was standing in front of my grill, staring at a lukewarm piece of store-bought bread, and I realized I was doing it wrong. I’ve spent years perfecting my ribs and my brisket, but I’d always been intimidated by bread. It felt too delicate for the raw, direct heat of an outdoor grill. I thought sourdough needed the gentle, consistent embrace of an oven. I was wrong. So wrong.
That afternoon, I decided to stop playing it safe. I pulled out my starter, mixed up a simple dough, and threw it on the grill. The result? It wasn’t just edible. It was the best focaccia I’ve ever made. Crispy, charred bottom. Soft, pillowy interior. The rosemary infused with that subtle, smoky aroma that only comes from outdoor cooking. My neighbors actually came over to ask what I was cooking because the smell drifted over the fence. That’s when I knew I had to share this.
This beginner friendly sourdough focaccia with rosemary and flaky sea salt is not a test of your baking skills. It’s a celebration of outdoor cooking. You don’t need a fancy Dutch oven. You don’t need a pizza stone. You just need a grill, some patience, and a willingness to embrace the char. If you can make a sandwich, you can make this bread. And honestly? It’s going to make you feel like a grill master even if you’ve never touched a dough ball in your life.
Why You’ll Love This Recipe
I’ve made this sourdough focaccia on the grill at least a dozen times now, and it has completely changed my weekend routine. Here’s why this recipe has earned a permanent spot in my grill repertoire:
- Zero Oven Required — Seriously. If your oven is broken, or you’re just tired of heating up the house in summer, this is your answer. The grill does all the heavy lifting. I love that I can cook this while I’m grilling burgers or corn for the same meal.
- Beginner Proof — I’m not a professional baker. I’m a guy who likes to eat. This recipe uses a high-hydration dough that is forgiving. If it looks a little messy? Good. That’s where the air pockets are. I’ve walked my teenage nephew through this on a Sunday morning, and he nailed it on the first try.
- The Char Factor — This is the game-changer. Indoor baked focaccia is great, but grilled focaccia has a caramelized, slightly smoky crust that you just can’t replicate indoors. The direct heat creates those beautiful blistered spots that hold the olive oil and rosemary perfectly.
- Impress Everyone — This looks fancy. It really does. When you pull that pan off the grill, glistening with olive oil and sprinkled with flaky sea salt, people assume you spent hours. Spoiler: It’s mostly passive time while the dough rises. It’s the ultimate “look at me” dish that requires almost no effort.
- Perfect Side for Grilling — Let’s be real, most grilled meals need a carb. This pairs perfectly with roasted vegetables or slow-cooked meats. It’s the bridge between your main dish and the dessert.
This isn’t just bread. It’s an experience. It’s the smell of rosemary and smoke mixing in the air. It’s the crunch of salt on a warm, soft bite. It’s the kind of recipe that makes you want to invite friends over, even if it’s just for bread and cheese.
Ingredients You’ll Need
Here’s the thing about sourdough focaccia: the ingredient list is short, but the quality matters. You don’t need fancy flours or exotic spices. You need good basics. I’m particular about three things here, and I’ll tell you exactly why.
For the Dough
Active Sourdough Starter (1 cup / 240g, fed and bubbly) — This is the engine of your bread. Make sure it’s at its peak activity. If it sinks after feeding, wait another hour. I use my daily starter, which I keep in the fridge and feed every morning. It adds that tangy, complex flavor that plain yeast just can’t match. If you don’t have sourdough starter, you can use a quick yeast version, but the flavor profile changes significantly.
Bread Flour (3 ½ cups / 450g) — I prefer bread flour over all-purpose because it has more protein, which means more gluten. More gluten means more chew and better structure. King Arthur Brand is my go-to. It’s consistent and reliable. If you use all-purpose, your focaccia will be slightly denser, but still delicious.
Warm Water (1 ½ cups / 360ml) — This hydrates the flour. Warm water (around 80-85°F) helps activate the starter and speeds up the initial mix. Don’t use hot water, or you’ll kill the yeast. Lukewarm is the sweet spot.
Sea Salt (2 teaspoons fine sea salt) — For mixing into the dough. This seasons the bread from the inside out. I use fine sea salt here so it dissolves easily. Kosher salt is too chunky for the dough mix.
For the Topping (The Good Stuff)
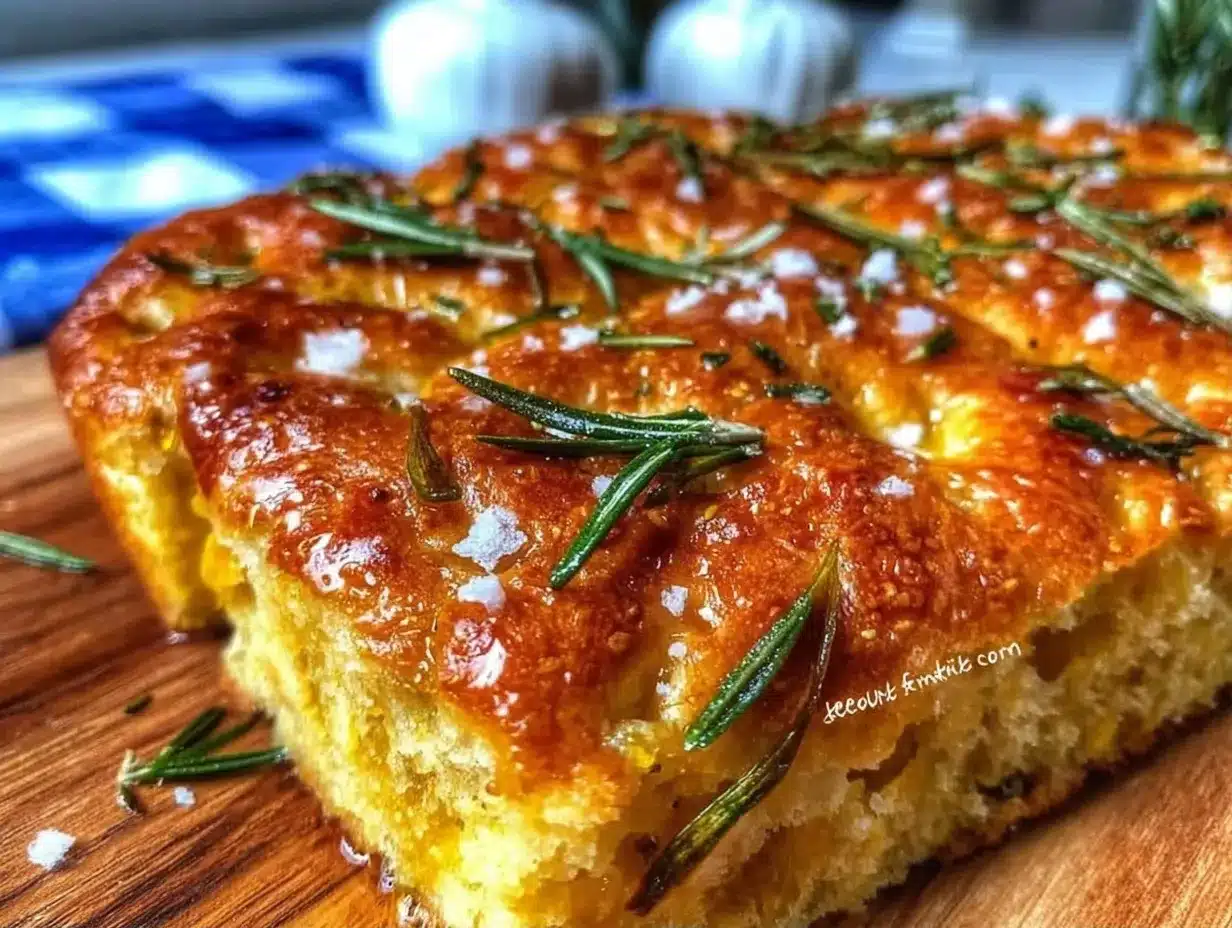
Extra Virgin Olive Oil (½ cup / 120ml) — Do not skimp. Do not use vegetable oil. This is where the flavor lives. I use a robust, peppery olive oil. It needs to be good enough to eat on its own. This oil pools in the dimples and creates that crispy, golden bottom crust. It’s non-negotiable.
Fresh Rosemary (2-3 sprigs, needles stripped and chopped) — Fresh rosemary is essential. Dried rosemary is too woody and lacks the piney freshness that pairs with olive oil. I chop it roughly. You want little bursts of herb flavor in every bite.
Flaky Sea Salt (like Maldon) — This is the finale. Fine salt is for the dough; flaky salt is for the top. The flakes crackle when you bite into them and add a textural contrast that elevates the whole dish. I buy this specifically for focaccia and roasted veggies. It makes a huge difference.
Garlic (Optional) — I love adding 2 cloves of minced garlic to the olive oil before pouring it over the dough. It adds a savory depth that complements the rosemary perfectly. If you’re garlic-averse, skip it, but I highly recommend it.
Equipment Needed
You don’t need fancy equipment for this. Here’s what I actually use on the grill:
9×13 Inch Metal Pan — I use a disposable aluminum roasting pan or a cheap metal baking pan. Why metal? Because metal conducts heat well on the grill. Glass or ceramic pans can shatter from thermal shock if placed on a hot grill grate. Metal is safe and effective. I also like metal because it gets crispy edges.
Grill with Indirect Heat Capability — Any grill works. Charcoal, gas, or pellet. The key is setting up for indirect heat. You want the heat source on the sides, not directly under the pan. This prevents burning while allowing the bread to rise and cook through.
Grill Thermometer — If your grill doesn’t have a built-in lid thermometer, get one. I use a separate probe thermometer to keep the grill between 375°F and 400°F. Consistent heat is crucial for even rising.
Pastry Brush or Spoon — For drizzling the olive oil. I use a silicone brush for precision, but a spoon works fine if you’re careful.
Plastic Wrap or Damp Towel — To cover the dough during the rise. This keeps the surface from drying out and forming a skin.
Sharp Knife or Parchment Paper — To remove the bread from the pan. I usually let it cool for 5 minutes, then lift it out with parchment paper or slide a knife around the edge.
How to Make It: Step-by-Step
Alright, let’s make this! I’m walking you through exactly how I do it on the grill, including the little tricks I’ve picked up over years of burning my fingers.
Step 1: Mix the Dough (10 minutes)
In a large bowl, combine the warm water and active sourdough starter. Whisk them together until the starter is mostly dissolved. Add the bread flour and fine sea salt. Mix with a sturdy spoon or your hands until no dry flour remains. The dough will be shaggy and sticky. That’s normal. Don’t add more flour. Wet hands help handle this.
Let it rest for 20 minutes. This autolyse period allows the flour to hydrate fully, making the dough easier to stretch later. While it rests, prepare your grill. Set it up for indirect medium heat (around 375°F-400°F). If using charcoal, bank the coals to the sides. If using gas, turn on only the outer burners.
Step 2: Stretch and Shape (10 minutes)
Grease your 9×13 metal pan generously with olive oil. Pour the dough into the pan. Wet your hands and gently stretch the dough to fit the corners. It will resist. That’s okay. Let it sit for 5 minutes, then try again. The gluten will relax. Don’t tear it. If it tears, just pinch it back together. It doesn’t need to be perfect.
Once it fits the pan, cover it with plastic wrap or a damp kitchen towel. Let it rise for 1-2 hours, or until it looks puffy and jiggly. It should fill the pan. If it’s still dense, give it more time. The rise is critical for that airy texture.
Step 3: Preheat and Prep (5 minutes)
While the dough rises, mix your topping. In a small bowl, combine the extra virgin olive oil, chopped rosemary, and minced garlic (if using). Whisk to combine. This is your flavor bomb.
Check your grill temperature. It should be steady at 375°F-400°F. If it’s too hot, the bottom will burn before the inside cooks. If it’s too cool, the bread will be dense. Adjust vents or burners as needed.
Step 4: Dimple and Oil (5 minutes)
Once the dough has risen, remove the cover. This is the fun part. Dip your oiled fingertips into the dough and press down firmly. Create dimples all over the surface. Get close to the edges. These dimples hold the olive oil and rosemary. They also create those signature crispy edges.
Drizzle the rosemary-oil mixture generously over the top. Use your fingers to push some of the oil into the dimples. You should see pools of oil. Don’t be shy. This is where the flavor is.
Sprinkle the flaky sea salt over the top. Be generous. The salt needs to stick to the oily surface.
Step 5: Grill the Focaccia (25-35 minutes)
Place the pan on the cool side of the grill (indirect heat). Close the lid. This is crucial. You are essentially baking the bread in a grill-oven. Do not open the lid for the first 20 minutes. You need the steam to help the bread rise.
After 20 minutes, check the bread. The edges should be golden brown, and the top should be set. If the top is browning too fast but the bottom isn’t crisp, you can move the pan slightly closer to the heat source for the last 5 minutes. But generally, keep it indirect.
The total cooking time is usually 25-35 minutes. The bread is done when it’s deep golden brown all over, and the bottom sounds hollow when you tap it. If you’re unsure, use a thermometer; the internal temperature should reach 190°F-200°F.
Step 6: Cool and Serve (10 minutes)
Remove the pan from the grill. Let it cool in the pan for 5-10 minutes. This allows the structure to set. If you cut it immediately, it might be gummy. Then, lift it out of the pan and place it on a cutting board. Slice it into squares or tear it apart with your hands. Serve warm.
Expert Tips & Tricks
Here’s everything I’ve learned from making this dozens of times. These tips will save you from my mistakes.
- Indirect Heat is King — I cannot stress this enough. Direct heat will burn the bottom in 5 minutes. Always set up your grill for indirect cooking. Think of it as an outdoor oven.
- Watch the Temperature — Grill temperatures fluctuate. Check your thermometer every 10 minutes. If it’s creeping above 425°F, open the vents slightly. If it’s dropping below 350°F, add more charcoal or turn up the gas.
- Don’t Skip the Rest — When stretching the dough, if it snaps back, let it rest for 5-10 minutes. Forcing it will tear it. Patience yields better texture.
- Use a Metal Pan — I’ve tried glass pans on the grill, and they’re risky. Metal conducts heat better and is safer. Disposable aluminum pans are cheap and work perfectly for this.
- Flaky Salt at the End — Add the flaky sea salt right before grilling. If you add it too early, it might dissolve completely. You want those visible flakes.
- Garlic Control — If you use garlic, make sure it’s finely minced so it doesn’t burn. Alternatively, infuse the oil with garlic beforehand and remove the bits, then use the flavored oil. This prevents burnt garlic bits.
Variations & Substitutions
Once you’ve nailed the basic version, here’s how you can mix it up. I’ve tried all of these on the grill.
- Tomato and Basil — Add thin slices of cherry tomatoes and fresh basil leaves before grilling. The tomatoes will blister and sweeten. It’s like a Caprese salad in bread form.
- Caramelized Onions — Sauté onions beforehand and spread them over the dough. Sweet and savory perfection. Great with grilled salmon.
- Olive and Feta — Add chopped Kalamata olives and crumbled feta cheese. Mediterranean vibes. The cheese will melt into gooey pockets.
- Spicy Pepperoni — Top with pepperoni slices before grilling. The pepperoni will crisp up at the edges. It’s like a pizza, but better.
- Gluten-Free — Use a 1:1 gluten-free flour blend. The dough will be stickier, so wet your hands more. It rises differently, so keep an eye on the cook time. It’s still delicious.
Serving & Storage
How to Serve: I usually serve this straight from the grill, warm and soft. It’s perfect alongside grilled desserts or savory mains. Pair it with a simple arugula salad and balsamic glaze for a light meal.
Storage: Focaccia is best eaten fresh. If you have leftovers, store them in an airtight container at room temperature for up to 2 days. The olive oil helps keep it moist. To reheat, warm it in a skillet over medium heat for 2-3 minutes per side to restore the crispiness. Avoid the microwave, or it will get chewy.
Freezing: You can freeze focaccia, but the texture changes slightly. Wrap it tightly in plastic and foil. Thaw at room temperature and refresh in a 350°F oven for 5-10 minutes. It won’t be as crispy as fresh, but it’s still good.
Nutrition Information
I’m not a nutritionist, but here’s the breakdown if you’re tracking. This is a calorie-dense food due to the olive oil and flour, so portion control is key.
- Calories: ~350 per slice
- Carbs: 45g
- Fat: 15g (mostly from olive oil)
- Protein: 8g
- Fiber: 2g
Look, this is comfort food. It’s not a diet recipe. But it’s made with whole ingredients, and it’s way better than anything you’ll buy at a bakery. When I make this, I enjoy it mindfully. It’s a treat, not a daily staple for me.
Final Thoughts
So that’s my go-to beginner friendly sourdough focaccia with rosemary and flaky sea salt! I’ve probably talked your ear off at this point, but when you make a recipe this often, you have a lot to say about it. This has saved my outdoor cooking game more times than I can count. It’s my answer to “what’s for dinner” when I want something impressive but effortless.
Make it yours! Try different herbs, different oils, different salts. The best recipes are the ones you adapt to your tastes. And if something doesn’t work, tell me that too. I’m here to help troubleshoot. Did the dough tear? Did the grill run too hot? Drop a comment and let me know.
Happy grilling! And I hope your backyard smells half as good as mine does right now.
Frequently Asked Questions
Can I make this indoors?
Yes, but you lose the char and smoke flavor. If you bake it indoors, preheat your oven to 425°F. Bake on a lower rack for 25-30 minutes. It will still be good, but it won’t have that distinct grilled taste. I highly recommend trying the grill method at least once.
My dough didn’t rise enough. What happened?
This usually means your starter wasn’t active enough. Make sure you fed it 4-6 hours before making the dough, and it should be bubbly and doubled in size. Also, check the water temperature. If it was too cold, the yeast was sluggish. Warm water helps activate it.
Can I use dried rosemary?
You can, but fresh is so much better. Dried rosemary is potent and woody. If you must use dried, use half the amount. 1 teaspoon dried rosemary equals about 1 tablespoon fresh. Fresh rosemary releases oils that blend beautifully with the olive oil.
Why did my focaccia burn on the bottom?
This happens if the grill was too hot or if you used direct heat. Always use indirect heat. If your grill runs hot, lower the temperature or move the pan further away from the coals/burners. Also, ensure your pan is metal, not dark non-stick, which absorbs more heat.
Can I double this recipe?
Absolutely. Use two pans and place them on opposite sides of the grill. Keep an eye on the cook time, as two pans might block airflow slightly. Rotate the pans halfway through for even cooking. I often do this for parties.
Pin This Recipe!
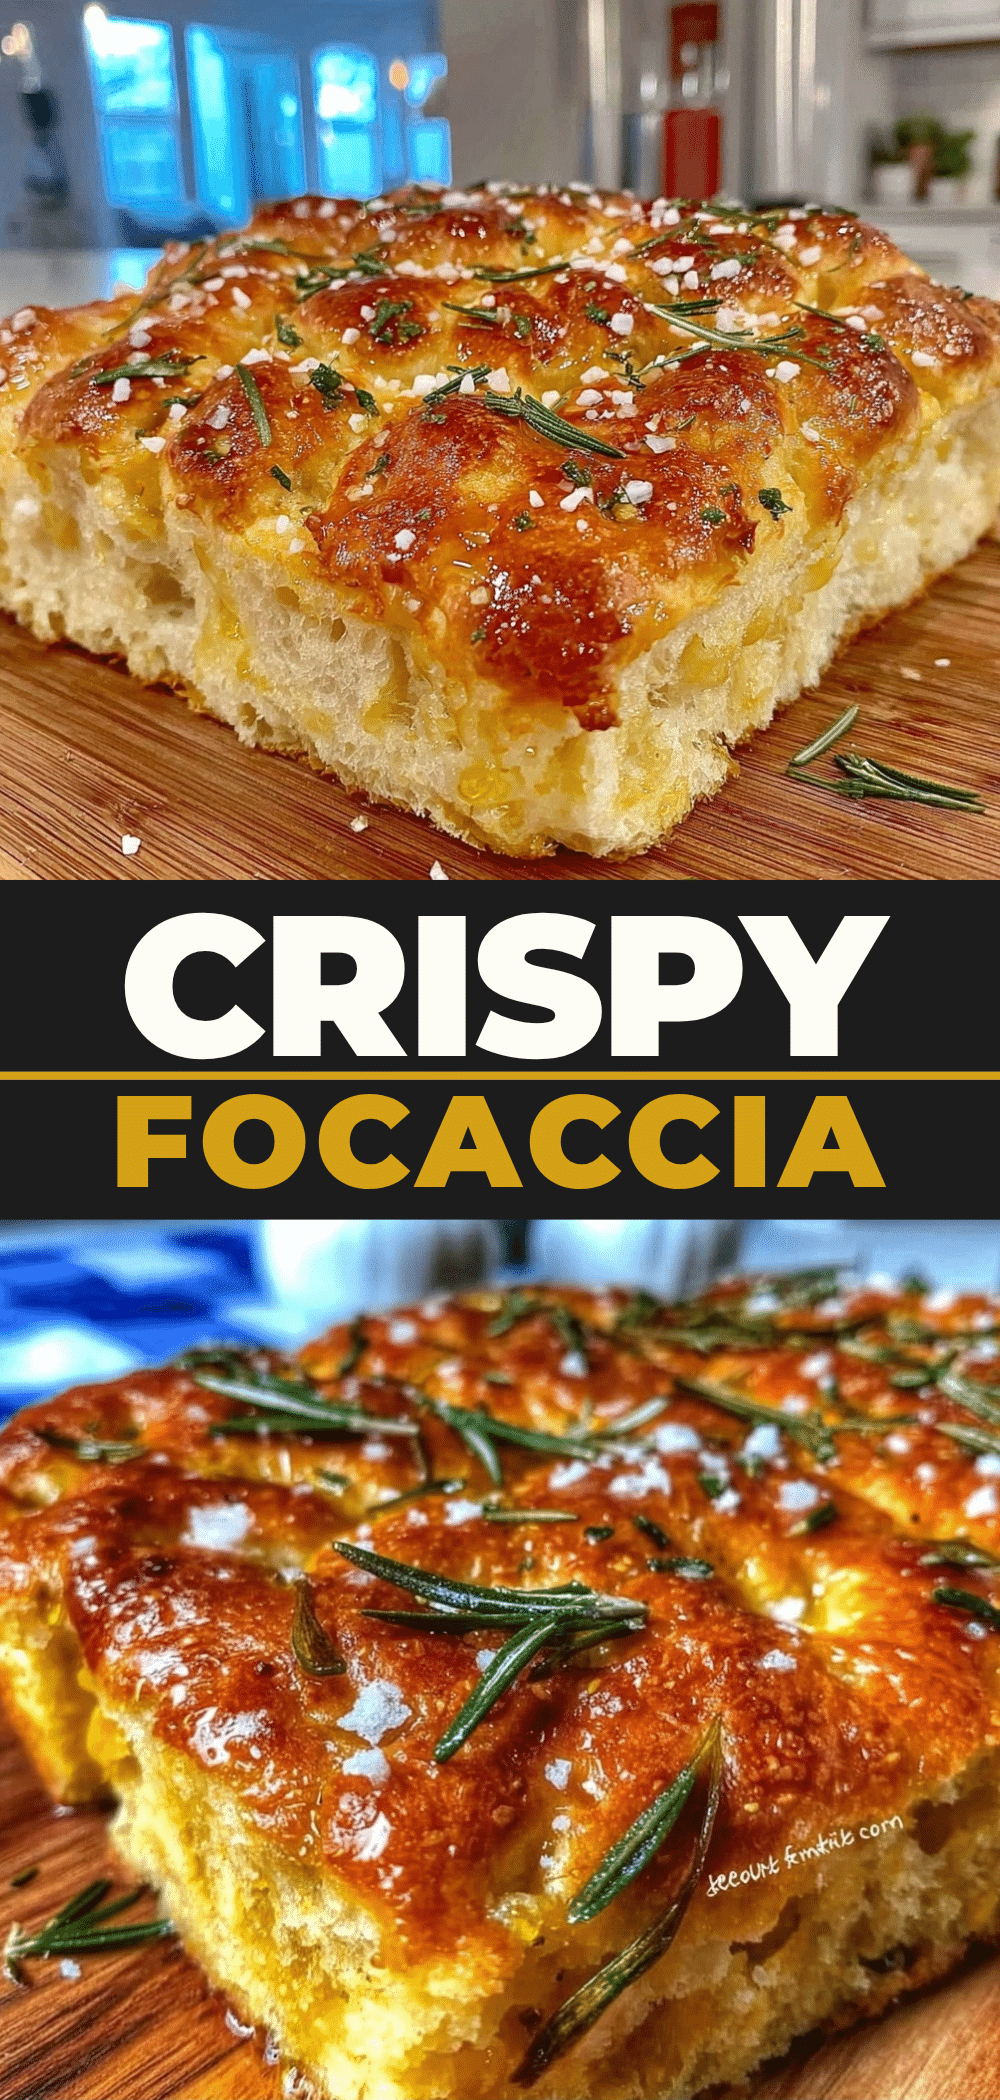
Beginner Sourdough Focaccia: Best Outdoor Grill Recipe
- Total Time: 65 minutes
- Yield: 12 servings 1x
Description
A beginner-friendly sourdough focaccia recipe cooked on an outdoor grill. This method creates a crispy, charred bottom and a soft, pillowy interior infused with rosemary and flaky sea salt, requiring no oven.
Ingredients
- 1 cup (240g) active sourdough starter (fed and bubbly)
- 3 ½ cups (450g) bread flour
- 1 ½ cups (360ml) warm water (80-85°F)
- 2 teaspoons fine sea salt
- ½ cup (120ml) extra virgin olive oil
- 2–3 sprigs fresh rosemary (needles stripped and chopped)
- Flaky sea salt (like Maldon)
- 2 cloves garlic (minced, optional)
Instructions
- In a large bowl, whisk warm water and sourdough starter until dissolved. Add bread flour and fine sea salt, mixing until no dry flour remains. The dough will be shaggy and sticky.
- Let the dough rest for 20 minutes (autolyse). Meanwhile, set up your grill for indirect medium heat (375°F-400°F).
- Generously grease a 9×13 inch metal pan with olive oil. Pour in the dough and gently stretch it to fit the corners. Let it rest for 5 minutes if it resists, then stretch again.
- Cover the pan with plastic wrap or a damp towel and let rise for 1-2 hours until puffy and jiggly.
- While the dough rises, mix the topping: combine extra virgin olive oil, chopped rosemary, and minced garlic (if using).
- Once risen, remove the cover. Dip oiled fingertips into the dough and press firmly to create dimples all over the surface.
- Drizzle the rosemary-oil mixture generously over the top, pushing some oil into the dimples. Sprinkle with flaky sea salt.
- Place the pan on the cool side of the grill (indirect heat). Close the lid and cook for 20 minutes without opening.
- Check the bread; if the top is browning too fast, move it slightly closer to the heat for the last 5 minutes. Total cook time is 25-35 minutes.
- The focaccia is done when deep golden brown and the internal temperature reaches 190°F-200°F.
- Remove from grill and let cool in the pan for 5-10 minutes before lifting out and serving warm.
Notes
Ensure the grill is set up for indirect heat to prevent burning. Use a metal pan, as glass or ceramic can shatter from thermal shock. If the dough snaps back while stretching, let it rest for 5-10 minutes to allow gluten to relax. For best results, use fresh rosemary and high-quality extra virgin olive oil.
- Prep Time: 30 minutes
- Cook Time: 35 minutes
- Category: Side Dish
- Cuisine: Italian
Nutrition
- Serving Size: 1 slice
- Calories: 350
- Sugar: 1
- Sodium: 600
- Fat: 15
- Saturated Fat: 2
- Carbohydrates: 45
- Fiber: 2
- Protein: 8
Keywords: sourdough focaccia, grill recipe, outdoor cooking, beginner bread, rosemary focaccia, no oven bread, grilled bread



