It’s 6:00 AM on a Saturday, and the house is quiet. I’ve been staring at a bowl of sourdough starter for twenty minutes, wondering if I made a mistake three days ago when I forgot to feed it. The last time I attempted homemade bread, I ended up with a dense brick that could double as a doorstop. I almost threw the starter out. But then I remembered my friend Sarah’s kitchen, the one that always smells like yeast and warmth, and how she swore that anyone could make focaccia if they just stopped overthinking it.
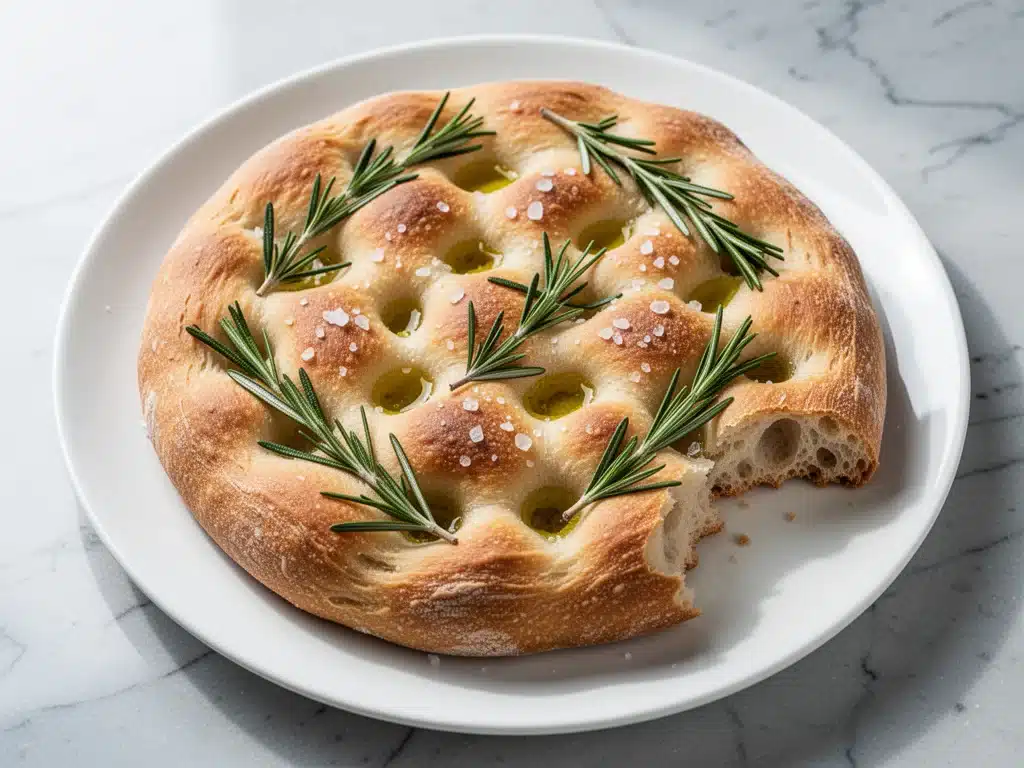
So, I took a breath, grabbed a 9×13 pan, and decided to try this beginner-friendly sourdough focaccia recipe with rosemary and flaky salt. I wasn’t aiming for perfection. I was aiming for dinner. And honestly? It worked. Better than worked. The dough was sticky (which is good!), the rosemary bloomed in the olive oil until the whole house smelled like an Italian bakery, and the first bite—crispy on the bottom, airy in the middle, salty on top—made me put down my coffee and just stare at it.
I’ve made this soft no-knead artisan bread before, but it’s a whole different ballgame. Focaccia is forgiving. It doesn’t care if your folds aren’t perfect. It doesn’t care if your second rise takes an extra hour because you got distracted watching a show. It just wants to be fed, poked, and baked. If you’ve been intimidated by sourdough, this is your entry point. It’s tender, it’s flavorful, and it’s the only bread recipe I’ve made that my picky eater husband actually asked for seconds of.
Why You’ll Love This Sourdough Focaccia Recipe
There are a million bread recipes out there, but this one sticks around. I’ve tested it with different flours, different starters, and even different days of the week (yes, I’ve made it on a Tuesday night), and it delivers every single time. Here’s why this rosemary sourdough focaccia is taking up permanent space in your rotation:
- Zero Kneading Required — Seriously. No arm workout. No flour-dusted countertops. You mix it, you let it sit. The gluten develops on its own while you sleep or watch TV. It’s the ultimate “set it and forget it” bread.
- Uses Your Discard (or Active Starter) — If you’re a sourdough keeper, you know the guilt of throwing away starter. This recipe uses a good amount of it, so it’s a delicious way to reduce waste. If you don’t have starter yet, the instructions include a quick fix so you can start today.
- Restaurant-Quality Texture — Crispy, olive-oil-soaked bottom? Check. Huge, irregular air pockets inside? Check. That’s the result of a long, cold fermentation in the fridge. It builds flavor you can’t get from fast yeast breads.
- Insanely Versatile — Rosemary and salt is classic, but this dough is a blank canvas. Want to add cherry tomatoes? Go for it. Want to swap rosemary for everything bagel seasoning? Done. It pairs perfectly with the cozy fall roasted red pepper and smoked gouda soup I make in the winter.
- It’s Hard to Mess Up — Unlike a baguette or a brioche, if this focaccia looks a little lopsided, it doesn’t matter. It’s rustic. It’s supposed to look rustic. The taste is what counts, and that part is foolproof.
This is the bread I make when I want to feel like a professional baker but only have about 15 minutes of active hands-on time. It’s comforting, it’s easy, and it smells incredible.
Ingredients You’ll Need
Here’s the best part: you probably have most of this already in your pantry. The beauty of focaccia is its simplicity. You don’t need fancy ingredients, just good quality basics. I’m particular about the olive oil and the salt—don’t skip those. They make all the difference.
For the Dough
Warm Water (1 ¾ cups / 420ml) — Use lukewarm water, around 100°F (38°C). Not hot, or you’ll kill your starter. If your starter is inactive, this warm water helps wake it up. If you’re using a very active starter, room temp water is fine.
Sourdough Starter (1 cup / 240g) — This should be active and bubbly. If you feed it, use it about 4-6 hours after feeding when it’s at its peak. If you’re using discard, it still works, but the rise might be slightly slower. I keep a jar in the fridge and pull it out the night before.
All-Purpose Flour (2 ½ cups / 315g) — I use King Arthur All-Purpose. Bread flour works too and gives a chewier crust, but AP is softer and more tender, which is classic for focaccia. Don’t use self-rising flour; it has leavening agents already and will mess up the balance.
Sea Salt (1 ½ teaspoons) — Fine sea salt mixes into the dough evenly. I use Diamond Crystal or Maldon fine. Avoid table salt if you can; it’s too dense and salty by volume.
Vegetable Oil or Canola Oil (2 tablespoons) — Just enough to help the dough come together. You’ll use way more for the pan.
For the Topping
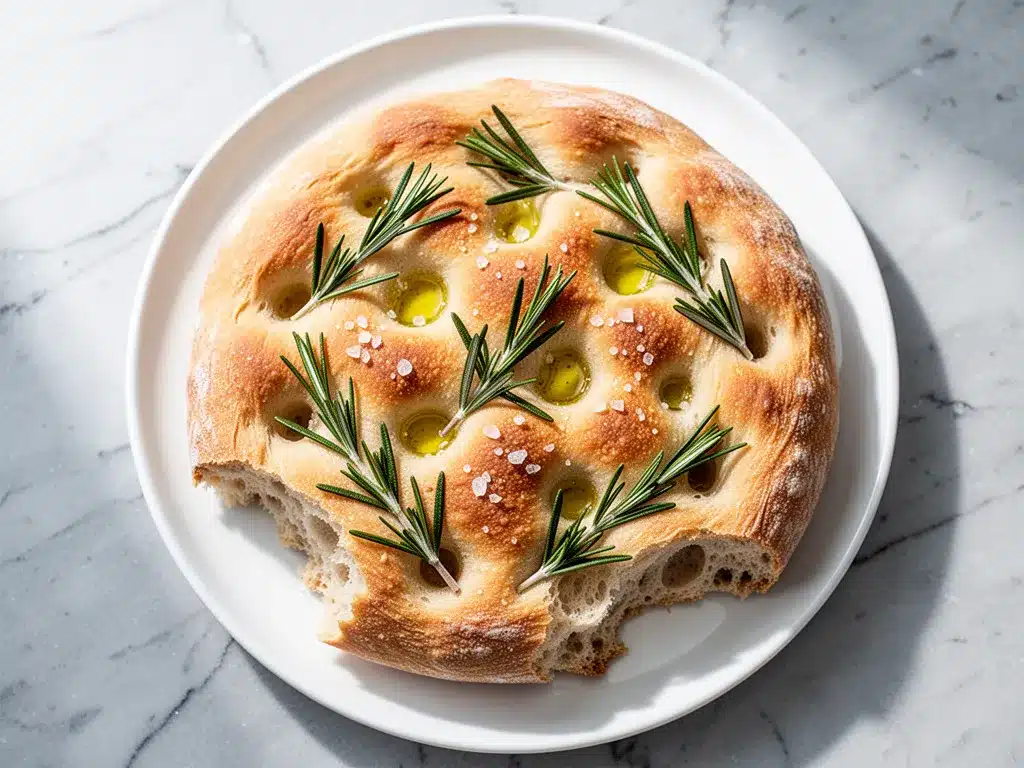
Extra Virgin Olive Oil (½ cup / 120ml) — This is non-negotiable. You need enough to coat the bottom and sides of the pan, and to create those dimples. Use a good quality oil that you’d eat on toast. If it tastes bitter or grassy in the bottle, it’ll taste bitter in the bread.
Fresh Rosemary (2-3 sprigs, leaves stripped) — Fresh is best. The oils in fresh rosemary bloom in the hot olive oil. Dried rosemary works in a pinch, but use half the amount and crush it between your palms first to release flavor. I also love this with cranberry and pecan for the holidays, but rosemary is my everyday go-to.
Flaky Sea Salt (1 tablespoon) — Like Maldon. This goes on after the dimples. It crunches and melts in your mouth. Regular salt won’t give you that same textural contrast.
Optional Add-Ins — Cherry tomatoes, sliced olives, caramelized onions, or even a bit of garlic and parmesan for a twist. But start simple.
Equipment Needed
You don’t need fancy gear. Here’s what I actually use in my home kitchen:
9×13 Inch Baking Pan — Metal or glass works. I prefer a metal pan because it conducts heat better for that crispy bottom. If you use glass, you might need to lower the oven temp by 25°F. My old Pyrex pan works fine, but I’m always nervous about thermal shock.
Large Mixing Bowl — Something wide enough to let you mix easily. A 6-quart bowl is perfect.
Plastic Wrap or Damp Towel — To cover the bowl during the rise. Plastic wrap is easier because it sticks to the bowl and doesn’t dry out the dough.
Parchment Paper — Highly recommended. It makes cleanup a breeze and helps prevent sticking, even with all that olive oil.
Sharp Knife or Chopsticks — To make the dimples. I use the tip of my chef’s knife. It’s precise and easy to clean.
Pastry Brush — For brushing the top with oil after dimpling. A silicone brush is easier to clean than bristle.
How to Make It: Step-by-Step
Alright, let’s make this! I’m walking you through exactly how I do it, including the little tricks I’ve picked up over dozens of batches. This process is split into two days: mixing and prepping (evening), then baking (morning). It’s the easiest schedule for beginners.
Step 1: Mix the Dough (10 minutes)
In your large bowl, combine the warm water and sourdough starter. Whisk them together until the starter is mostly dissolved—it’ll look milky. Add the all-purpose flour and sea salt. Mix with a wooden spoon or your hands until no dry flour remains. The dough will look shaggy and sticky. Add the 2 tablespoons of vegetable oil and mix again. It will still be sticky, but smoother. Cover the bowl with plastic wrap.
Step 2: The First Rise (1-2 hours at room temp)
Let the dough sit on the counter for about 1-2 hours. You’re looking for it to bubble up slightly and look alive. It won’t double in size like a yeast bread, but it should feel lighter. If your kitchen is cold, this might take longer. Don’t rush it.
Step 3: Fold and Chill (The Secret Weapon)
After the first rise, it’s time for the “stretch and fold.” Wet your hands with water (so dough doesn’t stick) and gently pull the edges of the dough up and fold them over the center. Do this from all four sides. It’s like wrapping a burrito. Do this every 30 minutes for 2 hours (so 3-4 folds total). This builds strength without kneading.
After the final fold, cover the bowl tightly and put it in the refrigerator. Let it cold-ferment overnight, or for up to 24 hours. This slow rise develops that complex sourdough flavor. I usually mix it at 7 PM and bake at 7 AM.
Step 4: Prep the Pan and Second Rise (1-2 hours)
Take the dough out of the fridge. Pour the ½ cup of extra virgin olive oil into your 9×13 pan. Swirl it around to coat the bottom and sides generously. Line the pan with parchment paper if you’re using it (optional but helpful), then pour the oil over the parchment too. You want everything slick.
Gently turn the dough out of the bowl into the pan. It will be sticky. Don’t try to force it. Just let it plop in. Use oiled fingers to press it out toward the corners. If it resists, let it rest for 10 minutes, then try again. The gluten needs to relax. Once it covers the pan, cover it loosely with plastic wrap or a large inverted bowl. Let it rise at room temperature for 1-2 hours until it looks puffy and jiggle-y.
Step 5: Dimple and Season
Preheat your oven to 425°F (220°C). This is crucial. You want a hot oven for a good rise.
Once the dough is puffy, take your knife or chopsticks and press your fingers deep into the dough. Create dimples all over the surface. Get deep! This is where the olive oil and rosemary will live. Don’t be shy. Then, drizzle a tiny bit more olive oil over the top (about 1-2 tablespoons) to help the rosemary stick and brown.
Scatter the fresh rosemary leaves evenly over the surface. Finally, sprinkle the flaky sea salt generously. You want to see the salt crystals. This is the flavor bomb.
Step 6: Bake
Slide the pan into the oven. Bake for 20-25 minutes. Watch the edges—they should be deep golden brown, not pale. If they’re browning too fast, cover the top loosely with foil for the last 5 minutes. The center should be cooked when you tap it; it should sound hollow. If it sounds dull, give it 2-3 more minutes.
Step 7: Cool and Serve
Remove from the oven. Let it cool in the pan for 5 minutes, then flip it onto a wire rack. Peel off the parchment. Let it cool for another 10 minutes before slicing. I know, it’s tempting to cut into it hot, but the structure needs to set. Slice it into squares and eat immediately.
Expert Tips & Tricks for Success
Here’s everything I’ve learned from making this dozens of times. These tips will save you from my early mistakes.
Starter Activity is Key
If your starter is sluggish, your bread will be dense. Make sure it’s active and bubbly before you start. If you’re not sure, feed it 4-6 hours prior. A floating test (drop a spoonful in water—if it floats, it’s ready) is a good quick check.
Don’t Fear the Stickiness
Beginners often add more flour because the dough feels wet. Don’t. Focaccia dough should be sticky. Adding too much flour makes the bread heavy and dense. Wet your hands with water or oil to handle the dough. This is non-negotiable.
The Cold Ferment Changes Everything
I tried skipping the fridge rise once. The flavor was bland, and the texture was okay but not amazing. The cold fermentation develops those complex sourdough tangs and creates better air pockets. Please, don’t skip this step.
Hot Oven, Hot Pan
Some people preheat the pan, but I find it risky with a wet dough. Instead, I preheat the oven thoroughly. Make sure your oven is fully at 425°F before the dough goes in. A hot start helps the yeast burst into action immediately.
Flaky Salt at the End
If you salt before baking with regular salt, it dissolves completely. Flaky salt is added after dimpling so it stays on top and provides that satisfying crunch. It’s a texture upgrade you’ll notice immediately.
Variations & Substitutions
Once you’ve nailed the basic rosemary version, here’s how you can mix it up. I’ve tried all of these, and they’re all winners.
Rosemary and Olive
Skip the rosemary and use Kalamata olives, halved. The briny saltiness pairs beautifully with the olive oil. It feels Mediterranean and sophisticated.
Tomato and Mozzarella
Add halved cherry tomatoes right after dimpling. Bake for 15 minutes, then add fresh mozzarella slices and bake for 5 more minutes until melted. It’s basically pizza bread.
Caramelized Onion and Goat Cheese
Sauté onions until dark brown and jammy. Spread them on the dough after dimpling, then crumble goat cheese on top. Rich and savory.
Everything Bagel Focaccia
Skip the rosemary. Brush with garlic butter, then sprinkle generously with everything bagel seasoning. Serve with cream cheese dip.
Gluten-Free Option
You can use a 1:1 gluten-free flour blend with xanthan gum. The texture will be more cake-like, but it still works. You may need a bit more water. I’ve used Bob’s Red Mill 1:1 with good results.
Dairy-Free
This recipe is naturally dairy-free! Just ensure your starter doesn’t contain milk products (most don’t). It’s perfect for dairy-free diets.
Serving & Storage
How to Serve
I usually tear off pieces and dip them in extra olive oil with balsamic vinegar. It’s the ultimate snack. But it also makes a fantastic side for soups, salads, or roasted meats. It’s great for cozy fall chicken and dumplings nights as a side, or alongside a simple fall sweet potato casserole.
Storage
Store leftovers in an airtight container or wrap tightly in foil at room temperature for up to 2 days. The olive oil keeps it moist. If it gets stale, toast a slice in the toaster oven for 2 minutes to revive the crispness.
Refrigerator
You can store it in the fridge for up to 5 days, but it will dry out faster. Bring to room temp before eating.
Freezing
Focaccia freezes well! Wrap individual slices or the whole loaf in plastic wrap, then foil. Freeze for up to 3 months. Thaw at room temp or toast from frozen.
Reheating
Never microwave focaccia—it makes it chewy and sad. Reheat in a 350°F oven for 5-10 minutes to crisp it up again.
Nutrition Information
I’m not a nutritionist, but here’s the breakdown if you’re tracking. Keep in mind this is an estimate based on 12 squares.
| Per Serving (1 square) | Amount |
|---|---|
| Calories | 280 |
| Carbohydrates | 32g |
| Protein | 6g |
| Fat | 14g |
| Fiber | 2g |
| Sugar | 1g |
| Sodium | 350mg |
It’s higher in calories due to the olive oil, but it’s also satisfying. The sourdough fermentation lowers the glycemic index slightly compared to white bread. It’s a treat, but a wholesome one.
Final Thoughts
So that’s my go-to beginner-friendly sourdough focaccia! I’ve probably talked your ear off at this point, but when you make a recipe this often, you have a lot to say about it. This bread has saved me on lazy weekends and impressed guests on busy weeknights. It’s my answer to “what’s for dinner” when I want something homemade but don’t have the energy to fuss.
Make it yours! Try different herbs, different oils, different toppings. The best recipes are the ones you adapt to your family’s tastes. If you make this, drop a comment and let me know what you think! I love hearing how recipes turn out in your kitchen. And if something doesn’t work, tell me that too—I’m here to help troubleshoot.
Happy baking! And I hope your kitchen smells half as good as mine does right now.
Frequently Asked Questions
Can I use active dry yeast instead of sourdough starter?
You can, but it won’t be “sourdough” anymore. If you want to use yeast, use 2 ¼ teaspoons (1 packet) of active dry yeast. Reduce the water to 1 ½ cups and skip the sourdough starter. You’ll need a longer first rise (1-2 hours) and a second rise. The flavor will be milder, more like standard focaccia. It’s still delicious, but you lose that tangy depth.
My dough didn’t rise much in the fridge—will it still bake okay?
Yes. Focaccia dough is wet and sticky; it doesn’t rise as dramatically as a loaf of bread. As long as it’s bubbly and has expanded slightly from the mix, it’s fine. The oven spring (rise in the oven) is what matters most. If it’s very dense, check your starter’s activity next time.
Can I make this in a cast-iron skillet?
Absolutely! A 10-inch cast-iron skillet is actually ideal for focaccia because it gets so hot. Just reduce the oil slightly so it doesn’t pool too much. You may need to adjust the baking time by a few minutes. The crust will be even crispier.
Why is my focaccia dense instead of airy?
Usually, this happens for one of three reasons: 1) The starter wasn’t active enough. 2) Too much flour was added during handling. 3) The dough was overworked. Remember, don’t add extra flour if it’s sticky. Let the cold ferment do its work. Next time, ensure your starter is at its peak before mixing.
Can I make this ahead and freeze the dough?
It’s tricky. You can freeze the dough after the first rise, but the texture might suffer. I recommend baking it, letting it cool completely, and then freezing the finished bread. That way, you just toast a slice in the morning. It tastes fresh.
What if I don’t have flaky salt?
You can use regular kosher salt, but crush it a bit in your hands first. It won’t have the same crunch, but it will still be salty and flavorful. Just sprinkle it generously. The flaky salt is really for that textural contrast, so don’t skip it if you can help it!
Pin This Recipe!
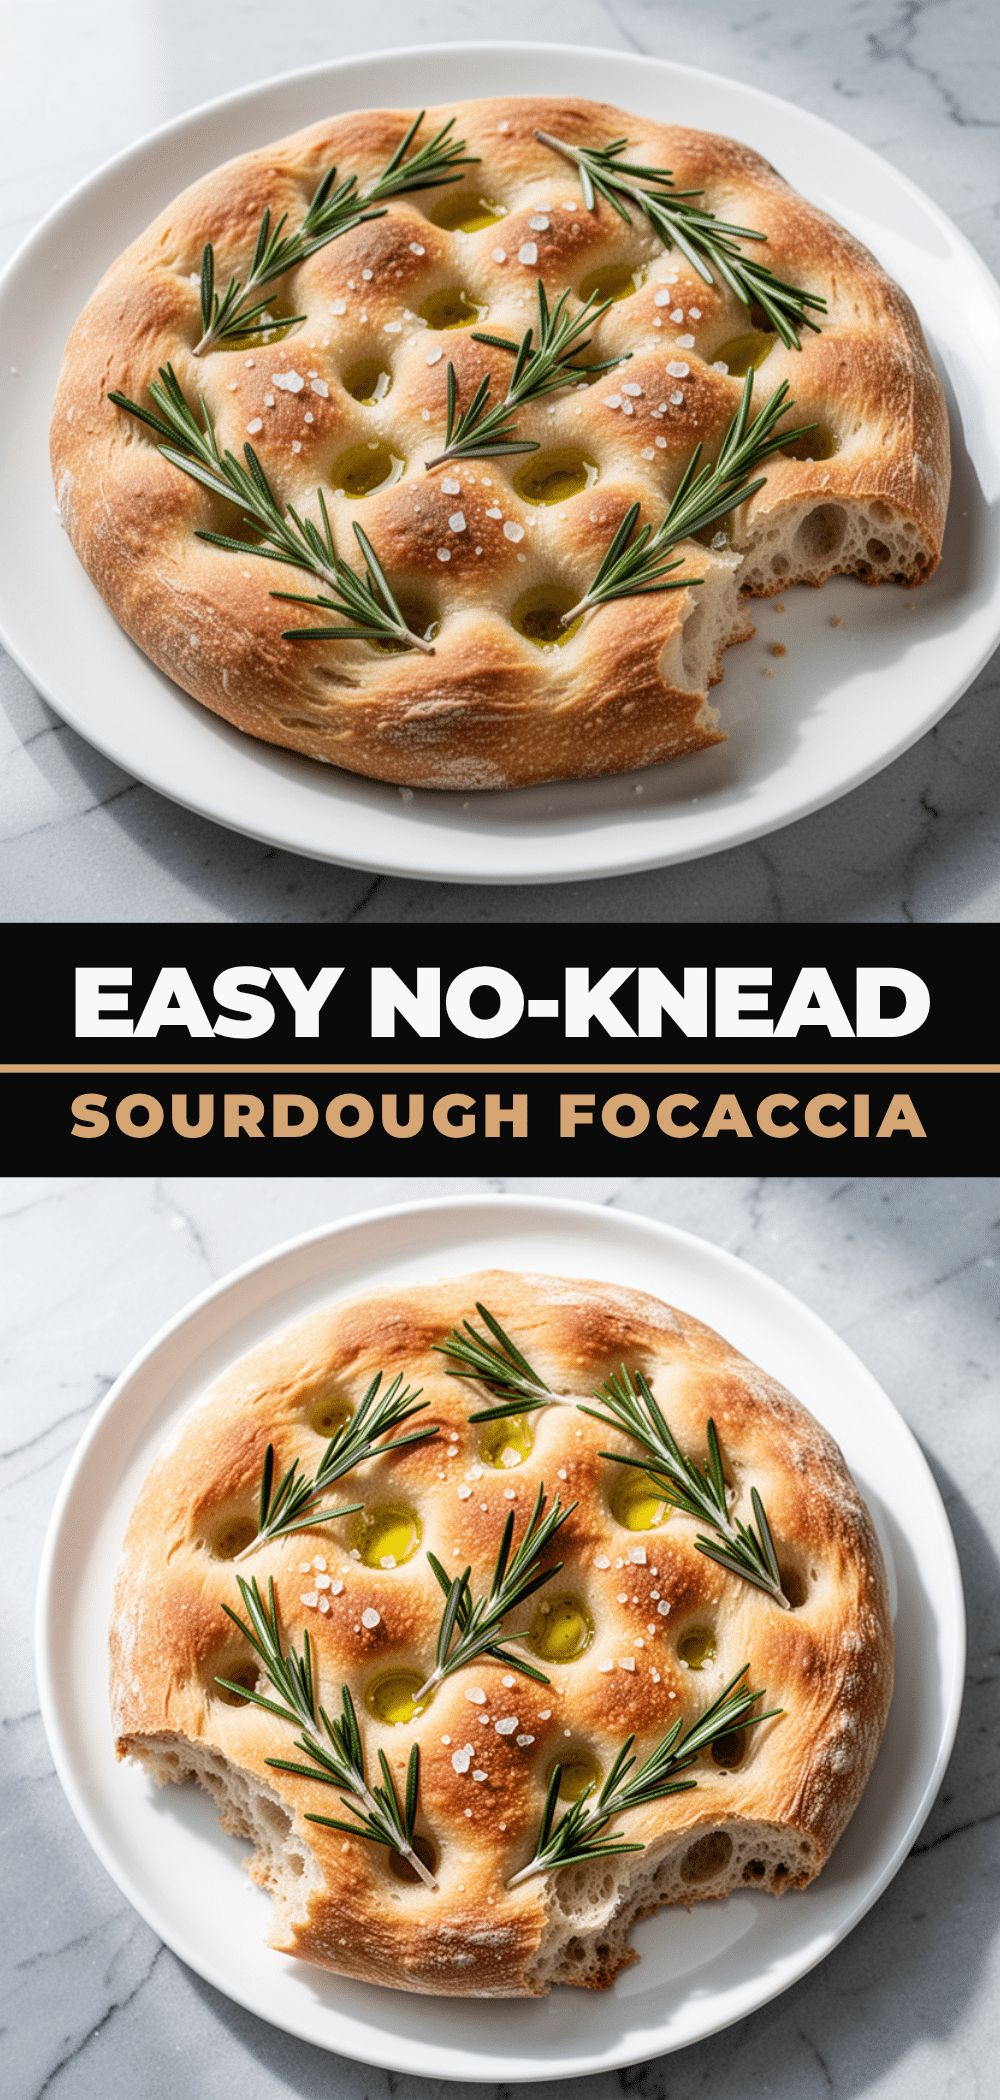

Beginner-Friendly Sourdough Focaccia: Easy Rosemary Bread
- Total Time: 40 minutes (plus rising time)
- Yield: 12 servings 1x
Description
A forgiving, no-knead sourdough focaccia recipe that yields a crispy, olive-oil-soaked bottom and airy interior. Perfect for beginners, this rustic bread features fresh rosemary and flaky salt.
Ingredients
- 1 ¾ cups (420ml) warm water (around 100°F/38°C)
- 1 cup (240g) active sourdough starter
- 2 ½ cups (315g) all-purpose flour
- 1 ½ teaspoons fine sea salt
- 2 tablespoons vegetable oil or canola oil
- ½ cup (120ml) extra virgin olive oil (for pan and topping)
- 2–3 sprigs fresh rosemary, leaves stripped
- 1 tablespoon flaky sea salt (e.g., Maldon)
- Optional: Additional olive oil for brushing top
Instructions
- In a large bowl, whisk warm water and sourdough starter until dissolved. Add flour and sea salt, mixing until no dry flour remains. Add vegetable oil and mix until smooth but still sticky. Cover with plastic wrap.
- Let dough rise at room temperature for 1-2 hours until slightly bubbly.
- Perform ‘stretch and fold’ technique: wet hands, pull edges of dough to center. Repeat every 30 minutes for 2 hours (3-4 folds total).
- Cover bowl tightly and refrigerate overnight (or up to 24 hours) for cold fermentation.
- Remove dough from fridge. Pour ½ cup extra virgin olive oil into a 9×13 inch baking pan, coating bottom and sides. Line with parchment if desired, then pour oil over it.
- Turn dough into pan. Use oiled fingers to press dough into corners. If it resists, let rest 10 minutes, then continue pressing. Cover loosely and let rise at room temperature for 1-2 hours until puffy.
- Preheat oven to 425°F (220°C).
- Press fingers deep into dough to create dimples all over. Drizzle with a little extra olive oil if desired.
- Scatter fresh rosemary leaves evenly over the surface. Sprinkle generously with flaky sea salt.
- Bake for 20-25 minutes until edges are deep golden brown. If browning too fast, cover with foil for last 5 minutes.
- Cool in pan for 5 minutes, then flip onto a wire rack. Peel off parchment and cool for another 10 minutes before slicing.
Notes
The dough should be sticky; do not add extra flour. Cold fermentation is crucial for flavor and texture. Use active, bubbly starter for best results. Flaky salt provides essential texture contrast.
- Prep Time: 15 minutes
- Cook Time: 25 minutes
- Category: Side Dish
- Cuisine: Italian
Nutrition
- Serving Size: 1 square
- Calories: 280
- Sugar: 1
- Sodium: 350
- Fat: 14
- Saturated Fat: 2
- Carbohydrates: 32
- Fiber: 2
- Protein: 6
Keywords: sourdough focaccia, rosemary bread, no-knead bread, beginner sourdough, rustic bread, olive oil bread



