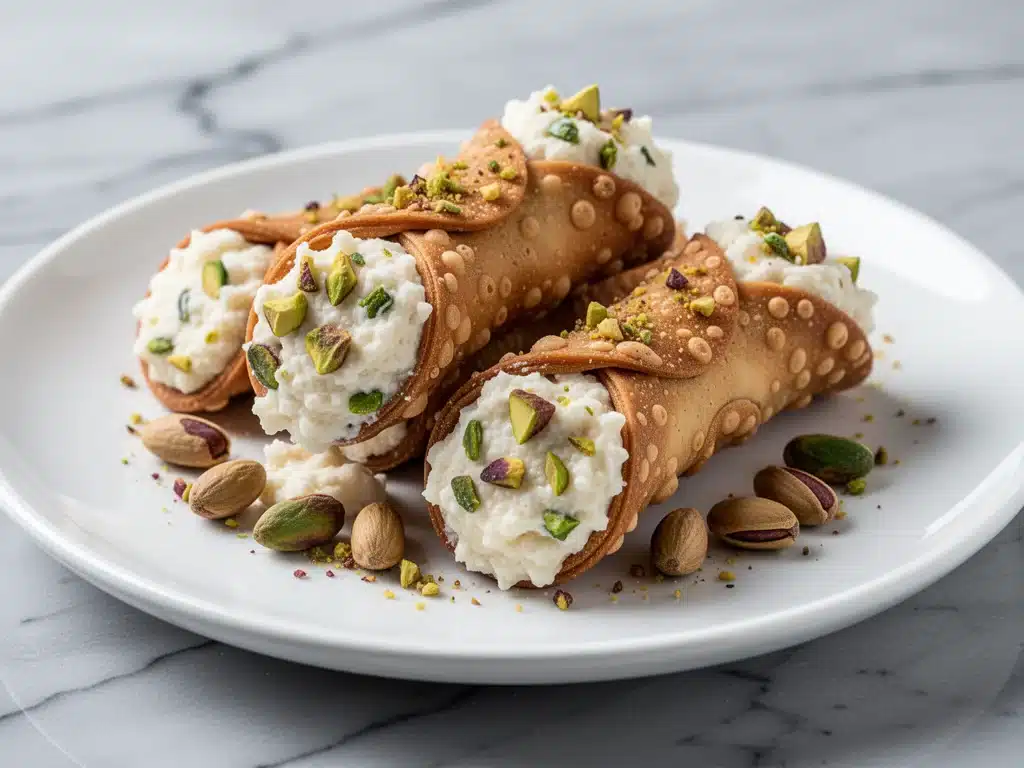
There is a specific kind of heartbreak reserved for anyone who has ever bought those sad, store-bought cannoli tubes from the grocery store freezer aisle. You know the ones. They’re brittle, they taste like cardboard, and the “ricotta” inside is so sweet and grainy it feels like you’re eating a sugar cube with a side of chalk. I used to buy them for Italian dinner parties, trying to pretend I had my life together, only to watch my guests politely nibble at the edges and leave the rest. It was humiliating. I was serving dessert that tasted like regret.
That changed last spring when my cousin Marco visited from Sicily. He looked at my store-bought stash with genuine pity and said, “You are wasting your time. Real cannoli are not hard; they just require patience.” He spent an afternoon with me in my kitchen, teaching me the difference between fresh ricotta and the stuff in a tub, how to get those crispy tubes without frying them at home, and why pistachios are non-negotiable. That weekend, I made homemade cannoli with ricotta pistachio filling for the first time. The moment I bit into that crisp, golden shell and tasted the cool, creamy, nutty filling, I knew I’d never go back. It was loud, crunchy, creamy, and perfect.
Since then, I’ve made this homemade cannoli with ricotta pistachio filling at least a dozen times. I’ve perfected the pastry dough, mastered the frying temperature, and nailed the balance of sweet ricotta and salty pistachios. This isn’t just a recipe; it’s a rite of passage. Yes, it’s a project. But the smell of frying pastry and the look on people’s faces when they see you actually make these from scratch? Worth every minute. I promise you, once you try this homemade cannoli with ricotta pistachio filling, you’ll never buy the tube version again.
Why You’ll Love This Recipe
I’ve been making this homemade cannoli with ricotta pistachio filling for years, and it has earned a permanent spot in my dessert rotation. Here’s why it keeps coming back to my kitchen:
- That Crisp Shatter — The best part of a cannoli is the shell. When you bite into a properly fried tube, it should shatter. I’ve tested dozens of dough recipes, and the one below creates a flaky, golden crust that stays crisp for hours if stored right. It’s the kind of texture that makes people stop mid-chew and say, “How did you do that?”
- Fresh Ricotta Magic — Most people don’t realize that fresh ricotta tastes nothing like the drained, tub version. It’s light, milky, and slightly sweet. When you whip it with a little vanilla and lemon zest, it becomes incredibly silky. This homemade cannoli with ricotta pistachio filling relies on that fresh texture for the contrast against the crunchy shell.
- Pistachio Power — Adding crushed pistachios to the filling isn’t just for color. It adds a savory, nutty depth that cuts through the sweetness of the ricotta and sugar. Plus, sprinkling them on the ends? It looks fancy and tastes amazing. I use unsalted pistachios because the saltiness really pops.
- Make-Ahead Friendly — Here’s the secret: you can make the shells days ahead and store them in an airtight container. You can even make the filling a day ahead. The only thing you can’t do until serving time is fill the tubes, otherwise they get soggy. This makes them perfect for parties where you need to prep early.
- Impressive but Actually Approachable — People assume cannoli are hard. They’re not. They’re just a few steps: mix dough, roll thin, cut circles, fry, whip filling, fill. If you can roll out pie dough, you can make these. I made my first batch while my toddler was napping, and they turned out great.
This homemade cannoli with ricotta pistachio filling is my go-to for Easter, Mother’s Day, or just when I want to treat myself to something that feels special but tastes like home.
Ingredients You’ll Need
Making cannoli at home requires a few specific ingredients, but don’t worry—you probably have most of them. The key is quality, especially for the ricotta and the pistachios. Here’s exactly what I use.
For the Cannoli Shells
All-purpose flour (2 cups / 250g) — This is your base. Don’t try to use cake flour or whole wheat; you need that gluten structure to create the flaky layers. I use Gold Medal because it’s consistent.
Granulated sugar (2 tablespoons / 25g) — Just a little bit to sweeten the dough slightly and help with browning. Too much sugar and the shells will burn in the oil.
Cocoa powder (2 tablespoons / 10g, unsweetened) — I love the chocolate version, but plain is classic. If you use cocoa, make sure it’s high quality. I use Hershey’s Special Dark for a deeper flavor. For plain shells, just omit this and add an extra tablespoon of flour.
Salt (½ teaspoon) — Essential for balancing the sweetness. Don’t skip it.
Unsalted butter (1 tablespoon, melted) — This adds richness and helps with the flakiness. Melt it and let it cool slightly before adding.
Whole milk (4-5 tablespoons / 60-75ml) — You need enough to bring the dough together, but not too much. Start with 4 tablespoons and add more if needed. The dough should be stiff.
Strong espresso or cold water (1 teaspoon) — If you’re making chocolate shells, a teaspoon of strong espresso powder or liquid enhances the chocolate flavor without making it watery. If making plain, just use water.
Vegetable oil (for frying) — You need about 2-3 cups of oil for frying. I use vegetable or canola oil because they have a neutral flavor and high smoke point. Peanut oil works too if you like that taste.
For the Ricotta Pistachio Filling
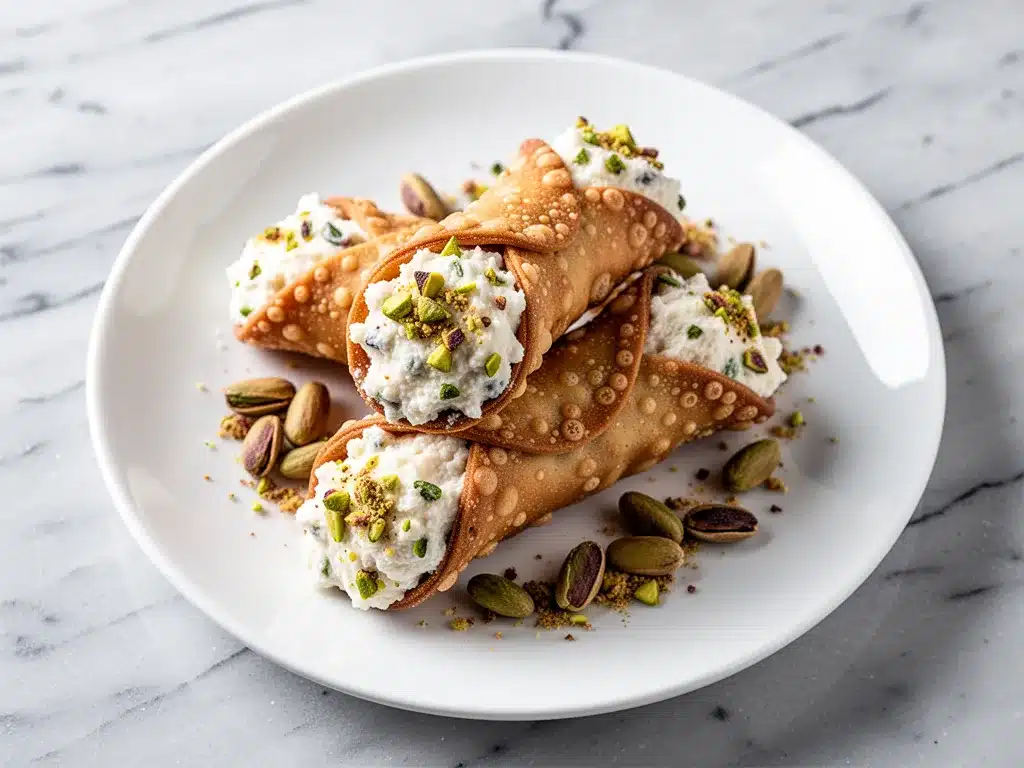
Fresh ricotta cheese (2 cups / 450g) — This is the most important ingredient. Buy fresh ricotta from the dairy section, not the shelf-stable kind. If you can find it from a local Italian market, even better. It should be moist and creamy.
Powdered sugar (1 cup / 120g, sifted) — Powdered sugar dissolves instantly, whereas granulated sugar would make the filling gritty. Sifting is crucial to avoid lumps.
Unsalted butter (2 tablespoons, softened) — Softened butter makes the filling creamy and spreadable. If it’s too cold, the filling will be stiff.
Vanilla extract (1 teaspoon) — Pure vanilla is best. It adds warmth and depth.
Lemon zest (1 teaspoon) — Just the yellow part. It brightens up the heavy ricotta and balances the sweetness. I love the hint of citrus.
Crushed pistachios (½ cup / 60g) — Unsalted is best so you can control the salt. Crush them coarsely; you want texture, not dust. Save a few extra for garnish.
Mini chocolate chips (¼ cup / 40g, optional) — I add these sometimes for a fun surprise, but purists might skip them. My kids love them.
For Garnish
Extra crushed pistachios — For rolling the ends of the filled cannoli.
Powdered sugar — For dusting right before serving.
Equipment Needed
You don’t need fancy equipment, but you do need the right tools for the job.
Deep fryer or heavy-bottomed pot — I use a Dutch oven because it holds heat well. A deep fryer works too if you have one. You need something with high sides to prevent oil splatter.
Candy thermometer — Essential for getting the oil to 375°F (190°C). Frying without a thermometer is risky; you’ll either burn the shells or have them absorb too much oil. I have a cheap clip-on one from Amazon that works perfectly.
Cannoli molds — You need these to shape the shells. You can buy metal tubes online or at kitchen stores. If you don’t have them, you can use wooden chopsticks or metal skewers, but the tubes are much easier.
Pizza cutter or sharp knife — To cut the dough into circles. A pizza cutter is faster and cleaner.
Rolling pin — A standard rolling pin works fine. You want to roll the dough very thin, like pie crust.
Fine-mesh sieve or food processor — To drain the ricotta. If your ricotta is wet, you must drain it, or the filling will be runny. A food processor helps make it super smooth.
Parchment paper — To line plates for the fried shells so they don’t stick.
How to Make It: Step-by-Step
Alright, let’s make this homemade cannoli with ricotta pistachio filling! It’s a multi-step process, but I’ll walk you through it so it feels manageable. The key is prep.
Step 1: Prep the Ricotta (Do This First)
If your ricotta is very wet, you need to drain it. Place the ricotta in a fine-mesh sieve lined with cheesecloth over a bowl. Let it drain in the fridge for at least 2 hours, or ideally overnight. This removes excess whey so your filling is thick and creamy, not soupy. Once drained, transfer it to a food processor and pulse until smooth. This takes the graininess out. Transfer to a bowl, cover, and refrigerate until ready to use.
Step 2: Make the Dough
In a large bowl, whisk together the flour, sugar, cocoa powder (if using), and salt. Add the melted butter and mix with a fork. Gradually add the milk (and espresso, if using) while stirring. The dough will look shaggy at first. Once it comes together, turn it out onto a lightly floured surface. Knead it gently for about 5 minutes until it’s smooth and elastic. It should be stiff but pliable. Wrap it tightly in plastic wrap and let it rest at room temperature for 30 minutes. This relaxes the gluten and makes it easier to roll.
Step 3: Roll and Cut the Dough
On a lightly floured surface, roll the dough out as thin as possible. I mean paper-thin. If it’s too thick, the shells will be chewy instead of crisp. Use a pizza cutter to cut 4-inch circles. You should get about 12-15 circles from one batch. Keep them covered with a damp towel so they don’t dry out.
Step 4: Fry the Shells
Heat the oil in your Dutch oven to 375°F (190°C). This temperature is critical. Too low, and the shells absorb oil; too high, and they burn. Take a dough circle and wrap it tightly around a cannoli mold, pressing the edges together gently. Don’t stretch it; just wrap it. Carefully lower the mold into the hot oil. Fry for about 1-2 minutes, turning once, until golden brown and crisp. Use a slotted spoon to lift it out. Let the oil drip off for a few seconds, then carefully slide the shell off the mold onto a paper towel-lined plate. Let it cool completely. Repeat with the remaining dough.
Step 5: Make the Filling
In a large bowl, beat the softened butter until creamy. Add the drained ricotta, powdered sugar, vanilla, and lemon zest. Beat on medium speed until smooth and well combined. Fold in the crushed pistachios (and chocolate chips, if using). Taste it. It should be sweet but balanced. If it’s too sweet, add a tiny bit more lemon zest. Cover and refrigerate until ready to fill.
Step 6: Fill the Cannoli
This is the fun part! You can use a piping bag with a large tip or a Ziploc bag with the corner cut off. Pipe the filling into one end of the cooled shell, then gently push it through to the other end. Or, fill from both ends for a fuller look. Roll the ends in the extra crushed pistachios for garnish. Dust with powdered sugar right before serving. Serve immediately.
Expert Tips & Tricks
Here’s everything I’ve learned from making this homemade cannoli with ricotta pistachio filling dozens of times. These tips will save you from my mistakes.
Drain Your Ricotta
This is the #1 mistake people make. Wet ricotta = runny filling. If you’re in a hurry, you can put the ricotta in the microwave for 30 seconds to speed up the draining, but the fridge method is best. The drier the ricotta, the better the texture.
Roll It Thin
I can’t stress this enough. The thinner you roll the dough, the crispier the shell. If your dough springs back, let it rest for 5 more minutes. Don’t force it. Patience is key.
Oil Temperature Control
Keep that oil at 375°F. If it drops below 350°F, your shells will be greasy. If it goes above 400°F, they’ll burn. Adjust your heat as needed. I usually turn it down slightly after the first few shells go in, as the cold dough lowers the oil temp.
Don’t Fill Too Early
Cannoli shells absorb moisture quickly. Fill them no more than 1-2 hours before serving. If you make them for a party, prep the shells and filling separately, then fill them right before guests arrive. They’ll stay crisp for a while, but not all day.
Use Unsalted Pistachios
Salted pistachios can make the filling too salty. Unsalted gives you control. If you only have salted, just rinse them quickly and pat them dry before crushing.
Re-frying Leftovers
If your shells get soft, you can re-crisp them in a 350°F oven for 2-3 minutes. They won’t be quite as good as fresh, but it’s better than chewy.
Variations & Substitutions
Once you’ve nailed the basic version, here’s how you can mix it up. I’ve tried all of these.
Chocolate Shells
The recipe already includes cocoa powder, but for a richer chocolate flavor, use 3 tablespoons of cocoa and add 1 tablespoon of sugar. You can also drizzle melted chocolate over the filled cannoli for extra decadence.
White Chocolate Macadamia
Skip the pistachios and stir in chopped macadamia nuts and white chocolate chips. Add a bit more lemon zest. It’s tropical and delicious.
Amaretto Ricotta
Add 1 tablespoon of Amaretto liqueur to the filling. It pairs beautifully with the pistachios and adds a sophisticated almond flavor. Great for adults.
Mini Cannoli
Cut smaller circles (2.5 inches) and use mini molds or even chopsticks. These are perfect for parties because they’re bite-sized. They fry faster, so watch the oil carefully.
Vegan Version
This is tricky because traditional cannoli rely on dairy. You can use vegan ricotta (made from cashews) and vegan butter, but the texture will be different. I haven’t perfected a vegan version, but it’s possible with some experimentation.
Gluten-Free
Use a 1:1 gluten-free flour blend. The dough might be more fragile, so handle it gently. You may need to add a bit more milk. The shells might not be as flaky, but they’ll still be tasty.
Serving & Storage
How to Serve:
I usually serve these on a platter with a dusting of powdered sugar. They look stunning next to a cup of strong Italian espresso. They’re also great with a glass of sweet wine, like Moscato.
Side Dishes:
Cannoli are dessert, so they don’t need sides. But if you’re having an Italian dinner, maybe serve them after a main course like Italian sausage and wild mushroom stuffed shells for a full Italian feast.
Storage:
Store unfilled shells in an airtight container at room temperature for up to 3 days. They will stay crisp. Store the filling in the fridge for up to 2 days. Do not fill them until ready to serve. If you must fill them ahead, do it no more than 2 hours before serving and keep them refrigerated.
Freezing:
You can freeze the unfilled shells for up to 1 month. Let them thaw at room temperature before filling. Do not freeze the filling; the ricotta will separate and become grainy.
Nutrition Information
I’m not a nutritionist, but here’s the breakdown if you’re tracking. Keep in mind, these are rich, indulgent treats.
Per Cannoli (based on 12 servings):
– Calories: 280
– Protein: 8g
– Carbs: 28g
– Fiber: 1g
– Sugar: 18g
– Fat: 16g
– Saturated Fat: 7g
– Cholesterol: 35mg
– Sodium: 120mg
What’s Good:
– Good source of protein from the ricotta.
– Calcium from the cheese.
– Healthy fats from the pistachios.
What to Know:
– High in sugar and calories due to frying and sweetened filling.
– Contains gluten and dairy.
– Moderate sodium.
My Take:
“Look, this is a dessert. It’s meant to be enjoyed, not feared. One or two cannoli is a perfect serving size. Pair it with a strong coffee to balance the sweetness. It’s a special treat, not a daily snack.”
Final Thoughts
So that’s my homemade cannoli with ricotta pistachio filling! I’ve probably talked your ear off at this point, but when you make a recipe this often, you have a lot to say about it.
This has saved my dessert game more times than I can count. It’s my answer to “what do I bring to the party?” when I want to impress but also want to enjoy the process. My family is obsessed, and even my picky eater loves them. I love that I can make these ahead of time and just fill them right before guests arrive.
Make it yours! Try different nuts, add different extracts, or play with the shell flavors. The best recipes are the ones you adapt to your tastes. If you make this, drop a comment and let me know what you think! I love hearing how recipes turn out in your kitchen. And if something doesn’t work, tell me that too—I’m here to help troubleshoot.
Happy cooking! And I hope your kitchen smells half as good as mine does right now.
Frequently Asked Questions
Can I bake the cannoli shells instead of frying?
You can, but they won’t be as crisp or traditional. If you must bake, brush the wrapped shells with egg wash and bake at 375°F for 8-10 minutes until golden. They’ll be more like baked pastry than fried shells. Frying is definitely the way to go for that authentic crunch.
Why did my shells absorb too much oil?
This usually happens if the oil wasn’t hot enough. If the oil is below 350°F, the dough absorbs oil before it crisps up. Make sure your oil is at 375°F before adding the shells. Also, don’t overcrowd the pot; fry in batches to keep the temperature stable.
Can I use store-bought ricotta?
You can, but you must drain it thoroughly. Store-bought ricotta is often very wet. If you don’t drain it, your filling will be runny and the cannoli will get soggy quickly. I recommend using a sieve and letting it drain for several hours or overnight.
How far in advance can I make the filling?
You can make the filling up to 2 days ahead. Store it in an airtight container in the fridge. Stir it well before filling the shells, as it may separate slightly. Bring it to room temperature for 30 minutes before piping for easier handling.
Can I freeze the fried shells?
Yes! Let them cool completely, then store them in an airtight container in the freezer for up to 1 month. Thaw them at room temperature before filling. They should still be crisp, but if they’re slightly soft, you can re-crisp them in a 350°F oven for 2-3 minutes.
What kind of pistachios should I use?
Unsalted pistachios are best because you can control the saltiness. Look for bright green ones if possible, as they indicate fresh, high-quality pistachios. Avoid the pale, dried-out ones. You can buy them raw or roasted, but raw is better for crushing.
Can I make mini cannoli?
Absolutely! Mini cannoli are great for parties. Just cut smaller circles (2.5 inches) and use mini molds or chopsticks. They fry faster, so watch them closely. They’re usually done in 45-60 seconds. Roll the ends in crushed pistachios for a cute finish.
Pin This Recipe!
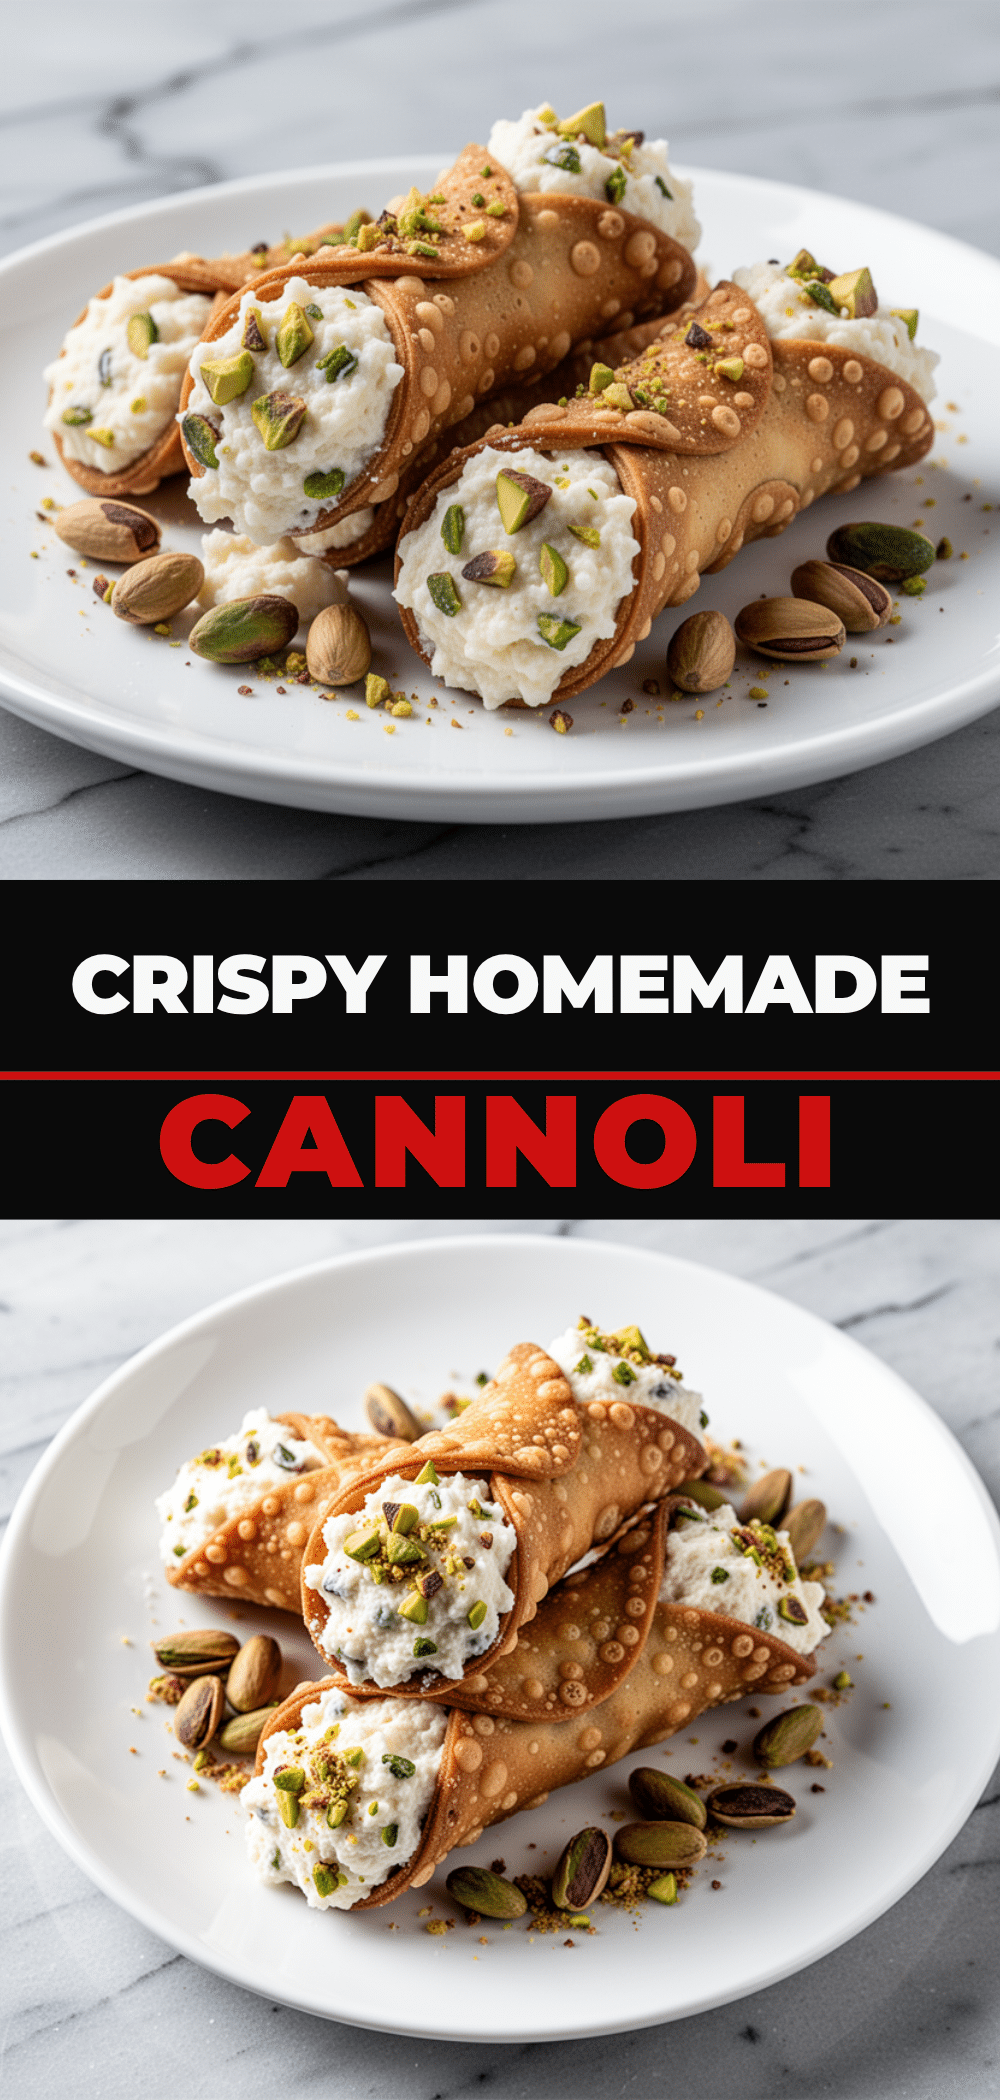

Homemade Cannoli: Easy Ricotta Pistachio Recipe
- Total Time: 1 hour 15 minutes
- Yield: 12 servings 1x
Description
Authentic homemade cannoli with crispy fried shells and a creamy, fresh ricotta pistachio filling. This recipe offers a superior texture and flavor compared to store-bought versions, making it perfect for special occasions.
Ingredients
- 2 cups (250g) all-purpose flour
- 2 tablespoons (25g) granulated sugar
- 2 tablespoons (10g) unsweetened cocoa powder (optional, for chocolate shells)
- 1/2 teaspoon salt
- 1 tablespoon unsalted butter, melted
- 4–5 tablespoons (60-75ml) whole milk
- 1 teaspoon strong espresso powder or cold water (optional)
- Vegetable oil (for frying)
- 2 cups (450g) fresh ricotta cheese
- 1 cup (120g) powdered sugar, sifted
- 2 tablespoons unsalted butter, softened
- 1 teaspoon vanilla extract
- 1 teaspoon lemon zest
- 1/2 cup (60g) crushed unsalted pistachios
- 1/4 cup (40g) mini chocolate chips (optional)
- Extra crushed pistachios for garnish
- Powdered sugar for dusting
Instructions
- Drain the fresh ricotta in a fine-mesh sieve lined with cheesecloth for at least 2 hours or overnight. Pulse until smooth in a food processor and refrigerate.
- Whisk together flour, sugar, cocoa powder (if using), and salt in a large bowl. Add melted butter and mix. Gradually add milk (and espresso if using) until a stiff dough forms.
- Knead the dough gently for 5 minutes until smooth. Wrap in plastic and rest at room temperature for 30 minutes.
- Roll the dough out paper-thin on a floured surface. Cut into 4-inch circles using a pizza cutter.
- Heat oil in a Dutch oven to 375°F (190°C). Wrap dough circles around cannoli molds and fry for 1-2 minutes until golden brown and crisp.
- Remove shells with a slotted spoon, let oil drip off, and slide off molds onto parchment paper to cool completely.
- Beat softened butter until creamy. Add drained ricotta, powdered sugar, vanilla, and lemon zest. Beat until smooth.
- Fold in crushed pistachios and chocolate chips (if using). Refrigerate until ready to use.
- Pipe the filling into the cooled shells. Roll the ends in extra crushed pistachios and dust with powdered sugar before serving.
Notes
Ensure ricotta is thoroughly drained to prevent runny filling. Roll dough as thin as possible for crisp shells. Maintain oil temperature at 375°F to avoid greasy or burnt shells. Fill cannoli only 1-2 hours before serving to maintain crispness. Unfilled shells can be stored at room temperature for up to 3 days or frozen for 1 month.
- Prep Time: 45 minutes
- Cook Time: 30 minutes
- Category: Dessert
- Cuisine: Italian
Nutrition
- Serving Size: 1 cannoli
- Calories: 280
- Sugar: 18
- Sodium: 120
- Fat: 16
- Saturated Fat: 7
- Carbohydrates: 28
- Fiber: 1
- Protein: 8
Keywords: homemade cannoli, ricotta pistachio filling, Italian dessert, fried pastry, fresh ricotta, pistachio recipe, cannoli shells



