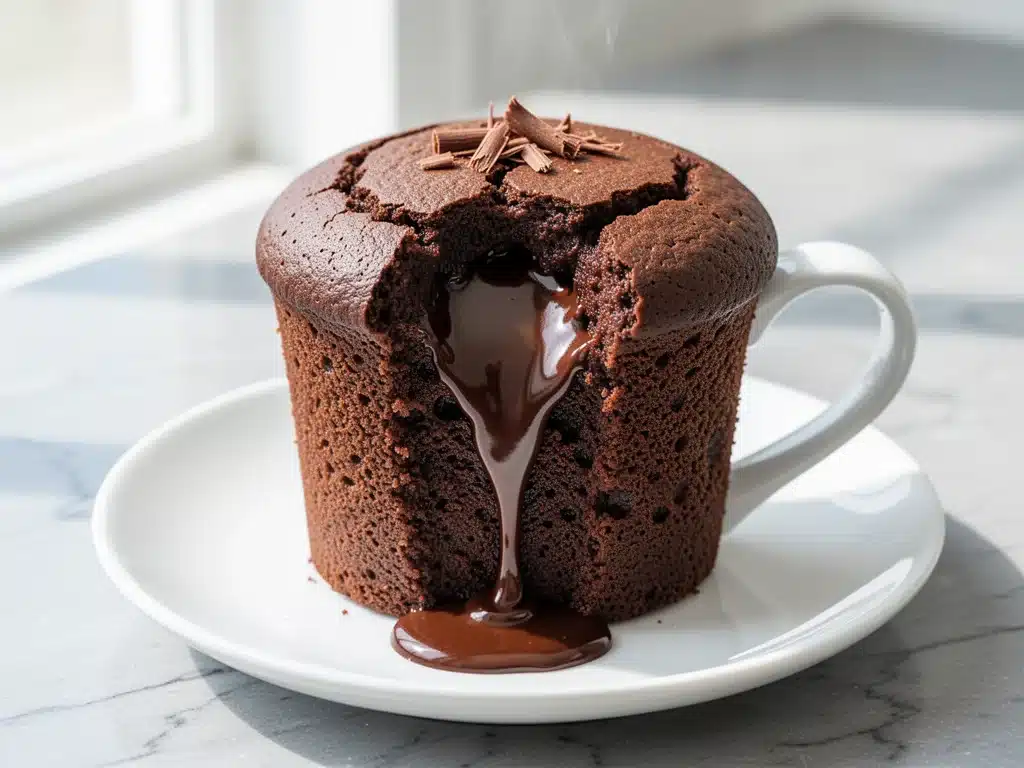
It was 11:30 PM on a Tuesday, and I was staring into the open fridge like it held the secrets to the universe. My husband was already asleep, snoring that rhythmic, annoying tune that usually puts me to sleep, but tonight, sleep was the last thing on my mind. I had a craving. Not for a salad. Not for leftovers. I wanted something rich, sweet, and undeniably chocolatey. But I also didn’t want to pull out mixing bowls, whisk, measuring cups, and a baking pan just to eat one small portion of cake. That feels like a lot of work for a midnight snack, right?
So, I did what any desperate home cook does: I raided the pantry. I found some flour, a bit of sugar, cocoa powder that had been sitting in the back since last Christmas, and an egg. I threw it all into my favorite mug, popped it in the microwave, and waited. When it came out, it wasn’t just edible; it was genuinely good. Dense, moist, and intensely chocolatey, it hit the spot without the guilt or the cleanup.
That moment changed how I handle late-night sugar cravings. I’ve made this small batch fudgy chocolate mug cake dozens of times since then. Sometimes it’s a reward for finishing a hard week. Sometimes it’s just because I woke up thirsty for chocolate. But mostly, it’s because it’s the perfect answer to “I want dessert now, but I don’t want to ruin my dinner or spend an hour baking.” It’s fast, it’s personal, and it tastes like a real dessert, not a compromise.
If you’ve ever stood in your kitchen at midnight debating whether to order delivery or just go to bed hungry, this recipe is for you. It’s simple, it’s forgiving, and it works every single time. Let’s get into how to make the best single-serving chocolate cake that fits right in your mug.
Why You’ll Love This Quick Chocolate Mug Cake
There are a million mug cake recipes out there, but most of them turn out rubbery or dry. This one is different. I’ve tested the ratios until they were perfect, ensuring that every bite is fudgy and tender. Here’s why this has become my go-to dessert hack:
- Zero Cleanup — Seriously. One mug, one spoon, one microwave. That’s it. I’ve made this after dirty dishes were piled high in the sink, and I didn’t even have to get up from the kitchen counter. It’s the ultimate lazy-night win.
- Ready in 90 Seconds — From grabbing the mug to taking the first bite, it takes less time than it takes to scroll through dessert options on a delivery app. I’m talking 60 seconds of prep and 45-60 seconds of cooking. Lightning fast.
- Uses Pantry Staples — You don’t need to run to the store for this. Flour, sugar, cocoa powder, baking powder, milk, butter. If you have these, you have dessert. It’s like having a cheat code for hunger.
- Actually Fudgy — The secret is the ratio of fat to flour. Most mug cakes fail because they’re too dry. This one stays moist and dense, more like a brownie than a sponge cake. I’ve had people taste it and ask if I bought it from a bakery, which is high praise for a 90-second dessert.
- Portion Control — It’s just for you. No leftover cake sitting in the fridge for three days. You make one, you eat one, you’re satisfied. It’s perfect for when you want a treat but don’t want a whole cake.
This isn’t just a quick fix; it’s a reliable comfort. Whether you’re studying late, working on a project, or just trying to survive a busy weeknight, this small batch fudgy chocolate mug cake delivers exactly what you need without the fuss.
Ingredients You’ll Need
Here’s the best part: you probably have almost all of this already. I’m not asking you to buy anything special. This is about simplicity. I’ll walk you through exactly what goes in and why the quality matters.
For the Cake Base
All-purpose flour (4 tablespoons / approx. 30g) — This is your structure. Don’t try to use almond flour or coconut flour here unless you want a very different texture. All-purpose gives that classic cake-y chew. Sift it if it’s lumpy, though for a mug cake, it’s usually fine.
Granulated sugar (3 tablespoons / approx. 38g) — I use white sugar for the sharpest chocolate flavor. Brown sugar works too, but it makes it a bit more molasses-heavy. If you’re watching sugar, you can reduce to 2 tablespoons, but it won’t be as sweet.
Cocoa powder (2 tablespoons / approx. 10g) — This is the star. Use unsweetened cocoa powder. Dutch-processed cocoa gives a darker, richer color and milder flavor, while natural cocoa is more acidic and intense. I usually use whatever is on sale. Do not use hot chocolate mix (like Nesquik)—it has too much sugar and milk solids.
Baking powder (1/4 teaspoon) — Just a tiny bit. You want it to rise slightly, not explode. Too much baking powder leaves a metallic taste, so measure carefully.
Salt (a pinch) — I know it’s a sweet recipe, but salt is crucial. It makes the chocolate taste more like chocolate. Don’t skip it.
For the Moisture and Fat
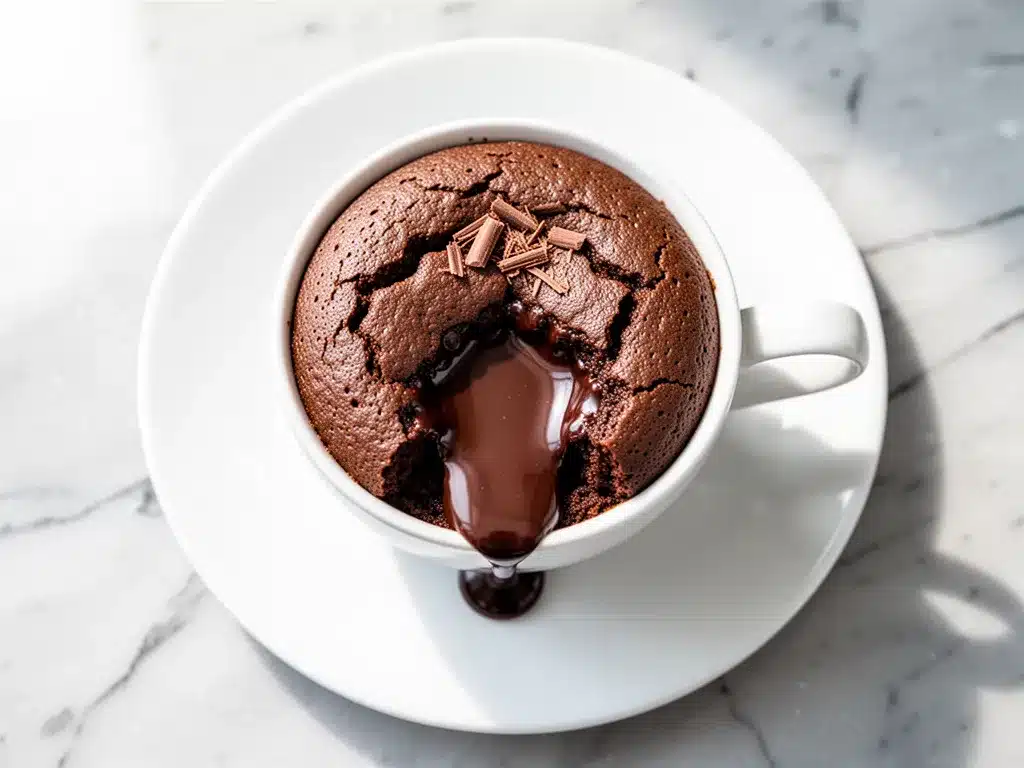
Milk (3 tablespoons / approx. 45ml) — Whole milk is best for richness, but 2% or even almond milk works. Just don’t use water; you’ll lose that creamy texture.
Vegetable oil or melted butter (2 tablespoons / approx. 30g) — I prefer butter for flavor, but oil keeps it moister for longer. If you’re in a rush, oil is easier because you don’t have to wait for butter to melt. I usually just nuke a tablespoon of butter for 10 seconds.
Egg (1 large, or 2 tablespoons of egg substitute) — This binds it all together. If you’re allergic to eggs, you can use a flax egg (1 tbsp ground flax + 3 tbsp water) or just a tablespoon of yogurt, but the texture will be slightly denser.
Optional Add-ins
Chocolate chips (1 tablespoon) — I throw these in for gooey pockets of melty chocolate. Semi-sweet or dark chocolate chips work best. This turns it from a cake into a brownie-like experience.
Peanut butter (1 teaspoon) — Swirl it in for a Reese’s vibe. It adds protein and makes it even more fudgy.
Coffee (1 teaspoon of instant espresso) — If you’re a coffee drinker, add this. It doesn’t make it taste like coffee; it just deepens the chocolate flavor. It’s a baker’s secret.
Equipment Needed
You don’t need fancy tools for this. Here’s what I actually use:
A standard 12-ounce microwave-safe mug — This is crucial. If your mug is too small, the cake will rise over the top and make a mess. I use a thick ceramic mug. Glass mugs work too, but they get very hot. Avoid metal mugs or anything with gold trim.
A small mixing spoon — Just a regular teaspoon or tablespoon. You’re mixing in the mug, so a small spoon fits better.
A microwave — Obviously. But note that microwaves vary. My microwave is 1100 watts, so 60 seconds is perfect. If yours is weaker (700-800 watts), you might need 75-90 seconds. If it’s stronger, start with 45 seconds.
A plate or small bowl — Optional, but I put my mug on a plate just in case it bubbles over. It saves cleaning the microwave turntable later.
How to Make It: Step-by-Step
Alright, let’s make this! I’m walking you through exactly how I do it, including the little tricks I’ve picked up to avoid the dreaded dry mug cake.
Step 1: Mix the Dry Ingredients (2 minutes)
In your mug, add the flour, sugar, cocoa powder, baking powder, and salt. Use your spoon to stir them together until there are no visible clumps of flour or cocoa. This ensures even distribution. If you skip this, you’ll end up with a bite of pure bitter cocoa powder, which is not pleasant.
Step 2: Add the Wet Ingredients (1 minute)
Pour in the milk and oil (or melted butter). If you’re using an egg, crack it in now. If you’re using egg substitute, add it here. Stir vigorously. You want a smooth, lump-free batter. It should look like thick chocolate milk. If it’s too thick, add a teaspoon more milk. If it’s too thin, add a teaspoon more flour.
Step 3: The Swirl (Optional but Recommended)
If you’re adding chocolate chips or peanut butter, fold them in now. Don’t overmix. Just a few stirs to distribute them. This is where you can get creative. I sometimes add a dash of cinnamon or a pinch of chili powder for a kick.
Step 4: Microwave (45-60 seconds)
Place the mug in the microwave. I start with 45 seconds. Check the cake. It should be puffed up and the top should look set, not wet. If it’s still liquidy in the center, microwave in 10-second increments. Do not overcook! Overcooked mug cake is rubbery and dry. It’s better to undercook slightly than overcook.
Step 5: Cool and Eat (2 minutes)
Let it sit for a minute. It will continue to cook slightly from residual heat and will firm up. This is also when the smell hits you, and you’ll realize how good this is. Eat it straight from the mug. No plate needed.
Expert Tips & Tricks
Here’s everything I’ve learned from making this dozens of times. These tips will save you from my mistakes.
Know Your Microwave
This is the #1 reason mug cakes fail. Microwaves are inconsistent. My first few attempts were rubbery because I assumed all microwaves were the same. Start with 45 seconds. Check. Add time only if needed. It’s better to have a slightly undercooked center than a dry cake.
Don’t Skimp on Fat
The oil or butter is what makes it fudgy. If you try to make this fat-free, it will be dry and crumbly. I don’t recommend cutting the fat. If you’re worried about calories, just enjoy a smaller mug.
Use a Thick Mug
Thin ceramic or glass mugs can crack from the heat shock. I use a heavy-duty stoneware mug. It retains heat well and feels substantial. Also, make sure it’s microwave-safe. Some mugs have metallic paint that can spark.
Layer the Chocolate
If you love chocolate, add a layer of chocolate chips in the middle of the batter after pouring it in, then cover with more batter. It creates a molten center. It’s like a lava cake in a mug. Game changer.
Clean Your Spoon Immediately
I know it’s tempting to let it dry, but dried cocoa and flour are a nightmare to scrub off. Rinse the spoon under warm water right after mixing. Your future self will thank you.
Variations & Substitutions
Once you’ve nailed the basic version, here’s how you can mix it up. I’ve tried all of these.
Red Velvet Mug Cake
Swap the cocoa powder for 1 tablespoon of cocoa powder and add 1/2 teaspoon of red food coloring. Add 1/4 teaspoon of vinegar to the milk for that tangy red velvet flavor. Top with cream cheese frosting.
Double Chocolate
Add 1 tablespoon of mini chocolate chips to the batter. Use dark chocolate chips for a richer taste. This is for serious chocolate lovers.
Healthy-ish Version
Use mashed banana or applesauce instead of oil. Use honey or maple syrup instead of sugar. Add oats for fiber. It’s less fudgy and more bread-like, but still tasty.
Nut-Free
This recipe is naturally nut-free if you use sunflower seed butter or just skip the add-ins. Great for school or work environments with nut restrictions.
Gluten-Free
Use a 1:1 gluten-free flour blend. The texture might be slightly more crumbly, but it still works. I’ve used Bob’s Red Mill 1-to-1 and it’s fine.
Serving & Storage
How to serve it:
I usually eat it right out of the mug. It’s warm, gooey, and perfect. But if you want to make it fancy, top it with a dollop of whipped cream, a sprinkle of sea salt, or a few fresh berries. The contrast of cold berries and hot cake is amazing.
Storage:
This is best eaten immediately. It doesn’t store well because the texture changes as it cools. It can become rubbery. If you must save it, store it in the fridge for up to 2 days. Reheat it in the microwave for 15-20 seconds to soften it up. But honestly, it’s so fast to make that leftovers are rare.
Meal prep:
You can pre-mix the dry ingredients in a small jar or baggie. When you want a cake, just add the wet ingredients. This is great for office snacks or travel. Keep a jar of dry mix in your desk drawer.
Nutrition Information
I’m not a nutritionist, but here’s the breakdown if you’re tracking.
| Per Serving | Amount |
|---|---|
| Calories | 320 |
| Protein | 6g |
| Carbs | 45g |
| Fiber | 2g |
| Sugar | 28g |
| Fat | 14g |
What’s Good:
- Quick source of energy
- Single serving prevents overeating
What to Know:
- Higher in sugar and carbs
- Contains gluten and dairy (unless substituted)
My Take:
Look, this is dessert. It’s not a health food. It’s a treat. But it’s a controlled treat. One mug, one serving, done. It’s better than a slice of cake because you don’t have the pressure to finish a whole plate. Enjoy it guilt-free.
Final Thoughts
So that’s my small batch fudgy chocolate mug cake! I’ve probably talked your ear off at this point, but when you make a recipe this often, you have a lot to say about it. This has saved me from midnight snack disasters more times than I can count. It’s my answer to “I want something sweet” when I’m tired, don’t want to cook, and still want to feel good about what I’m eating.
Make it yours! Try different add-ins, swap in your favorite chocolate, adjust the sweetness. The best recipes are the ones you adapt to your tastes. If you make this, drop a comment and let me know what you think! I love hearing how recipes turn out in your kitchen. And if something doesn’t work, tell me that too—I’m here to help troubleshoot.
Happy cooking! And I hope your kitchen smells half as good as mine does right now.
Frequently Asked Questions
Can I use almond milk instead of dairy milk?
Yes, absolutely. Almond milk, oat milk, or soy milk all work. Just keep in mind that unsweetened varieties might make the cake slightly less sweet, so you might want to add a teaspoon more sugar. The texture will be slightly less rich than with whole milk, but still good.
Why is my mug cake rubbery?
Overcooking is the most common cause. Microwaves cook quickly, and it’s easy to go from perfect to rubbery in 10 seconds. Start with 45 seconds and check. If the center is still wet, add 10 seconds. Also, too much flour can make it dense. Measure carefully.
Can I make this in the oven?
You can, but it’s not really a mug cake anymore. You’d need to use a ramekin or small oven-safe dish. Bake at 350°F for 12-15 minutes. But honestly, the microwave version is faster and just as good. The texture is slightly different, but still tasty.
Is this recipe gluten-free?
The base recipe contains wheat flour, so it’s not gluten-free. But you can easily swap in a 1:1 gluten-free flour blend. The result will be slightly more crumbly, but still delicious. I’ve tested this with Bob’s Red Mill and Cup4Cup, and both work well.
Can I double this recipe?
I don’t recommend doubling it in the same mug. It will overflow and make a mess. If you want two servings, use two mugs and microwave them simultaneously. Just make sure your microwave has enough space. Or, make a small batch in a bowl and bake it in the oven.
What if I don’t have an egg?
You can use a flax egg (1 tbsp ground flaxseed mixed with 3 tbsp water, let sit for 5 minutes) or 2 tablespoons of yogurt or applesauce. The cake will be denser, but it will still hold together. It’s a common substitution for egg-free diets.
Can I add protein powder?
Yes, but be careful. Protein powder absorbs a lot of moisture. If you add a scoop of protein powder, you’ll need to add more milk, maybe an extra tablespoon or two. Start with half a scoop to test the texture. It makes it more like a protein brownie.
Pin This Recipe!
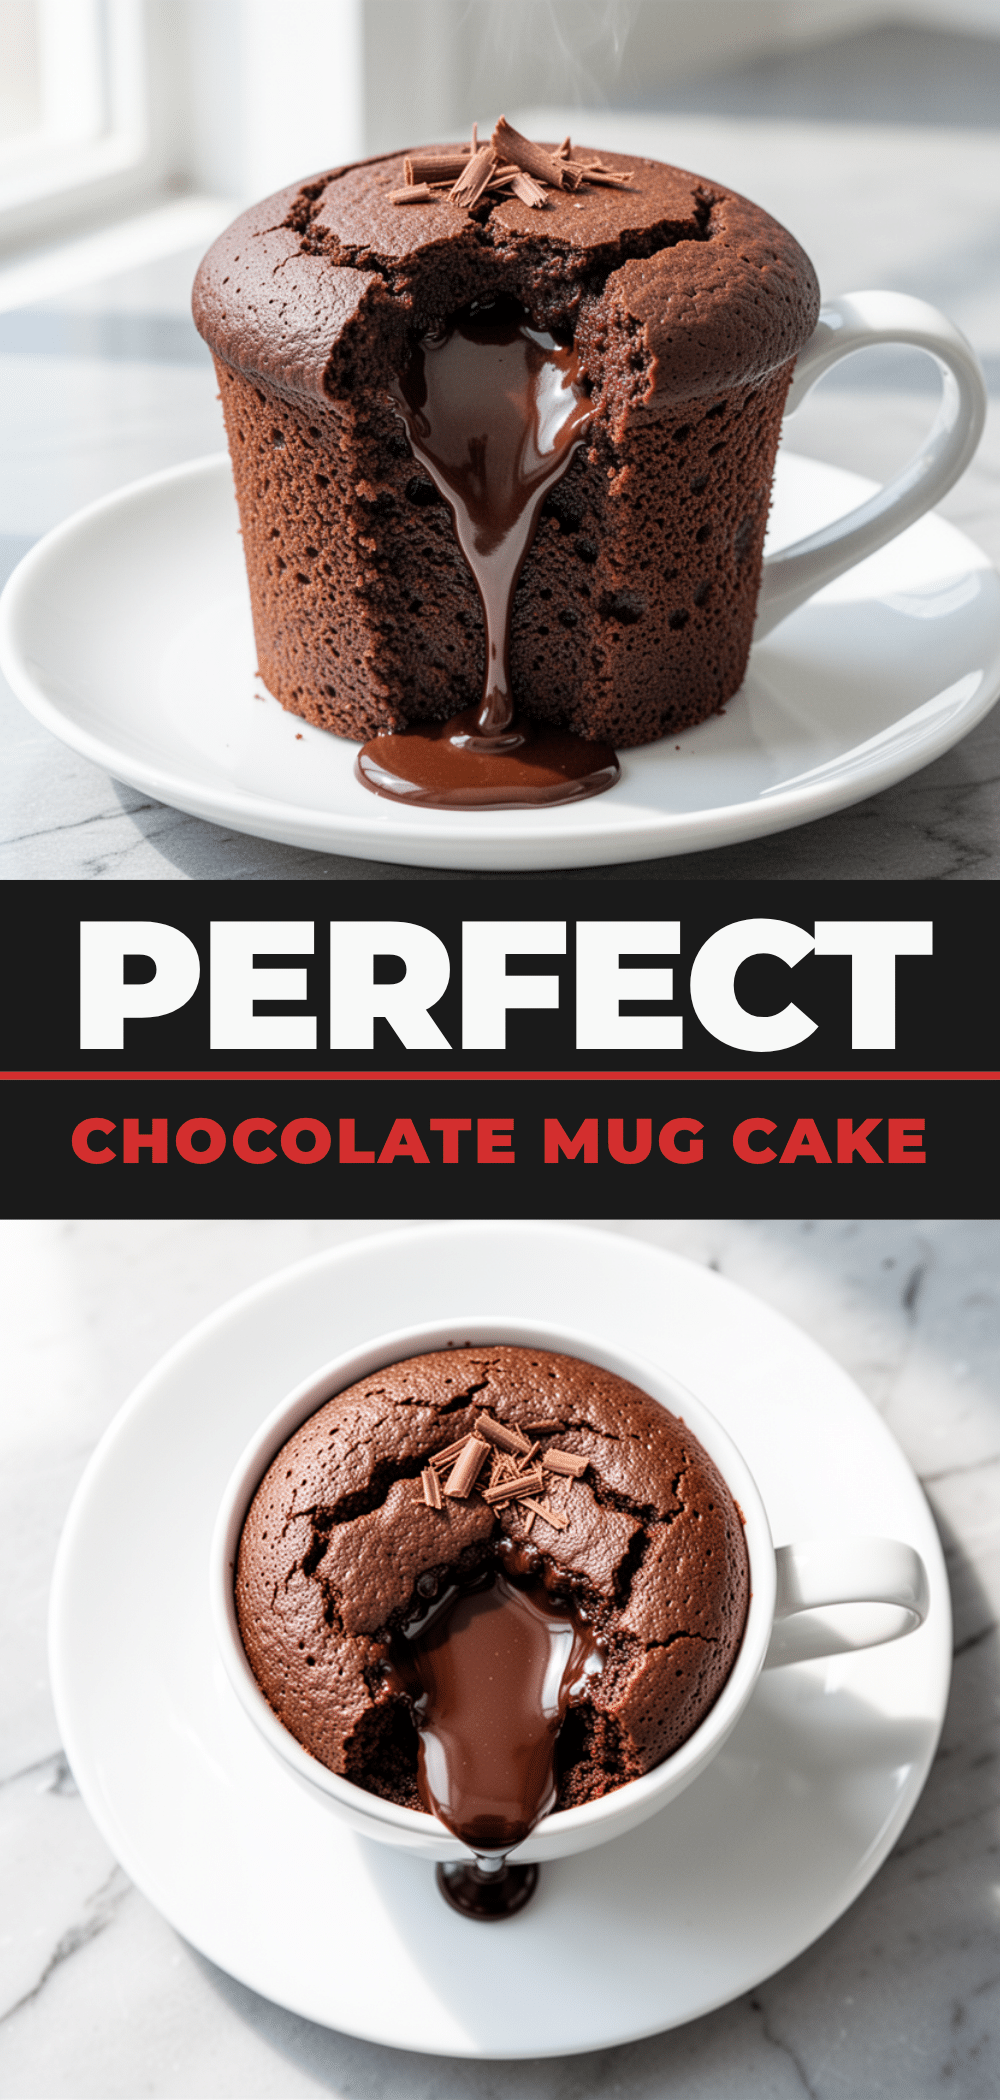
Small Batch Fudgy Chocolate Mug Cake: Quick & Easy
- Total Time: 3 minutes
- Yield: 1 serving 1x
Description
A fast, single-serving chocolate mug cake that is dense, moist, and intensely chocolatey. Ready in just 90 seconds with minimal cleanup, this recipe uses pantry staples for a guilt-free midnight treat.
Ingredients
- 4 tablespoons all-purpose flour
- 3 tablespoons granulated sugar
- 2 tablespoons unsweetened cocoa powder
- 1/4 teaspoon baking powder
- 1 pinch salt
- 3 tablespoons milk (whole, 2%, or almond)
- 2 tablespoons vegetable oil or melted butter
- 1 large egg (or 2 tablespoons egg substitute)
- 1 tablespoon chocolate chips (optional)
- 1 teaspoon peanut butter (optional)
- 1 teaspoon instant espresso powder (optional)
Instructions
- In a standard 12-ounce microwave-safe mug, mix the flour, sugar, cocoa powder, baking powder, and salt until no clumps remain.
- Add the milk, oil (or melted butter), and egg. Stir vigorously until the batter is smooth and lump-free.
- If using add-ins like chocolate chips or peanut butter, fold them into the batter gently.
- Microwave on high for 45 seconds. Check if the top is set; if still liquidy, continue in 10-second increments. Do not overcook.
- Let the cake cool in the mug for 1-2 minutes to firm up before eating directly from the mug.
Notes
Microwave power varies; start with 45 seconds to avoid a rubbery texture. Use a thick ceramic mug to prevent cracking. For a gluten-free version, substitute all-purpose flour with a 1:1 gluten-free blend. For an egg-free version, use a flax egg or yogurt.
- Prep Time: 2 minutes
- Cook Time: 45-60 seconds
- Category: Dessert
- Cuisine: American
Nutrition
- Serving Size: 1 mug
- Calories: 320
- Sugar: 28
- Sodium: 150
- Fat: 14
- Saturated Fat: 3
- Carbohydrates: 45
- Fiber: 2
- Protein: 6
Keywords: mug cake, chocolate cake, quick dessert, microwave recipe, single serving, fudgy brownie, late night snack, easy baking



