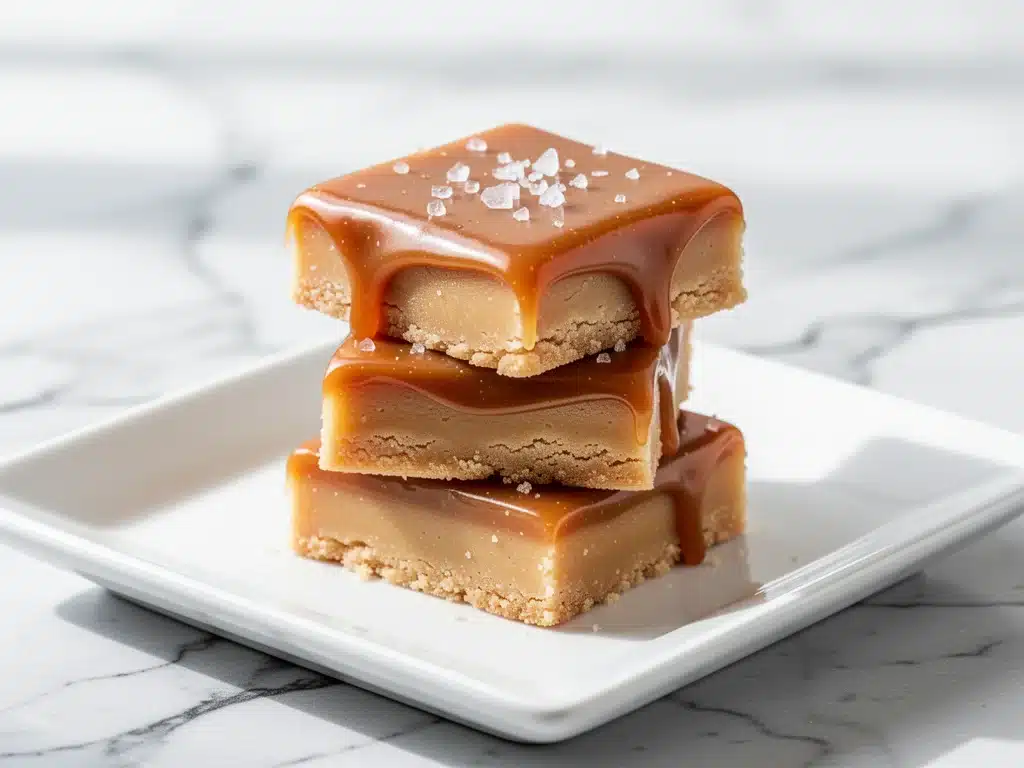
It started with a question I wasn’t ready for. I was standing in my kitchen, wiping flour off my hands after pulling a batch of cookies from the oven, when my neighbor Sarah knocked on the door. She didn’t have a recipe. She didn’t have a complaint. She just looked at me with this intense, hopeful expression and asked, “Are those the ones? The ones from last Christmas?”
I froze. I had made Salted Caramel Butter Bars with Shortbread Crust for the holiday party in December. I assumed they’d be gone in an hour. I assumed no one would remember the name, let alone hunt me down three weeks later. But apparently, I had accidentally created the most requested dessert in my social circle’s history.
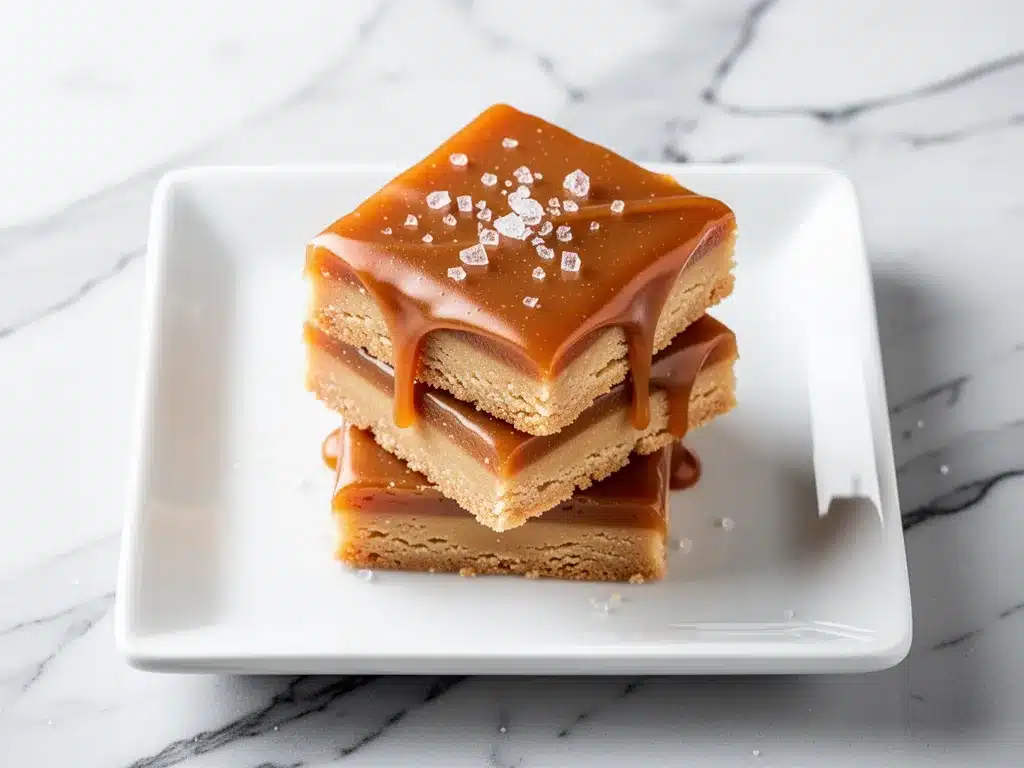
Here’s the thing about these bars: they aren’t just “good.” They are dangerous. The combination of a buttery, sandy shortbread crust with a layer of gooey, salty-sweet caramel that doesn’t run off your fork but also isn’t rock-hard… it hits a specific nerve in the brain. It’s comfort food elevated by a pinch of Maldon salt and a whole lot of patience.
I’ve made these bars at least a dozen times since that random door-knock incident. I’ve tweaked the caramel thickness. I’ve experimented with different salts. I’ve even tried using margarine (don’t—just don’t). Through all the testing, I’ve landed on a method that guarantees success. No baked caramel that turns into candy. No crust that crumbles into dust. Just perfect, clean squares that taste like they came from a fancy French patisserie, but with the ease of a no-bake (or mostly no-bake) treat.
If you’ve ever struggled with homemade caramel that seizes up, or shortbread that falls apart, this recipe is your answer. It’s the dessert that saves holidays, impresses picky eaters, and makes you look like a genius without requiring any real culinary skill. Let’s get into why these bars are worth the sugar crash.
Why You’ll Love This Recipe
There are about ten reasons I keep making these Salted Caramel Butter Bars, but if I had to narrow it down to the ones that keep me coming back to the kitchen, here they are:
- Texture Nirvana — Seriously, the contrast is everything. You get that crumbly, melt-in-your-mouth shortbread base, followed by a caramel layer that is firm enough to cut cleanly but soft enough to yield to a fork. It’s not sticky. It’s not chewy like fudge. It’s perfect.
- Minimal Cleanup — I’ve made these in two saucepans and one 9×13 dish. That’s it. No mixing bowls piled high with flour and sugar. No complex tempering stations. If you can melt butter and stir a pot, you can make this.
- Make-Ahead Friendly — This is my secret weapon for holidays. I make these three days before the party. They actually taste *better* after sitting in the fridge for 24 hours. The caramel sets fully, and the flavors meld together. I’ve taken these to potlucks and had people ask if I bought them from a bakery. (I haven’t. I’m just efficient.)
- The Salt Factor — Most sweet recipes lack that final kick. The flaky sea salt on top isn’t just garnish; it’s essential. It cuts through the richness of the butter and caramel, making the whole thing taste less cloying and more sophisticated. It’s the difference between “homemade junk food” and “dessert.”
- Crowd-Pleaser — I’ve served these to vegan friends (with swaps), gluten-free neighbors (using GF flour), and my sugar-loving teenagers. Everyone finds something to love. The shortbread crust is universally liked, and the caramel is a classic flavor for a reason.
This recipe has completely changed my dessert game. It’s reliable. It’s impressive. And best of all, it doesn’t require a master’s degree in pastry arts to pull off. I’ve made these while distracted by kids, while hosting guests, and while recovering from a long work week. They always work.
Ingredients You’ll Need
Before we dive into the process, let’s talk about what’s going into these bars. The ingredient list is short, but the quality of each item matters more than usual. Because there’s no masking flavor with chocolate or strong spices, you need the good stuff.
For the Shortbread Crust
Unsalted Butter (1 cup / 226g) — This is non-negotiable. Use high-quality European-style butter if you can find it. It has a higher fat content and richer flavor. Soften it to room temperature before you start; it needs to cream easily with the sugar.
Granulated White Sugar (½ cup / 100g) — We’re not using brown sugar for the crust. We want that clean, sandy texture that defines shortbread. Brown sugar would make it too chewy and molasses-heavy.
All-Purpose Flour (2 cups / 250g) — Standard flour works fine. Don’t go crazy sifting it unless you’re being super precise. Just scoop and level. If you want to get fancy, you can use cake flour for an even more tender crust, but AP flour is what I always have.
Salt (¼ teaspoon) — Just a pinch to wake up the butter flavor.
For the Salted Caramel Layer
Heavy Cream (1 cup / 240ml) — Full fat only. If you use half-and-half, your caramel might not set properly. Take the cream out of the fridge 15 minutes before you cook so it’s not ice-cold when it hits the hot sugar.
Granulated Sugar (2 cups / 400g) — Yes, two cups. This is a big batch. Make sure you have a large, heavy-bottomed saucepan. A small pot will overflow, and you don’t want to deal with a sugar explosion.
Unsalted Butter (½ cup / 113g) — Cubed. Add this at the end. It gives the caramel that glossy, smooth finish.
Flaky Sea Salt (1 teaspoon, plus more for topping) — I use Maldon salt. It dissolves slowly and provides that satisfying crunch. If you can’t find flaky salt, kosher salt works, but you’ll need to crush it slightly.
Vanilla Extract (1 teaspoon) — Pure vanilla. No imitation stuff. The vanilla rounds out the sharp sweetness of the caramel.
Equipment Needed
You don’t need fancy gadgets for this. Here’s what I actually use:
9×13 Inch Baking Dish — I use a glass Pyrex dish. It helps me see the edges to ensure the crust is cooked. A metal pan works too, but glass is more forgiving for beginners.
Large Heavy-Bottomed Saucepan — This is crucial for the caramel. Thin pans heat unevenly and can burn the sugar. Look for stainless steel or enameled cast iron. It needs to hold at least 3-4 quarts.
Candy Thermometer — Highly recommended. While you *can* eyeball it, a thermometer takes the guesswork out. I’ve burned caramel and saved caramel based on this tool. It’s worth the $10.
Parchment Paper — Line your baking dish with parchment, leaving an overhang on the sides. This is the secret to getting the bars out cleanly. Without it, you’re playing a game of “dig it out with a spoon.” I’ve learned this the hard way.
Mixing Bowls — One large bowl for the crust mixture. One medium bowl to hold your warm cream (you can warm it in the microwave briefly).
Spatula — A heat-resistant silicone spatula is best for stirring the caramel. Wooden spoons can burn or absorb flavors.
How to Make It: Step-by-Step
Alright, let’s make these Salted Caramel Butter Bars. I’m walking you through exactly how I do it, including the little tricks I’ve picked up over the years.
Step 1: Prep the Crust (10 minutes)
Start by preheating your oven to 350°F (175°C). Line your 9×13 baking dish with parchment paper. In a large bowl, combine the softened butter, ½ cup sugar, flour, and salt. Use your hands or a pastry cutter to mix this until it looks like coarse sand. It should hold together when you pinch it. If it’s too dry, add a teaspoon more butter. If it’s too wet, add a sprinkle more flour.
Press this mixture firmly into the bottom of your prepared dish. Don’t just pat it lightly; press it down with the bottom of a measuring cup or your fingers to create an even, compact layer. This prevents crumbling later.
Step 2: Bake the Shortbread Base (15-18 minutes)
Place the dish in the oven and bake until the edges are lightly golden and the center looks set. It shouldn’t be dark brown, just a pale gold. Remove it from the oven and let it cool slightly while you make the caramel. You don’t want to pour hot caramel on a hot crust, or it’ll get greasy. Leave the oven on.
Step 3: Make the Caramel (15-20 minutes)
This is the critical step. Pour the 2 cups of sugar into your large, heavy-bottomed saucepan. Turn the heat to medium. Do not stir! Just let the sugar melt. You can gently swirl the pan if spots aren’t melting evenly, but don’t use a spoon yet.
Watch closely. The sugar will start to clump and then turn into a liquid amber color. This takes about 5-10 minutes. If you see smoke, you’ve gone too far. You want a deep amber hue, like the color of an old penny.
Once the sugar is fully melted and amber, immediately remove the pan from the heat. Carefully pour in the heavy cream. It will bubble up violently—stand back! Then, stir in the cubed butter and vanilla. Return the pan to low heat and stir constantly until the butter is melted and the mixture is smooth.
Step 4: Cook to the Soft Ball Stage (5 minutes)
Clip your candy thermometer to the side of the pot. Bring the caramel to a boil and let it simmer until it reaches 240°F (115°C). This is the soft ball stage. If you don’t have a thermometer, drop a tiny bit into a cup of cold water; it should form a soft ball that holds its shape but is still pliable.
Remove from heat immediately. Stir in the flaky sea salt. If you add salt now, it dissolves. If you add it later, it clumps. I like a bit of both, but for the batter, stir it in.
Step 5: Assemble and Chill (4 hours+)
Pour the hot caramel over the cooled shortbread crust. Spread it evenly with a spatula. You want it to reach the corners. Let it sit at room temperature for 30 minutes to set slightly, then place it in the fridge for at least 4 hours, preferably overnight.
Once fully set, lift the bars out using the parchment overhang. Cut into squares. I use a sharp knife and wipe it clean between cuts for clean lines. Sprinkle a few extra flakes of sea salt on top while the caramel is still slightly tacky, or just before serving.
Expert Tips & Tricks
Here’s everything I’ve learned from making these dozens of times. These tips will save you from my mistakes.
The Sugar Melting Game
The hardest part is getting the sugar to melt without burning it. Keep the heat at medium, not high. If you rush it, you get bitter burnt sugar. If you go too low, the sugar might crystallize. Patience is key. If you see dark spots forming, take it off the heat immediately and stir—it’ll continue to cook from residual heat.
Cream Temperature Matters
When you add the cream to the hot sugar, it can seize if the cream is too cold. Warm your cream in the microwave for 30 seconds before adding. It shouldn’t be boiling, just warm. This prevents the caramel from grabbing into hard lumps.
Don’t Skip the Thermometer
I know, I know, it’s another gadget. But caramel is chemistry. 235°F is too soft (it’ll run). 250°F is too hard (it’ll break your teeth). 240°F is the sweet spot for bars that slice cleanly. If you don’t have one, use the cold water test religiously.
Storage is Simple
Store these in the fridge in an airtight container. They last up to two weeks. If you’re traveling with them, keep them cool. The caramel will soften in the heat, but it won’t melt completely unless it’s really hot.
Cutting Tips
If your knife is sticking, dip it in hot water and wipe it dry before each cut. This ensures smooth, professional-looking edges. Also, wait until the bars are completely cold before cutting. Warm caramel is sticky and messy.
Variations & Substitutions
Once you’ve nailed the basic version, here’s how you can mix it up. I’ve tried all of these.
Dark Chocolate Swirl
After pouring the caramel, drizzle melted dark chocolate over the top and swirl it with a toothpick. It adds a rich contrast to the sweet caramel. This is great for chocolate lovers.
Praline Crunch
Stir chopped hazelnuts or pecans into the caramel before pouring it over the crust. It adds texture and makes the bars feel more like a candy bar.
Gluten-Free Version
Swap the all-purpose flour for a 1:1 gluten-free baking flour blend. The texture is almost identical. I’ve used Bob’s Red Mill and King Arthur, and both work well.
Dairy-Free Option
Use vegan butter in the crust and a plant-based heavy cream (like oat or coconut cream) for the caramel. Note: Coconut cream can impart a slight coconut flavor, so use a neutral oat cream if you want pure caramel taste.
Mini Bar Version
Use a 9×9 square pan for thicker bars, or make them in a muffin tin for bite-sized treats. Adjust cooking times accordingly—mini bars will set faster.
Serving & Storage
How to Serve:
I usually serve these straight from the fridge. The cold caramel has a better snap and texture. Pair them with a cup of hot coffee or tea to cut the sweetness. I also like to serve them with a dollop of whipped cream for a “dessert for dessert” vibe.
Side Dishes:
These bars are rich, so they don’t need much else. A simple green salad or some fresh berries can balance the meal if you’re serving them as part of a larger spread.
Storage Instructions:
Refrigerator: Store in an airtight container for up to 2 weeks. The parchment paper helps prevent sticking.
Freezer: Yes, you can freeze these! Wrap individual bars in plastic wrap and place them in a freezer bag. They’ll last for 3 months. Thaw in the fridge overnight. I do this for holiday prep—freezing a batch in November, another in December.
Pro Tip:
If the bars seem too soft after cutting, return them to the fridge for 15 minutes. The cold helps firm up the caramel instantly.
Nutrition Information
I’m not a nutritionist, but here’s the breakdown if you’re tracking. Keep in mind that these are rich, sweet bars, so portion control is key.
Per Serving (1 of 16 bars):
- Calories: 320
- Fat: 16g
- Carbs: 42g
- Sugar: 30g
- Protein: 3g
- Fiber: 0g
What’s Good:
It’s a treat, so don’t expect a salad here. But it does have some protein from the butter and cream. The shortbread crust provides energy, and the caramel is pure joy.
What to Know:
High in sugar and saturated fat. Use this as an occasional indulgence. If you’re watching your sugar, consider making half-batches with less sugar in the caramel (though it may affect the setting process).
Final Thoughts
So that’s my go-to Salted Caramel Butter Bars with Shortbread Crust. I’ve probably talked your ear off at this point, but when you make a recipe this often, you have a lot to say about it.
This has saved holidays more times than I can count. It’s my answer to “what’s for dessert” when I’m tired, don’t want to bake a cake, and still want something that tastes really good. My kids are happy, my husband’s happy, and I’m happy because I’m not stressed about cooking.
Make it yours! Try different nuts, swap the salt for cinnamon sugar, or add a layer of peanut butter. The best recipes are the ones you adapt to your family’s tastes.
If you make this, drop a comment and let me know what you think! I love hearing how recipes turn out in your kitchen. And if something doesn’t work, tell me that too—I’m here to help troubleshoot.
Happy cooking! And I hope your kitchen smells half as good as mine does right now.
Frequently Asked Questions
Q: Can I use light cream instead of heavy cream?
A: You can, but the caramel might not set as firmly. Heavy cream has enough fat to create that thick, chewy texture. If you must use light cream, simmer it a bit longer to evaporate more water, but the result will be softer. I recommend sticking to heavy cream for the best texture.
Q: My caramel seized up when I added the cream. What happened?
A: This usually happens if the cream was too cold or if you added it too quickly. When you add the cream, do it slowly and stir immediately. If it seizes into hard lumps, add a splash of warm water and heat gently while stirring to dissolve the sugar again. It’s fixable, but it’s messy.
Q: Can I make this ahead of time?
A: Absolutely. These bars actually taste better after sitting in the fridge for 24 hours. The flavors meld, and the caramel sets perfectly. I make them 3-4 days before events. Just keep them covered in the fridge.
Q: Why did my shortbread crust crumble too much?
A: This usually means the crust wasn’t pressed down firmly enough, or the butter was too cold. Make sure you press the mixture down tightly with a flat-bottomed object. Also, ensure your butter is softened but not melted. If it’s too cold, it won’t bind the flour properly.
Q: Can I freeze these bars?
A: Yes! Wrap individual bars in plastic wrap and place them in a freezer-safe bag. They’ll last for up to 3 months. Thaw in the fridge overnight. The texture remains good after freezing.
Q: Can I use brown sugar in the crust?
A: You can, but it will change the flavor and texture. Brown sugar will make the crust chewier and more molasses-forward. For the classic shortbread taste, stick to white granulated sugar. If you want a deeper flavor, try using half brown and half white sugar.
Q: How do I get clean cuts?
A: Use a sharp knife, and wipe it clean between every cut. Dipping the knife in hot water and drying it helps too. Also, make sure the bars are completely chilled before cutting. Warm caramel will smear.
Pin This Recipe!
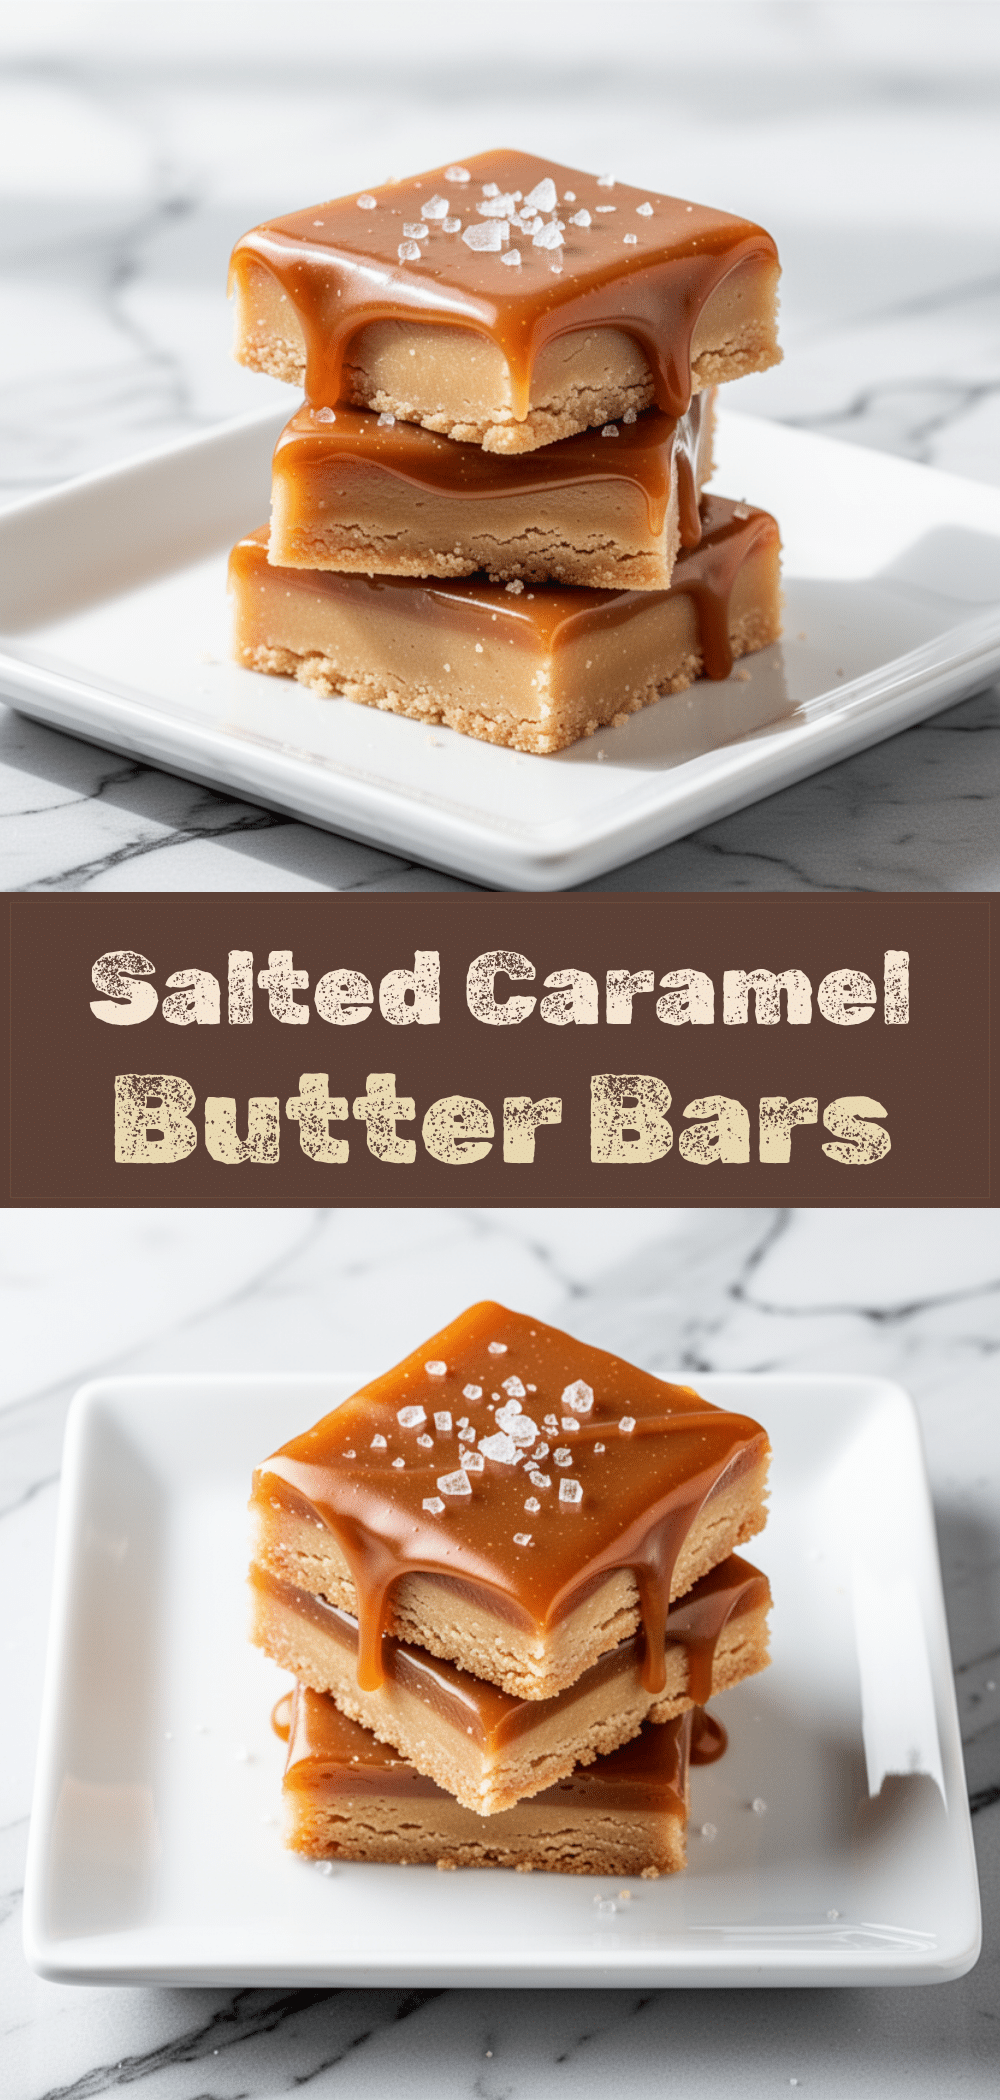
Salted Caramel Butter Bars with Shortbread Crust
- Total Time: 4 hours 45 minutes
- Yield: 16 servings 1x
Description
A rich, no-bake (mostly) dessert featuring a buttery shortbread crust topped with a firm, salty-sweet caramel layer. These bars offer texture nirvana and are make-ahead friendly.
Ingredients
- 1 cup (226g) unsalted butter, softened (for crust)
- 1/2 cup (100g) granulated white sugar (for crust)
- 2 cups (250g) all-purpose flour (for crust)
- 1/4 teaspoon salt (for crust)
- 1 cup (240ml) heavy cream (for caramel)
- 2 cups (400g) granulated sugar (for caramel)
- 1/2 cup (113g) unsalted butter, cubed (for caramel)
- 1 teaspoon flaky sea salt (for caramel)
- 1 teaspoon pure vanilla extract (for caramel)
- Extra flaky sea salt for topping
Instructions
- Preheat oven to 350°F (175°C). Line a 9×13 inch baking dish with parchment paper, leaving an overhang on the sides.
- In a large bowl, combine softened butter, 1/2 cup sugar, flour, and 1/4 teaspoon salt. Mix until it resembles coarse sand.
- Press the mixture firmly into the bottom of the prepared dish to create an even, compact layer.
- Bake the crust for 15-18 minutes until edges are lightly golden. Remove from oven and let cool slightly while making the caramel.
- Pour 2 cups of sugar into a large, heavy-bottomed saucepan over medium heat. Do not stir; gently swirl the pan if needed until sugar melts into a deep amber liquid (5-10 minutes).
- Remove pan from heat. Carefully pour in warm heavy cream (stand back as it will bubble). Stir in cubed butter and vanilla.
- Return pan to low heat and stir constantly until smooth.
- Clip a candy thermometer to the pot. Bring caramel to a boil and simmer until it reaches 240°F (115°C), the soft ball stage.
- Remove from heat and stir in 1 teaspoon flaky sea salt.
- Pour hot caramel over the cooled shortbread crust and spread evenly.
- Let sit at room temperature for 30 minutes, then refrigerate for at least 4 hours or overnight until fully set.
- Lift bars out using parchment overhang. Cut into squares with a sharp knife, wiping clean between cuts. Sprinkle with extra flaky sea salt.
Notes
Ensure butter is softened but not melted for the crust. Warm the heavy cream slightly before adding to hot sugar to prevent seizing. Use a sharp knife dipped in hot water for clean cuts. Store in the fridge for up to 2 weeks or freeze for up to 3 months.
- Prep Time: 10 minutes
- Cook Time: 35 minutes
- Category: Dessert
- Cuisine: American
Nutrition
- Serving Size: 1 bar
- Calories: 320
- Sugar: 30
- Sodium: 150
- Fat: 16
- Saturated Fat: 10
- Carbohydrates: 42
- Protein: 3
Keywords: salted caramel, butter bars, shortbread crust, no-bake dessert, holiday dessert, make-ahead dessert, caramel bars, easy dessert



