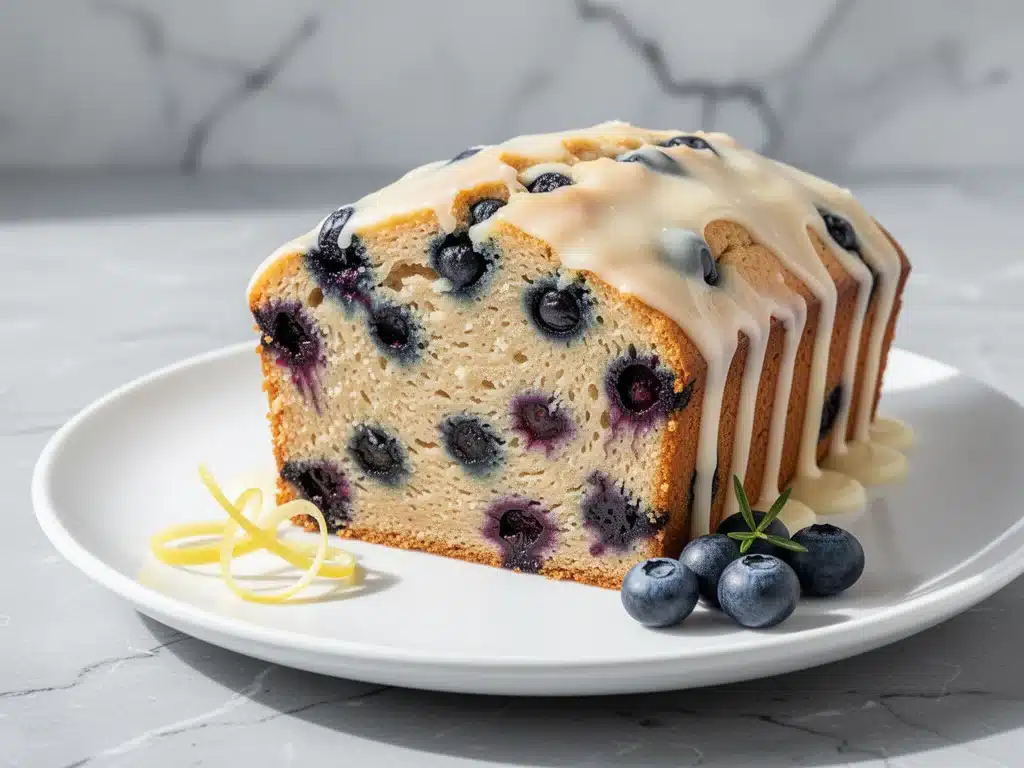
Last Sunday morning, I was standing in my kitchen with a box of gluten-free flour that cost more than my grocery budget for lunch, staring at a loaf that looked suspiciously like a brick. I had tried to make a lemon blueberry loaf for my sister, who’s celiac, and I wanted it to be good—like, really good. Not “sorry it’s gluten-free” good. I wanted her to ask for the recipe. I wanted that moment where she takes a bite, closes her eyes, and says, “Wait, there’s no wheat in this?”
That brick was a disaster. Dry, crumbly, and tasting faintly of cardboard. I threw it out, ordered donuts, and swore I’d never try baking gluten-free again. But then, three days later, I found myself craving something bright and tangy to cut through the heavy weekend dinners. I pulled out my notes, scrapped the old recipe, and decided to approach it differently. I stopped trying to mimic white flour exactly and started thinking about what gluten-free flours actually do best: they absorb moisture differently and need more fat to stay tender.
That afternoon, I baked what I now consider the best gluten-free lemon blueberry loaf I’ve ever made. It’s moist, it’s tangy, it’s packed with blueberries, and it has a cream cheese glaze that makes it taste like a high-end bakery treat. I’ve made this loaf at least a dozen times since then. I’ve tested it with different flour blends, adjusted the lemon juice, and figured out the exact timing for that perfect crumb. My family fights over the last slice. My sister actually asked me for the recipe (and I told her I’d only share it if she promised to make it for her next book club). If you’re looking for a gluten-free lemon blueberry loaf that actually tastes like a dessert and not a health food, this is it. It’s easy, it’s reliable, and it’s the kind of baking project that makes your whole house smell like a lemon orchard.
Why You’ll Love This Recipe
I’ve been baking gluten-free for years, and let’s be honest: it can be frustrating. Sometimes it’s too dense, sometimes it’s gritty, and often it tastes like you’re eating a sponge. This gluten-free lemon blueberry loaf with cream cheese glaze is different. It’s not just “edible for people who can’t have gluten.” It’s genuinely delicious, even for people who eat regular flour. Here’s why it keeps ending up on my counter:
It’s Actually Moist — The biggest myth about gluten-free baking is that it’s dry. This loaf is incredibly moist. The secret? I use a blend that includes xanthan gum (or add it yourself) and plenty of butter and buttermilk. It stays soft for days, even in the fridge. I’ve left slices out overnight, and they’re still tender the next morning.
Bright, Not Bland — A lot of gluten-free breads taste heavy. This one is light and airy. The lemon zest and juice cut through the richness of the cream cheese glaze, creating this perfect balance. It’s not just sweet; it’s zesty. It wakes up your palate. If you love my fluffy lemon ricotta pancakes, you’ll get that same bright lemon vibe here, but in loaf form.
Simple 5-Step Process — You don’t need a stand mixer. You don’t need fancy techniques. You just need a bowl, a whisk, and a loaf pan. Mix the dry ingredients, mix the wet ingredients, combine them, fold in the berries, and bake. It’s literally five steps. I make this on Saturday mornings when I want to feel productive but don’t want to spend hours in the kitchen.
Cream Cheese Glaze Magic — The glaze isn’t just sugar on top. It’s tangy, creamy, and slightly sweet. It soaks into the warm loaf just a little bit, creating this delicious crust that’s soft and spreadable. It’s the kind of detail that makes people ask, “What is this? Where did you get this?”
Freezer-Friendly — This loaf freezes beautifully. I often bake two at once. One for now, one for later. You can freeze the whole loaf or just individual slices. It thaws out perfectly in the microwave or on the counter. It’s perfect for meal prepping breakfasts or having a snack ready for unexpected guests.
So basically, this is the gluten-free lemon blueberry loaf everyone always asks for because it tastes like regular bakery bread but works for everyone. It’s my go-to for brunch, potlucks, or just treating myself on a Tuesday.
Ingredients You’ll Need
Here’s the thing about gluten-free baking: the flour blend is the most important ingredient. You can’t just use any old flour, but you also don’t need to buy ten different bags. Here’s what I use and why. I’m particular about this list because I’ve tested so many variations.
Gluten-Free All-Purpose Flour Blend (2 cups / 240g) — This is non-negotiable. I use a blend that already contains xanthan gum. Brands like King Arthur Measure for Measure or Bob’s Red Mill 1-to-1 Baking Flour work perfectly. If your blend doesn’t have xanthan gum, add ½ teaspoon. Xanthan gum replaces the elasticity of gluten, keeping the loaf from crumbling apart. Don’t skip it unless your blend already has it.
Baking Powder (1½ teaspoons) — Fresh baking powder is key for that rise. If yours is older than six months, buy new. I’ve had loaves fail because my baking powder was dormant. It’s cheap insurance.
Salt (½ teaspoon) — Fine sea salt. It enhances the lemon flavor and balances the sweetness. Don’t use kosher salt unless you adjust the measurement, as it’s less dense.
Unsalted Butter (½ cup / 115g, softened) — Room temperature butter is crucial for creaming with the sugar. This creates air pockets that make the loaf light. If you’re in a rush, microwave it for 10 seconds, but make sure it’s soft, not melted. Melted butter makes the loaf dense.
Granulated Sugar (1 cup / 200g) — Regular white sugar works best here. It helps create that slight crispness on the edges. You can use coconut sugar, but it will make the loaf darker and denser. I prefer the light texture of white sugar.
Eggs (2 large, room temperature) — Room temperature eggs emulsify better with the butter and sugar. Cold eggs can cause the mixture to curdle. I take them out of the fridge when I start prepping the dry ingredients.
Vanilla Extract (1 teaspoon) — Pure vanilla adds warmth and depth. I use extract, not imitation. It makes a noticeable difference in the flavor profile.
Buttermilk (½ cup / 120ml) — This is the secret weapon. The acidity in buttermilk tenderizes the gluten-free flour and reacts with the baking powder for extra lift. If you don’t have buttermilk, make “sour milk”: add 1 tablespoon of lemon juice or white vinegar to a measuring cup, then fill the rest with regular milk. Let it sit for 5 minutes.
Lemon Zest (2 medium lemons, zested) — Use organic lemons if possible, since you’re eating the zest. You need about 2 tablespoons of zest. Grate it finely so you don’t get big chunks of bitter white pith. This is where the main lemon flavor comes from.
Fresh Lemon Juice (3 tablespoons) — Freshly squeezed is a must. Bottled lemon juice tastes metallic and flat. Squeeze your lemons right before you add them to the batter.
Fresh Blueberries (1½ cups) — Fresh is better than frozen. Frozen blueberries can bleed color into the batter and make it grayish. If you must use frozen, don’t thaw them first, and toss them in a little flour before folding them in. Fresh berries give you those bursts of juicy sweetness.
Cream Cheese (4 oz / 115g, softened) — For the glaze. Full-fat block cream cheese is best. The tub stuff has more water and won’t glaze as smoothly.
Powdered Sugar (1 cup / 120g) — Sifted. This prevents lumps in your glaze. I always sift it, even if I’m in a hurry.
Milk (1-2 tablespoons) — Just enough to thin the glaze to your desired consistency. Heavy cream works too for a richer glaze.
Extra Lemon Zest — For sprinkling on top of the glaze. It looks pretty and adds a final punch of aroma.
Equipment Needed
You don’t need a fancy kitchen for this. Here’s what I actually use, and what you can skip.
9×5 Inch Loaf Pan — Standard size. I use a metal pan because it conducts heat evenly. Glass pans can make the bottom burn, so if you use glass, lower the oven temperature by 25 degrees. Grease it well with butter or cooking spray, and line the bottom with parchment paper for easy removal.
Mixing Bowls — Two medium bowls. One for dry ingredients, one for wet. I use glass bowls because I can see through them and know if I’ve missed any lumps of flour.
Whisk — A standard balloon whisk is perfect for aerating the dry ingredients and emulsifying the wet. No need for an electric mixer. Hand-whisking is actually better here because you won’t overmix the batter, which keeps the loaf tender.
Measuring Cups and Spoons — For dry ingredients, I prefer a digital scale for accuracy, but volume measures work fine if you’re spooning and leveling. For the glaze, measuring spoons are essential.
Microplane or Zester — For the lemon zest. A microplane gives you the finest zest, which distributes better in the batter. A box grater works too, but you’ll get bigger chunks.
Cooling Rack — Essential for cooling the loaf evenly. If you leave it in the pan, the bottom will get soggy from the steam. I always transfer it to a rack after 10 minutes.
Pastry Brush or Spoon — For applying the glaze. A spoon gives you more control for drizzling. A brush works if you want an even coat.
How to Make It: Step-by-Step
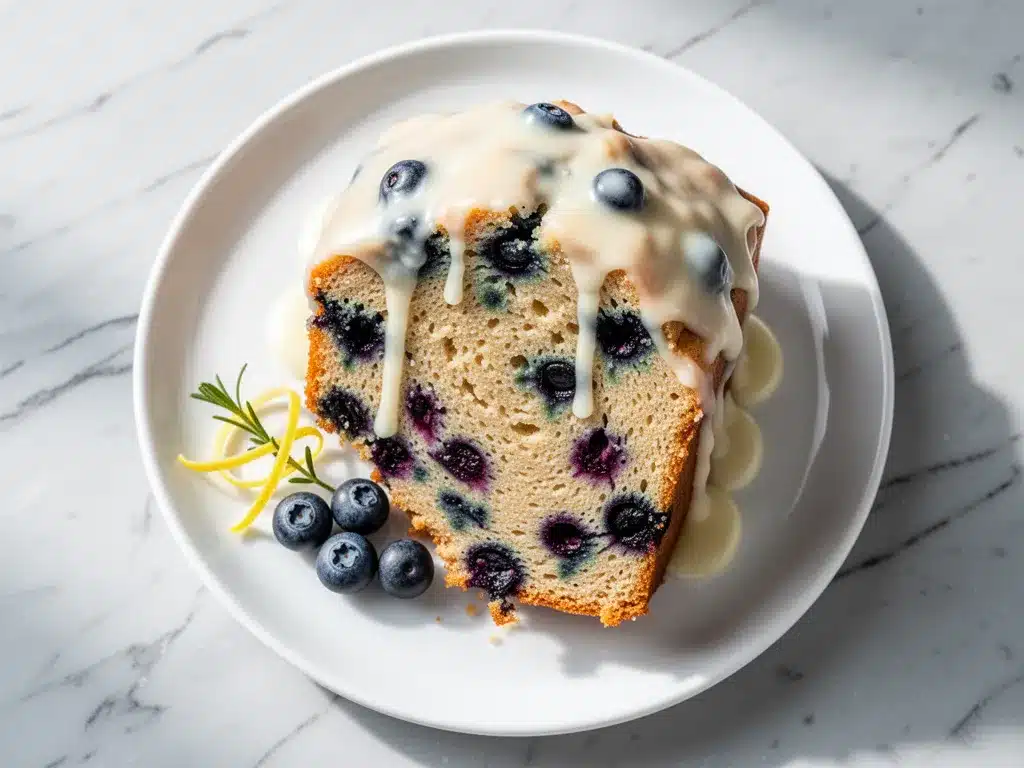
Alright, let’s make this gluten-free lemon blueberry loaf! I’m walking you through exactly how I do it, including the little tricks I’ve picked up over the years.
Step 1: Prep Your Pan and Oven (5 minutes)
Preheat your oven to 350°F (175°C). Grease your 9×5 inch loaf pan with butter or non-stick spray. Line the bottom with parchment paper, leaving an overhang on the long sides. This “sling” makes it super easy to lift the loaf out later. If you don’t have parchment, just grease it really well.
Step 2: Mix the Dry Ingredients (2 minutes)
In a medium bowl, whisk together the gluten-free flour blend, baking powder, and salt. Make sure there are no lumps of baking powder, or you’ll get bitter spots in the loaf. Set this aside. It’s important to whisk the dry ingredients first to ensure even distribution of the leavening agent.
Step 3: Cream the Butter and Sugar (3 minutes)
In a large bowl, beat the softened butter and granulated sugar together with a whisk or electric mixer on medium speed. Beat for about 2-3 minutes until the mixture is light and fluffy. This step incorporates air, which helps the loaf rise. If you’re hand-whisking, this takes a bit of elbow grease, but it’s worth it.
Step 4: Add Wet Ingredients (2 minutes)
Add the eggs one at a time, beating well after each addition. Mix in the vanilla extract, lemon zest, and lemon juice. Then, pour in the buttermilk. Mix until just combined. The batter might look slightly curdled at this point—that’s okay. It will come together when you add the flour.
Step 5: Combine Dry and Wet (2 minutes)
Gradually add the dry ingredients to the wet ingredients. Use a spatula to fold them in gently. Stop mixing as soon as no dry flour streaks remain. Overmixing develops the gluten-free starches too much, leading to a tough loaf. The batter will be thick and sticky. That’s normal. Don’t add more flour.
Step 6: Fold in Blueberries (1 minute)
Gently fold in the fresh blueberries. Be careful not to crush them. If you’re using frozen berries, toss them in a teaspoon of flour first to prevent sinking. Distribute them evenly throughout the batter.
Step 7: Bake (50-55 minutes)
Pour the batter into the prepared loaf pan and smooth the top. Bake for 50-55 minutes. The loaf is done when a toothpick inserted into the center comes out clean or with just a few moist crumbs (no wet batter). The top should be golden brown. If the top is browning too fast, cover it loosely with aluminum foil for the last 15 minutes.
Step 8: Cool Completely (30 minutes)
Let the loaf cool in the pan for 10 minutes, then transfer it to a wire rack to cool completely. This is crucial. If you try to glaze a warm loaf, the glaze will melt and slide off. Patience pays off here.
Step 9: Make the Glaze (5 minutes)
While the loaf cools, make the glaze. In a small bowl, whisk together the softened cream cheese and powdered sugar until smooth. Add milk or cream one teaspoon at a time until you reach a drizzling consistency. Whisk until there are no lumps.
Step 10: Glaze and Serve
Drizzle the glaze over the completely cooled loaf. Use a spoon to spread it slightly if you want full coverage. Sprinkle with extra lemon zest. Slice and enjoy. It’s best served at room temperature.
Expert Tips & Tricks
Here’s everything I’ve learned from making this loaf dozens of times. These tips will save you from my mistakes.
Don’t Overmix the Batter
Gluten-free flours don’t have the same structure as wheat flour. Overmixing can make the loaf dense and gummy. Mix until just combined. It’s okay if the batter looks a little lumpy.
Room Temperature Ingredients Matter
Cold butter doesn’t cream properly. Cold eggs don’t emulsify well. Take your butter and eggs out of the fridge 30 minutes before you start. It makes a huge difference in texture.
Test for Doneness Early
Ovens vary. Start checking at 45 minutes. If the toothpick comes out clean, it’s done. If it’s wet, give it 5 more minutes. Overbaking dries out gluten-free loaves faster than regular ones.
Use Fresh Lemons
Old lemons don’t have as much juice or zest flavor. Roll your lemons on the counter before cutting them to release more juice. Zest before you juice.
Store Properly
Gluten-free baked goods dry out faster. Store leftovers in an airtight container at room temperature for up to 3 days. For longer storage, wrap tightly in plastic wrap and freeze for up to 3 months. Thaw overnight in the fridge.
Glaze Consistency
The glaze should be thick enough to stay on the loaf but thin enough to drizzle. If it’s too thick, add more milk. If it’s too thin, add more powdered sugar. You want it to set slightly but not be hard.
Variations & Substitutions
Once you’ve nailed the basic version, here’s how you can mix it up. I’ve tried all of these.
Raspberry Lemon
Swap blueberries for fresh raspberries. Raspberries are more delicate, so handle them gently. They pair beautifully with the lemon.
Double Lemon
Add 1 tablespoon of lemon extract to the batter for an extra lemony punch. This is great if you’re a huge lemon fan.
Gluten-Free and Dairy-Free
Use dairy-free butter and oat milk (or almond milk) instead of buttermilk. For the glaze, use dairy-free cream cheese and coconut cream. It’s still delicious, though the texture might be slightly denser.
Whole Wheat Blend
Substitute half of the gluten-free flour with almond flour. This adds moisture and a nutty flavor. It makes the loaf even more tender.
Mini Loaves
Divide the batter into two mini loaf pans. Bake for 30-35 minutes. Great for gifts or smaller portions.
Serving & Storage
How to Serve:
I usually serve this for brunch or as a dessert. It pairs well with coffee or tea. For a special occasion, add a dollop of whipped cream or a scoop of vanilla ice cream.
Side Dishes:
Serve with fresh fruit salad or yogurt. It’s also great alongside a cup of herbal tea.
Storage:
Store in an airtight container at room temperature for up to 3 days. In the fridge, it lasts up to 5 days, but it may dry out slightly. Reheat slices in the microwave for 10 seconds to soften.
Freezing:
Wrap the cooled loaf tightly in plastic wrap, then in aluminum foil. Freeze for up to 3 months. Thaw overnight in the fridge or at room temperature. Glaze after thawing.
Nutrition Information
I’m not a nutritionist, but here’s the breakdown if you’re tracking. This is per slice (1/10 of the loaf).
Per Serving:
- Calories: 280
- Protein: 4g
- Carbs: 42g
- Fiber: 2g
- Sugar: 28g
- Fat: 11g
- Saturated Fat: 7g
- Cholesterol: 45mg
- Sodium: 180mg
Look, this is a sweet treat with cream cheese glaze. It’s not a diet recipe. But it’s better than store-bought, and I know exactly what’s in it. When I want to make it lighter, I reduce the sugar in the batter and use a lighter glaze. But usually? I just enjoy a slice and move on.
Final Thoughts
So that’s my gluten-free lemon blueberry loaf! I’ve probably talked your ear off at this point, but when you make a recipe this often, you have a lot to say about it. This loaf has saved my brunches more times than I can count. It’s my answer to “what can I bring to the potluck that everyone will eat?” whether you have gluten-free guests or not.
Make it yours! Try different berries, adjust the lemon, or add a streusel topping. The best recipes are the ones you adapt to your family’s tastes. If you make this, drop a comment and let me know what you think! I love hearing how recipes turn out in your kitchen.
Frequently Asked Questions
Can I use self-rising flour instead of all-purpose?
No, not with this recipe. Self-rising flour already has baking powder and salt. You’d need to adjust the amounts, and it’s risky. Stick to a gluten-free all-purpose blend with xanthan gum for best results.
Why did my loaf turn out dense?
Usually, this means you overmixed the batter or your baking powder was old. Make sure you’re not stirring too much after adding the flour. Also, check the expiration date on your baking powder.
Can I use frozen blueberries?
Yes, but don’t thaw them first. Toss them in a teaspoon of flour before folding them in. This helps prevent them from sinking to the bottom and bleeding color into the batter.
How do I store leftovers?
Store in an airtight container at room temperature for up to 3 days. For longer storage, freeze the loaf (un-glazed) in plastic wrap and foil. Thaw before glazing.
Can I make this dairy-free?
Yes! Use dairy-free butter and oat milk. For the glaze, use dairy-free cream cheese and coconut cream. It will taste slightly different but still be delicious.
Why is my glaze too runny?
You added too much milk. Start with 1 teaspoon and add more only if needed. The glaze should be thick enough to coat the back of a spoon.
Pin This Recipe!
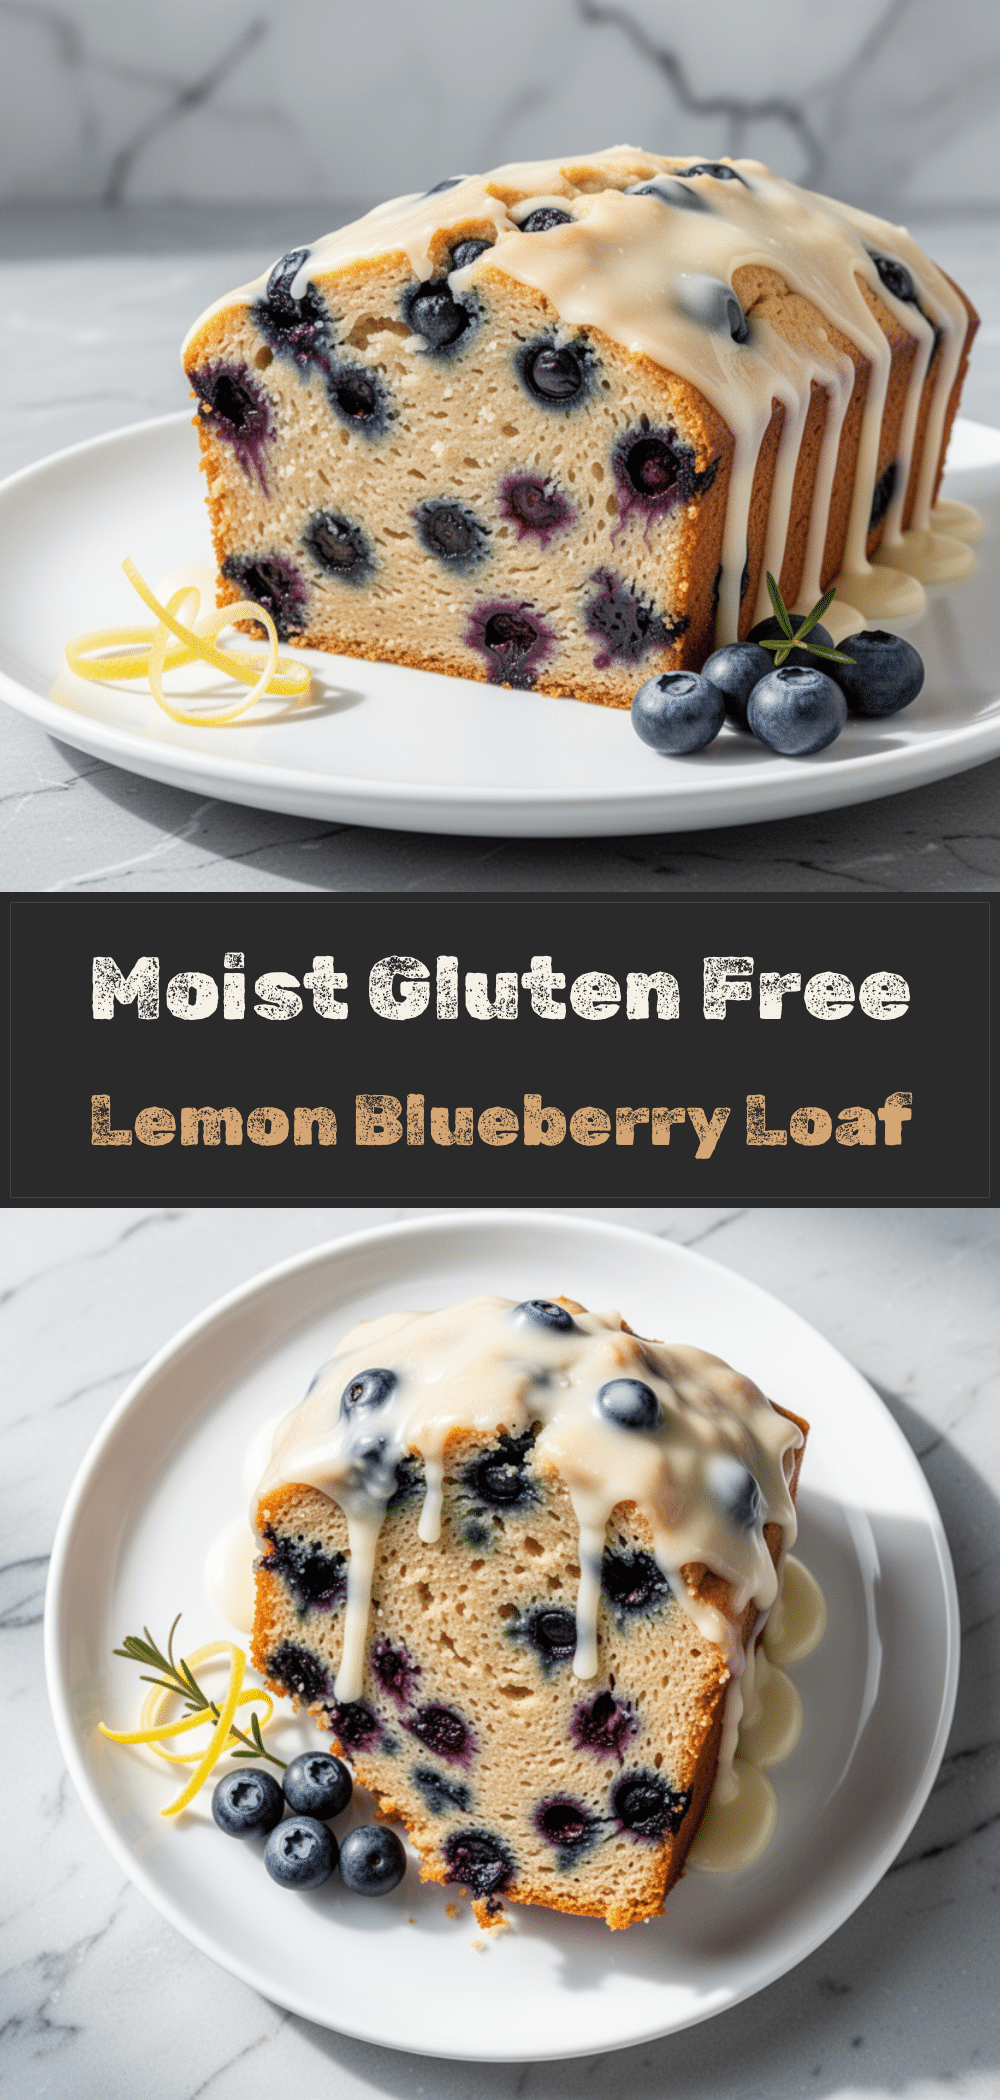
Gluten-Free Lemon Blueberry Loaf
- Total Time: 1 hour 10 minutes
- Yield: 10 servings 1x
Description
A moist, tangy gluten-free lemon blueberry loaf with a cream cheese glaze that tastes like a high-end bakery treat. This easy 5-step recipe is reliable, freezer-friendly, and perfect for brunch or dessert.
Ingredients
- 2 cups (240g) Gluten-Free All-Purpose Flour Blend (with xanthan gum)
- 1½ teaspoons Baking Powder
- ½ teaspoon Fine Sea Salt
- ½ cup (115g) Unsalted Butter, softened
- 1 cup (200g) Granulated Sugar
- 2 large Eggs, room temperature
- 1 teaspoon Vanilla Extract
- ½ cup (120ml) Buttermilk
- 2 medium Lemons, zested (approx. 2 tbsp)
- 3 tablespoons Fresh Lemon Juice
- 1½ cups Fresh Blueberries
- 4 oz (115g) Cream Cheese, softened (for glaze)
- 1 cup (120g) Powdered Sugar, sifted (for glaze)
- 1–2 tablespoons Milk (for glaze)
- Extra Lemon Zest (for garnish)
Instructions
- Preheat oven to 350°F (175°C). Grease a 9×5 inch loaf pan and line the bottom with parchment paper.
- In a medium bowl, whisk together the gluten-free flour blend, baking powder, and salt. Set aside.
- In a large bowl, beat the softened butter and granulated sugar together until light and fluffy (about 2-3 minutes).
- Add eggs one at a time, beating well after each addition. Mix in vanilla extract, lemon zest, and lemon juice. Pour in buttermilk and mix until just combined.
- Gradually add the dry ingredients to the wet ingredients. Fold gently with a spatula until no dry flour streaks remain. Do not overmix.
- Gently fold in the fresh blueberries.
- Pour batter into the prepared loaf pan and smooth the top. Bake for 50-55 minutes, or until a toothpick inserted into the center comes out clean.
- Let the loaf cool in the pan for 10 minutes, then transfer to a wire rack to cool completely.
- While the loaf cools, whisk together softened cream cheese and powdered sugar until smooth. Add milk one teaspoon at a time until a drizzling consistency is reached.
- Drizzle the glaze over the completely cooled loaf. Sprinkle with extra lemon zest. Slice and serve at room temperature.
Notes
Ensure ingredients are at room temperature for best texture. Do not overmix the batter to avoid a dense loaf. If using frozen blueberries, do not thaw them and toss in a little flour before folding in. Store leftovers in an airtight container at room temperature for up to 3 days or freeze for up to 3 months.
- Prep Time: 15 minutes
- Cook Time: 50-55 minutes
- Category: Dessert
- Cuisine: American
Nutrition
- Serving Size: 1 slice (1/10 of the
- Calories: 280
- Sugar: 28
- Sodium: 180
- Fat: 11
- Saturated Fat: 7
- Carbohydrates: 42
- Fiber: 2
- Protein: 4
Keywords: gluten-free, lemon blueberry loaf, cream cheese glaze, gluten-free baking, easy dessert, brunch recipe, dairy-free option



