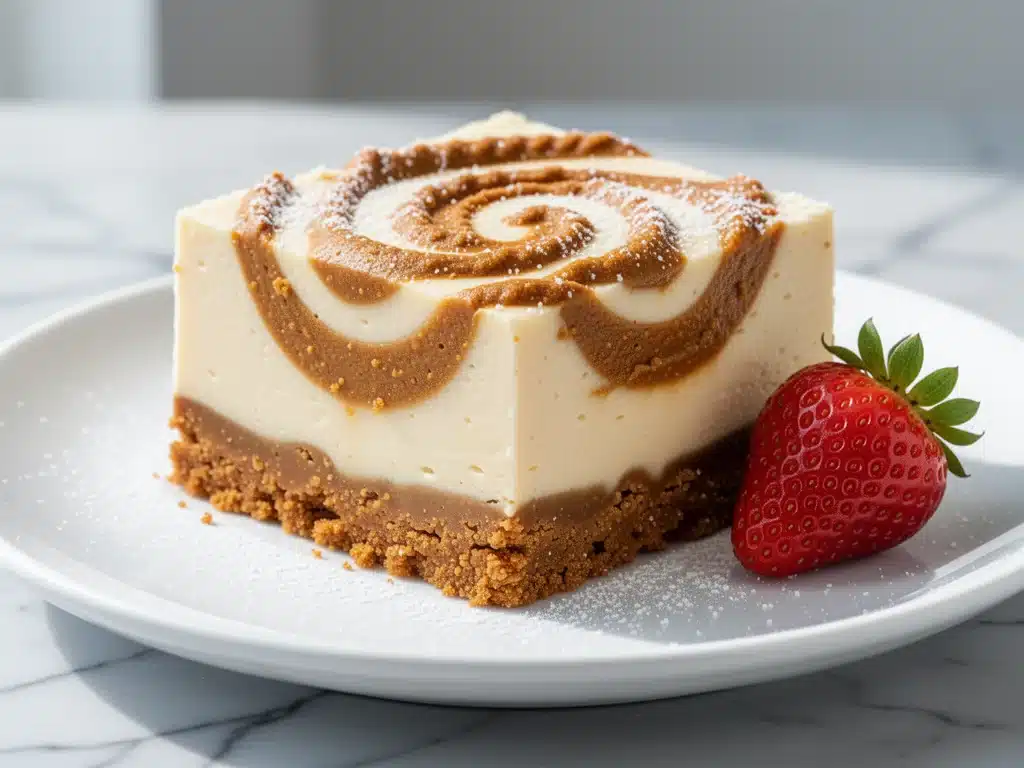
I have a confession to make. I used to be terrified of making cheesecake. Not because I’m bad at baking, but because I hate the anxiety of the water bath. You know the drill? Wrapping the springform pan in foil, worrying about leaks, stressing over cracks, and then spending forty-five minutes waiting for it to cool before you can even cut a slice. It’s too much work for a Tuesday night craving.
Then I discovered No-Bake Biscoff Cheesecake Bars. Seriously, it was love at first bite. The first time I made them, I was hosting a last-minute book club gathering. I had twenty minutes, a blender, and a deep desire to look like I’d planned this for weeks. I threw together the cookie crust, whipped up the spiced cream cheese filling, and layered it with warm, gooey Biscoff spread. When I pulled the pan out of the fridge an hour later, the silence in the room was deafening. Then came the questions: “Where did you get this?” “Is this from a bakery?” “I need the recipe.”
That was three months ago. Since then, I’ve made these bars at least ten times. I’ve made them for potlucks, for random Tuesday treats, and even as an emergency gift for a friend who was going through a rough patch. They’re the kind of dessert that feels fancy and sophisticated but actually requires zero oven time. The texture is incredible—crunchy, creamy, and spiced with that distinct cinnamon-ginger kick that makes Biscoff so addictive.
If you’re looking for a dessert that impresses without the stress, this is it. These No-Bake Biscoff Cheesecake Bars are my new go-to. They’re stable, they slice beautifully, and they taste like autumn in a bite. Plus, unlike my old water-bath nightmares, these bars never crack. They just sit there, looking perfect, waiting to be devoured. Let me show you how easy they are to make.
Why You’ll Love These No-Bake Biscoff Cheesecake Bars
There are a lot of reasons to keep this recipe in your rotation, but let’s be real: the main reason is that it’s ridiculously easy and tastes incredible. Here’s the breakdown of why these bars have taken over my kitchen.
Zero Oven Required — This is the biggest selling point. No preheating, no water baths, no standing by the oven watching for cracks. You mix, you press, you chill. It’s genuinely foolproof. I make these even in the middle of July because I don’t want to heat up my kitchen.
Five-Star Texture — There’s a perfect contrast between the crunchy cookie crust and the silky, dense cheesecake filling. The Biscoff spread in the middle adds a gooey, caramel-like layer that ties it all together. It’s not airy like a mousse; it’s substantial and rich, like a real cheesecake.
Make-Ahead Friendly — These bars actually taste better the next day. The flavors meld together in the fridge, making the crust softer and the filling even creamier. I love making them the night before a party so I can focus on my main course instead of stressing about dessert.
Impressive but Simple — When I serve these, people assume I bought them from a high-end bakery. The layering looks professional, and the spice profile is complex and warm. But the ingredient list is short. You probably have most of this already.
Budget-Smart — Cream cheese, butter, sugar, and cookie crumbs. It’s not expensive. You can buy a tub of Biscoff spread once and use it for these bars, smoothies, or just straight out of the jar (don’t judge me). It’s a versatile ingredient that saves money compared to buying individual desserts.
Sturdy Enough for Transport — Unlike a slice of traditional cheesecake that might slide off the plate, these bars hold their shape. I’ve packed them in containers for picnics and office parties without them falling apart. They’re portable perfection.
This is my answer to “what can I bring that will wow everyone but won’t kill me to make?” These bars deliver every single time.
Ingredients You’ll Need
Here’s the best part: you don’t need specialty ingredients. Most of this is pantry staples. I’m particular about the Biscoff spread, though. Don’t substitute it with regular caramel sauce; the spice profile is what makes these bars special.
For the Crust
Nilla Wafers or Biscoff Cookies (2 cups / 200g, crushed) — I usually use Nilla Wafers for a neutral, buttery base, but if you want maximum flavor, use Biscoff cookies. If you use Biscoff cookies, you can skip adding extra spice to the crust. For the Nilla Wafer version, you’ll need the spices below. Food processor works best for fine crumbs, but you can put them in a ziplock bag and smash them with a rolling pin if you’re in a hurry.
Unsalted Butter (6 tablespoons / 85g, melted) — This binds the crust together. Use real butter, not margarine. It makes a huge difference in flavor. Melt it in the microwave or a small saucepan.
Ground Cinnamon (1 teaspoon) — Adds warmth. If you’re using Nilla Wafers, this is essential. If you’re using Biscoff cookies, you can skip this or reduce it to ½ teaspoon.
Powdered Sugar (1 tablespoon) — Just a little bit to sweeten the crust. It’s subtle, but it balances the butter.
For the Cheesecake Filling
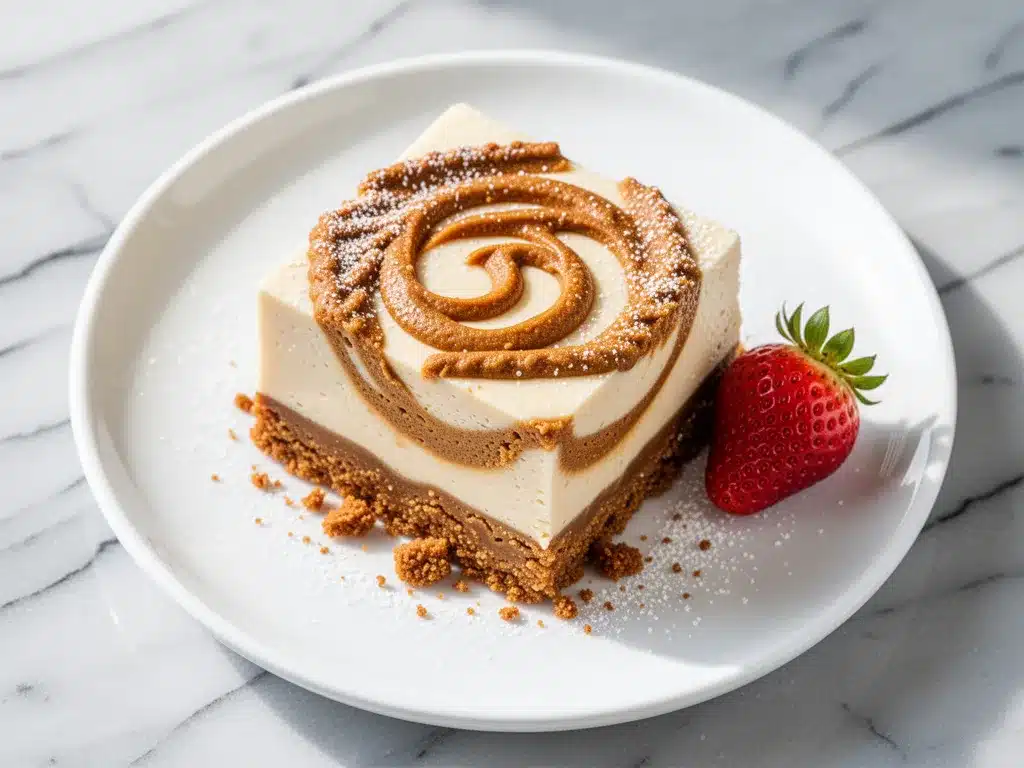
Cream Cheese (16 ounces / 450g, full-fat, softened) — This is the base. It MUST be softened to room temperature. If you try to mix cold cream cheese, you’ll get lumps that never go away. I take it out of the fridge about an hour before I start. Full-fat is non-negotiable here; low-fat cream cheese will make the filling grainy and dry.
Heavy Cream (1 cup / 240ml, cold) — This gives the filling its light, fluffy texture. Don’t use half-and-half or milk; it won’t whip up properly. Whip it to stiff peaks, then fold it in. This is what makes it a “no-bake” texture rather than a dense block.
Powdered Sugar (1 cup / 120g) — Sweetens the filling. Sift it if it’s clumpy. You want a smooth, sweet cream cheese layer.
Vanilla Extract (1 teaspoon) — Pure vanilla. It enhances the dairy flavor without overpowering it.
Ground Ginger (½ teaspoon) — Adds a little zing that pairs perfectly with the cinnamon. Don’t skip this; it’s what gives it that “spice cake” vibe.
For the Swirl
Biscoff Spread (½ cup / 120g) — This is the star. Use the actual Lotus Biscoff cookie butter. It should be at room temperature so it’s easy to swirl. If it’s too cold, microwave it for 10 seconds to loosen it up.
Equipment Needed
You don’t need fancy gadgets for this. Here’s what I actually use.
9×9 Inch Baking Pan — This is the ideal size. It creates thick, satisfying bars. A springform pan works too if you want clean edges, but a regular pan is easier to clean. Line it with parchment paper for easy lifting.
Food Processor — For crushing the cookies quickly and evenly. If you don’t have one, a ziplock bag and a rolling pin work fine, but it takes more elbow grease.
Electric Mixer — Handheld or stand mixer. You need this to whip the heavy cream to stiff peaks and beat the cream cheese until smooth. Doing this by hand is possible but tiring. I learned this the hard way one time and almost gave up.
Spatula — A rubber spatula is essential for folding the cream into the cheese mixture without deflating it. Be gentle.
Offset Spatula — For spreading the cheesecake layer evenly and creating those pretty swirls with the Biscoff spread. A regular spoon works in a pinch.
Measuring Cups and Spoons — Standard stuff. Accuracy matters a bit here because of the sugar ratios.
How to Make It: Step-by-Step
Alright, let’s make these No-Bake Biscoff Cheesecake Bars! I’m walking you through exactly how I do it. It’s simpler than you think.
Step 1: Prep Your Pan (2 minutes)
Line your 9×9 inch baking pan with parchment paper, leaving an overhang on the sides. This is crucial. It acts as a sling so you can lift the entire block of bars out of the pan once they’re set. Without this, you’ll be digging for pieces with a knife, and it’ll be messy. Set it aside.
Step 2: Make the Crust (5 minutes)
Crush your cookies into fine crumbs. If using Nilla Wafers, add the cinnamon and powdered sugar and mix well. Add the melted butter and stir until it looks like wet sand. Press this mixture firmly into the bottom of your prepared pan. Use the bottom of a glass to pack it down tight. A loose crust will crumble when you cut it. Place the pan in the fridge while you make the filling.
Step 3: Whip the Cream (3 minutes)
In a large bowl, whip the cold heavy cream to stiff peaks. It should hold its shape when you lift the beater. Don’t over-whip it into butter, just stiff peaks. Set this aside. This step is what gives the bars their light, airy texture.
Step 4: Beat the Cream Cheese (4 minutes)
In a separate large bowl, beat the softened cream cheese, powdered sugar, vanilla, and ground ginger until completely smooth and creamy. Scrape down the sides of the bowl. You want no lumps. If you miss a lump, it’ll show up in the final texture.
Step 5: Fold It Together (3 minutes)
Gently fold the whipped heavy cream into the cream cheese mixture. Use a spatula and cut through the middle, sweep along the bottom, and flip over. Do this just until combined. You want to keep as much air in the mixture as possible. Don’t overmix or it’ll get dense.
Step 6: Assemble and Swirl (5 minutes)
Spread the cheesecake mixture over the chilled crust. Smooth the top. Now, take the Biscoff spread. Drop spoonfuls of it randomly over the cheesecake layer. Take a knife or a skewer and drag it through the spread and cheese in a zigzag pattern. Don’t over-mix it; you want visible ribbons of caramel. This is the fun part.
Step 7: Chill and Set (4+ hours)
Cover the pan with plastic wrap or foil and refrigerate for at least 4 hours, preferably overnight. This is the hardest part—waiting. But the bars need this time to firm up so they slice cleanly. If you cut them too soon, they’ll be mushy.
Step 8: Cut and Serve
Lift the bars out of the pan using the parchment sling. Use a sharp knife to cut into squares. Wipe the knife clean between cuts for clean edges. Serve chilled.
Expert Tips & Tricks
Here’s everything I’ve learned from making these dozens of times. These tips will save you from my mistakes.
Cream Cheese Temperature is Key
I cannot stress this enough. If your cream cheese is cold, you will have lumps. Period. Take it out of the fridge at least an hour before. If you’re short on time, cut it into small cubes and microwave it in 5-second bursts, stirring in between, until it’s soft but not melted.
Don’t Skip the Chill Time
I know it’s tempting to eat them right away. They taste good, sure. But they won’t slice. The structure needs time to set. I usually make them the night before. It’s worth the wait.
Use a Sharp Knife
A dull knife will crush the bars. Dip your knife in hot water and wipe it dry between each cut. This ensures clean, professional-looking squares.
Adjust Sweetness to Taste
Biscoff spread is very sweet. If you find the bars too sweet, reduce the powdered sugar in the filling to ¾ cup. I usually stick to 1 cup because I like them sweet, but taste your Biscoff spread first. Some brands are sweeter than others.
Storage Matters
Keep these in the fridge. They don’t freeze well because the texture of the whipped cream can change. Store them in an airtight container for up to 5 days. They actually get better on day 2.
Variations & Substitutions
Once you’ve nailed the basic version, here’s how you can mix it up. I’ve tried all of these.
Gluten-Free Version
Use gluten-free Nilla Wafers or gluten-free shortbread cookies. Make sure your Biscoff spread is certified gluten-free (some regions have GF versions, but check the label). The rest of the ingredients are naturally gluten-free.
Dairy-Free Option
This is trickier because of the cream cheese. Use a high-quality vegan cream cheese block (like Kite Hill or Violife) and coconut cream instead of heavy cream. Whip the coconut cream like regular cream. It works, but the flavor is different. It’s more coconut-forward.
Chocolate Lovers
Add 2 tablespoons of cocoa powder to the cream cheese mixture. Or drizzle melted chocolate over the top before serving. This pairs surprisingly well with the ginger spice.
Strawberry Swirl
Instead of Biscoff, use strawberry jam or pureed strawberries. It’s a nice summer variation. But honestly, the Biscoff is the best.
Mini Cupcakes
You can make these in a muffin tin. Press the crust into the cups, fill with the cheesecake mixture, and swirl. Chill for 2 hours. Great for portion control.
Serving & Storage
How to Serve
I usually serve these straight from the fridge. They’re best cold. I pair them with a cup of hot coffee or tea. The spice notes complement coffee beautifully. You could also serve them with a dollop of whipped cream and a sprinkle of crushed cookies on top for extra flair.
Side Dishes
These are rich, so they don’t need much else. Maybe a few fresh berries on the side to cut the richness. Or serve them as part of a dessert board with other cookies and chocolates.
Storage Instructions
Refrigerator: Store in an airtight container for up to 5 days. They’ll keep their texture well.
Freezing: I don’t recommend freezing these. The whipped cream structure can break down and become watery when thawed. It’s better to make them fresh.
Meal Prep: These are perfect for meal prep. Make a batch on Sunday, and you have dessert for the whole week. Just keep them chilled.
Nutrition Information
I’m not a nutritionist, but here’s the breakdown if you’re tracking. Keep in mind, this is a rich dessert, so portion control is key.
Per Serving (based on 16 bars):
- Calories: 280
- Protein: 4g
- Carbs: 32g
- Fiber: 1g
- Sugar: 22g
- Fat: 16g
- Saturated Fat: 9g
- Cholesterol: 45mg
- Sodium: 180mg
What’s Good:
– Decent amount of calcium from the cream cheese
– No baking means no added oil frying
– Can be made gluten-free or dairy-free with swaps
What to Know:
– High in sugar and saturated fat
– Contains dairy and gluten (unless modified)
– Moderate calories, but very filling
My Take:
Look, this is a treat. It’s sweet, creamy, and indulgent. It’s not a health food. But it’s way better than store-bought bars, and you know exactly what’s in it. When I make these, I enjoy one or two squares and savor them. It’s about quality over quantity.
Final Thoughts
So that’s my No-Bake Biscoff Cheesecake Bars! I’ve probably talked your ear off at this point, but when you make a recipe this often, you have a lot to say about it.
This has saved dessert nights more times than I can count. It’s my answer to “what can I make that’s impressive but easy?” My kids love them, my husband asks for them regularly, and my friends are always begging for the recipe. It’s reliable, delicious, and stress-free.
Make it yours! Try different cookie bases, swap the swirl for jam, or add a chocolate drizzle. The best recipes are the ones you adapt to your tastes.
If you make this, drop a comment and let me know what you think! I love hearing how recipes turn out in your kitchen. And if something doesn’t work, tell me that too—I’m here to help troubleshoot.
Happy baking! Well, no-baking. Happy chilling!
Frequently Asked Questions
Can I use a different cookie for the crust?
Yes! Graham crackers work well if you add extra cinnamon and sugar. Oreos would make a chocolate version (omit the cinnamon). Nilla Wafers are my favorite for the buttery flavor, but Biscoff cookies are great if you want more spice. Just adjust the sugar in the crust based on how sweet the cookies are.
Why did my cheesecake filling get runny?
This usually happens if the cream cheese wasn’t soft enough to beat smoothly, or if you overmixed the whipped cream and deflated it. Make sure your cream cheese is room temperature and beat it until smooth before adding the cream. Also, ensure your heavy cream is cold and you whip it to stiff peaks. If it’s still runny after chilling, it might need more time in the fridge.
Can I make this ahead for a party?
Absolutely. These bars are even better the next day. Make them 24 hours before your party. Keep them covered in the fridge. They’ll hold their shape perfectly. Just cut them right before serving.
Can I freeze these bars?
I don’t recommend it. The whipped cream texture can change and become watery or grainy when thawed. It’s best to enjoy them fresh from the fridge. If you must freeze, freeze the crust and filling separately, but it’s not worth the hassle.
Is Biscoff spread the same as cookie butter?
Yes! Lotus Biscoff is the most popular brand, but “cookie butter” is the generic term. They are the same thing: spiced cookie spread. Just make sure it’s the cinnamon-spiced kind, not caramel or chocolate.
Can I use light cream cheese?
I wouldn’t recommend it. Light cream cheese has more water and less fat, which can make the filling runny and less creamy. Full-fat cream cheese gives you that rich, dense texture that feels like a real cheesecake. It’s worth the extra calories.
How long do these bars last?
They last up to 5 days in the refrigerator in an airtight container. After that, they might start to dry out or lose their texture. If you’re making them for a big event, plan to use them within 3-4 days.
Pin This Recipe!
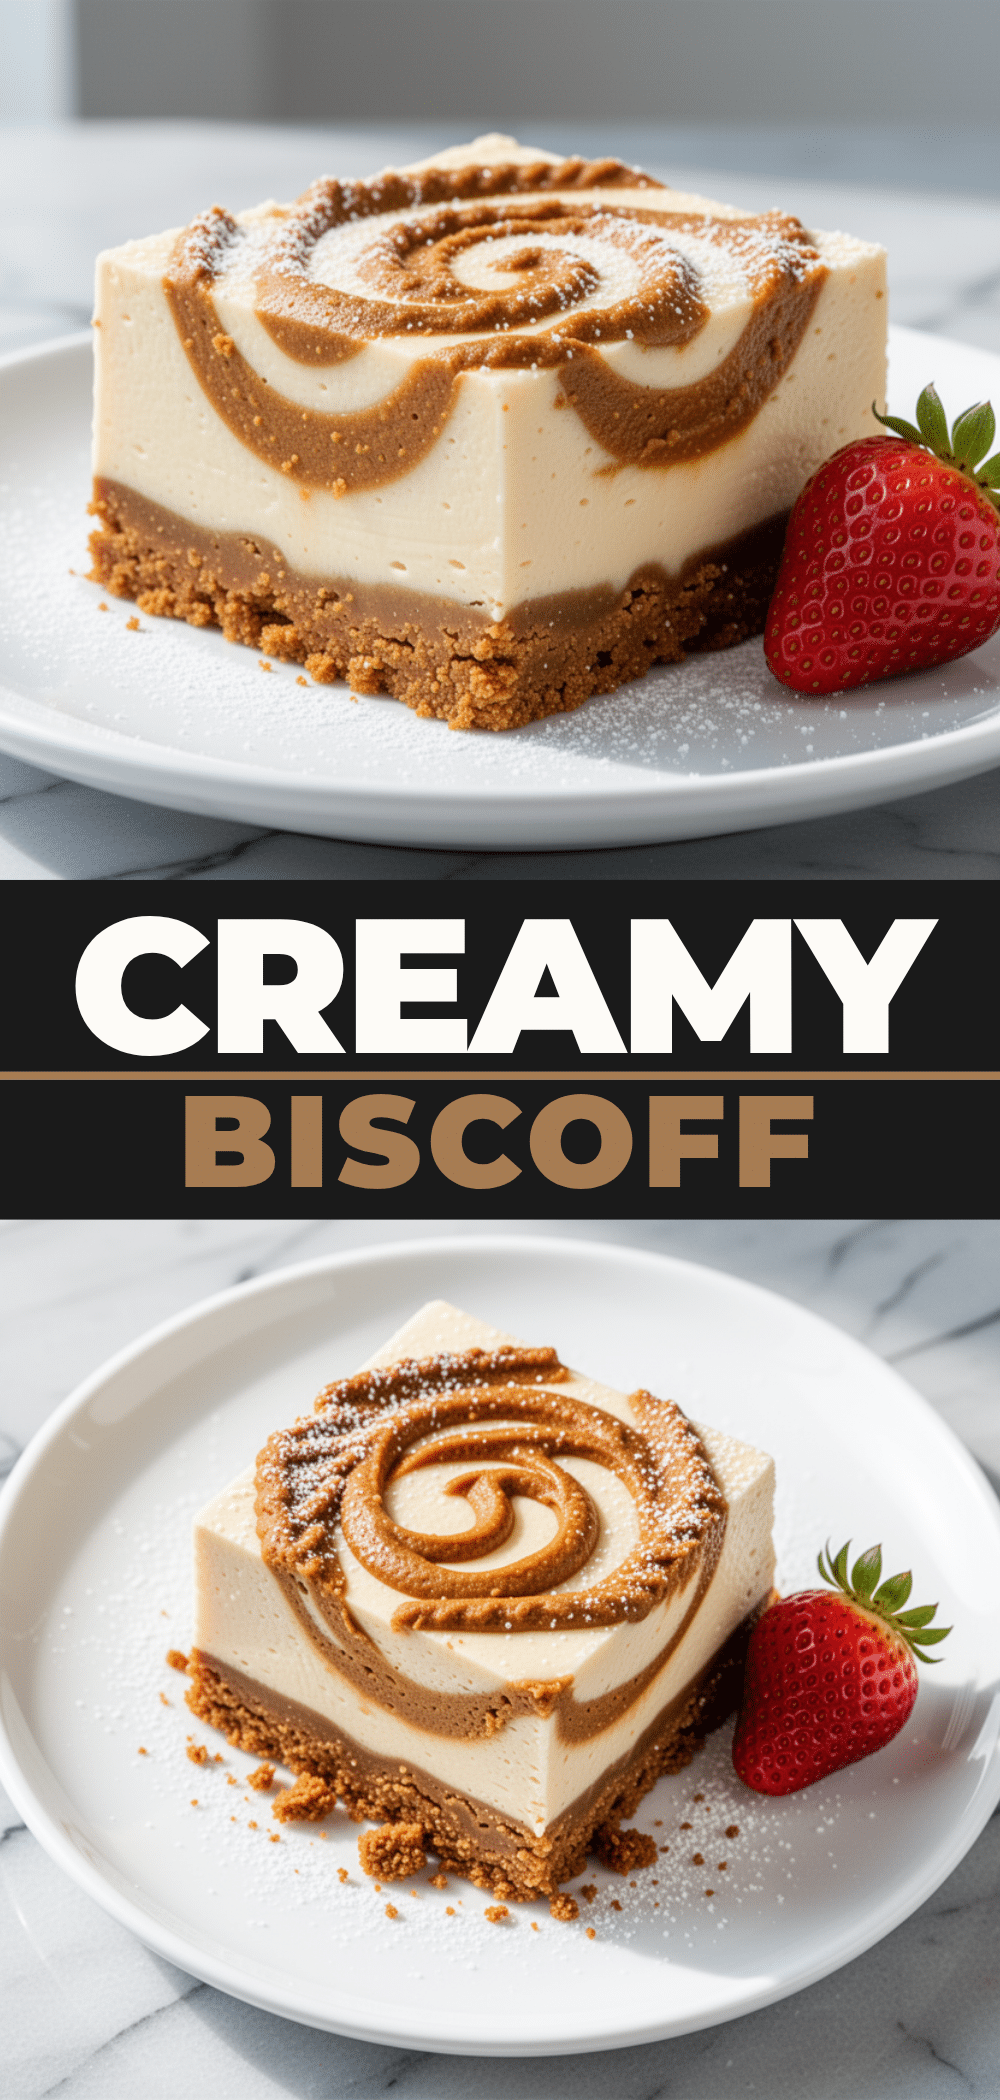
No-Bake Biscoff Cheesecake Bars
- Total Time: 4 hours 20 minutes
- Yield: 16 servings 1x
Description
These easy, no-bake cheesecake bars feature a crunchy cookie crust, a creamy spiced cream cheese filling, and a gooey Biscoff swirl. They are stable, impressive, and require zero oven time.
Ingredients
- 2 cups (200g) Nilla Wafers or Biscoff Cookies, crushed
- 6 tablespoons (85g) unsalted butter, melted
- 1 teaspoon ground cinnamon (optional if using Biscoff cookies)
- 1 tablespoon powdered sugar
- 16 ounces (450g) full-fat cream cheese, softened to room temperature
- 1 cup (240ml) heavy cream, cold
- 1 cup (120g) powdered sugar
- 1 teaspoon vanilla extract
- 1/2 teaspoon ground ginger
- 1/2 cup (120g) Biscoff Spread, room temperature
Instructions
- Line a 9×9 inch baking pan with parchment paper, leaving an overhang on the sides for easy removal.
- Crush cookies into fine crumbs. If using Nilla Wafers, mix in cinnamon and powdered sugar. Add melted butter and stir until the mixture resembles wet sand.
- Press the crust mixture firmly into the bottom of the prepared pan. Place in the fridge to chill while making the filling.
- In a large bowl, whip the cold heavy cream to stiff peaks. Set aside.
- In a separate large bowl, beat the softened cream cheese, powdered sugar, vanilla, and ground ginger until completely smooth and creamy.
- Gently fold the whipped heavy cream into the cream cheese mixture until just combined, being careful not to deflate the air.
- Spread the cheesecake mixture evenly over the chilled crust.
- Drop spoonfuls of Biscoff Spread randomly over the cheesecake layer. Drag a knife or skewer through the spread and cheese in a zigzag pattern to create swirls.
- Cover the pan with plastic wrap or foil and refrigerate for at least 4 hours, preferably overnight, until firm.
- Lift the bars out of the pan using the parchment sling. Use a sharp knife to cut into squares and serve chilled.
Notes
Ensure cream cheese is fully softened to room temperature to avoid lumps. Do not skip the chilling time as the bars need to set to slice cleanly. For clean cuts, dip the knife in hot water and wipe dry between cuts. These bars are best stored in the refrigerator for up to 5 days and do not freeze well due to the whipped cream texture.
- Prep Time: 20 minutes
- Cook Time: 0 minutes
- Category: Dessert
- Cuisine: American
Nutrition
- Serving Size: 1 bar
- Calories: 280
- Sugar: 22
- Sodium: 180
- Fat: 16
- Saturated Fat: 9
- Carbohydrates: 32
- Fiber: 1
- Protein: 4
Keywords: no-bake cheesecake, Biscoff, cookie butter, easy dessert, make-ahead dessert, fall dessert, gluten-free option



