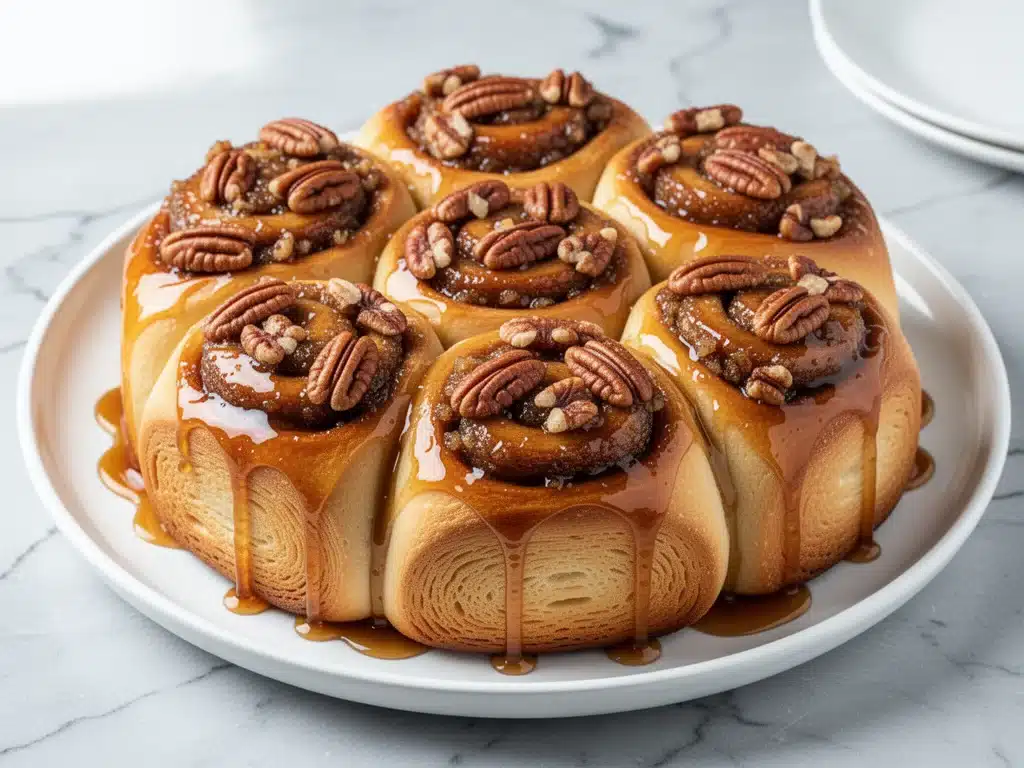
There is a specific kind of magic that happens when the first real chill of autumn hits the air. You know the feeling. The leaves start turning that brilliant, burning orange, the windows need to be closed tight, and suddenly, the idea of a quick breakfast feels like too much effort. You want something warm, something sweet, and something that takes up the whole kitchen with an aroma so good it wakes up everyone in the house before the coffee is even brewed.
That is exactly when I reach for my fall maple pecan sticky buns. And I don’t just reach for them—I make them. I make them every year, usually on a Saturday morning when I have absolutely nowhere to be and a whole 45 minutes to let dough rise. The first time I made these, I was trying to recreate a version I’d had at a tiny, steamy bakery in Vermont years ago. I failed. Miserably. The first batch was dense bricks. The second batch was too sweet and lacked that nutty crunch. But by the fourth attempt, I cracked the code.
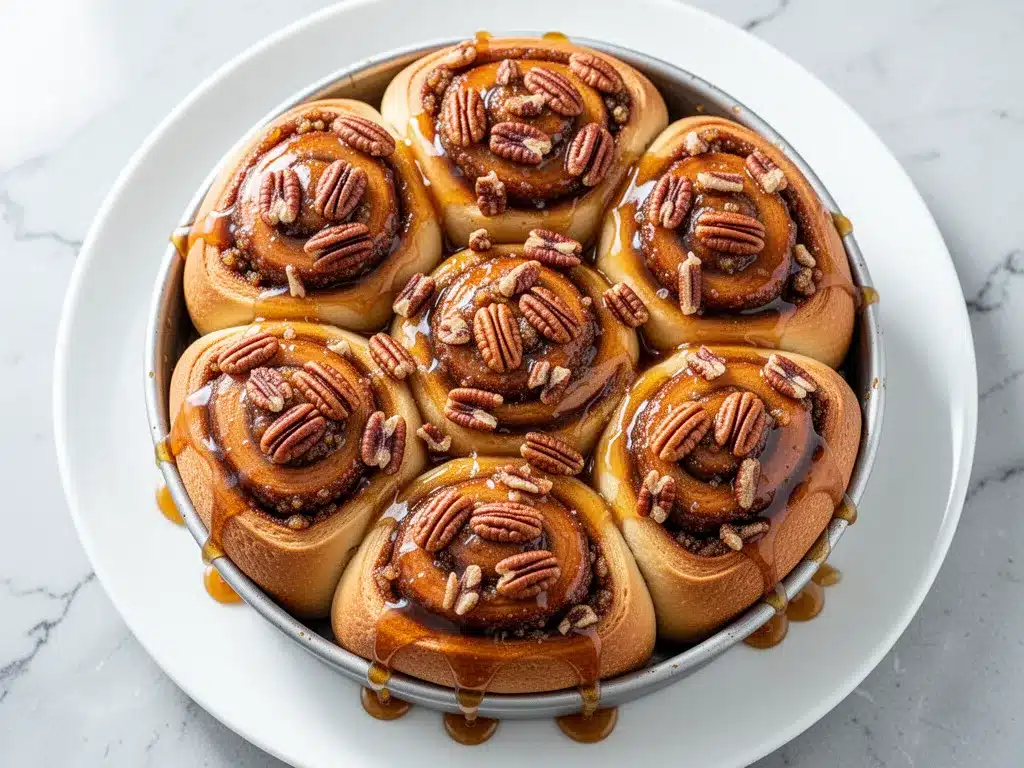
These aren’t just buns. They are a hug in food form. They are soft, pillowy, and soaked in a gooey maple-pecan glaze that drips down your fingers and makes you forget all your worries for at least twenty minutes. I’ve tested this recipe on three different types of yeast, two different brands of maple syrup, and even with whole wheat flour (spoiler: stick to all-purpose for that cloud-like texture). After dozens of rounds of baking, this is the version that actually works. It’s forgiving, it’s cozy, and it’s the perfect way to start a weekend.
If you’ve ever been intimidated by yeast dough, this is the recipe to start with. It doesn’t require a stand mixer, it doesn’t need precise temperature checks, and it doesn’t judge you if you eat a piece of raw dough (though I recommend baking it first). This fall maple pecan sticky buns recipe is my answer to “what do I make for a special weekend breakfast?” It pairs beautifully with a cup of strong coffee or, if you’re feeling festive, a glass of cold milk. Let’s get baking.
Why You’ll Love This Recipe
I’ve made these sticky buns at least a dozen times this season alone, and they never get old. Here’s why they’ve earned a permanent spot in my weekend rotation:
- Zero Stress with Yeast — I know, yeast can be scary. But this recipe uses a simple warm milk method that activates the yeast without fuss. No thermometer needed. If your milk is warm to the touch (like a baby’s bath), you’re good. I’ve made these while half-asleep on the couch, and they’ve never failed.
- Glazed from the Bottom Up — Most sticky buns are just drizzled on top. These are baked in a pan of melted butter, brown sugar, and maple syrup. When you flip them out, every single bun is coated in a caramelized, crunchy, gooey layer that sticks to the pan and then to your soul. It’s the best part. Obviously.
- Pecan Crunch Everywhere — I’m not talking about a few sad pecans scattered on top. I mean a generous layer of toasted pecans in the bottom of the pan AND mixed into the dough. You get a nutty bite in every single piece. If you hate pecans, use walnuts, but don’t skip the nuts entirely.
- Make-Ahead Friendly — This is the real game-changer. You can assemble these the night before, pop them in the fridge, and let them rise slowly overnight. In the morning, you just pop them in the oven while you shower or make coffee. You wake up to fresh, hot buns with zero morning stress.
- Leftovers Taste Better — I know, I know, fresh is best. But these buns reheat beautifully. Wrap them in foil and warm them in a 350°F oven for 10 minutes, or microwave for 30 seconds. The glaze softens up and becomes even more syrupy. Perfect for Monday morning brunch.
This recipe is my go-to for impressing guests without spending hours in the kitchen. It’s the kind of baking that makes people ask, “Did you buy these from a bakery?” (You won’t tell them.) It’s cozy, it’s indulgent, and it’s totally worth the effort.
Ingredients You’ll Need
Here’s the thing about sticky buns: the quality of your ingredients matters. You’re not making a complex savory stew where flavors mask each other. You’re making sweet, doughy pockets of heaven. So, let’s talk about what you need.
For the Dough
All-Purpose Flour (4 to 4.5 cups / 500-560g) — This is your base. Don’t try to use bread flour unless you want chewier, denser buns. All-purpose gives you that soft, cake-like texture I love. I always spoon my flour into the measuring cup and level it off. Scooping directly from the bag packs it down and can lead to dry dough.
Instant or Active Dry Yeast (2 teaspoons / 1 packet) — I prefer instant yeast because I don’t need to proof it first. Just dump it in. But active dry works fine too; just mix it with the warm milk and wait 5 minutes for it to bubble. If your yeast is old and doesn’t bubble, toss it. Don’t waste your flour on dead yeast.
Whole Milk (1 cup / 240ml) — Warm, not hot. Think “barely tolerable to touch,” around 110°F. I use whole milk for richness, but 2% works in a pinch. Skim milk will make the dough dry.
Unsalted Butter (4 tablespoons / 60g) — Melted. This goes into the dough to make it tender. I use Kerrygold because it’s my favorite, but any good quality unsalted butter is fine. Salted butter works too, just reduce the salt in the recipe by half.
Granulated Sugar (3 tablespoons / 45g) — This feeds the yeast and adds sweetness. Don’t skip it.
Egg (1 large) — Room temperature is best. It binds the dough and adds richness. If you’re in a rush, just set your egg in a bowl of warm water for 5 minutes.
Vanilla Extract (1 teaspoon) — Pure vanilla, please. I’ve used imitation before, and it tastes chemical. Don’t cheap out on vanilla.
Salt (1 teaspoon) — Essential for balancing the sweetness.
For the Filling
Softened Butter (½ cup / 115g) — This goes on top of the rolled dough before adding the sugar and nuts. Make sure it’s soft enough to spread but not melted. Melted butter will soak into the dough and make it greasy.
Brown Sugar (1 cup / 200g) — Pack it down. Dark brown sugar has more molasses and gives a deeper, toffee-like flavor. I love the depth it adds.
Ground Cinnamon (1 tablespoon) — Yes, a whole tablespoon. Don’t be shy. Cinnamon is the heart of this recipe.
Pecan Pieces (1 cup / 120g) — Toast them first! I toast mine in a dry skillet for 3-4 minutes until fragrant. It brings out the oils and makes them way more flavorful. Chopped roughly, not powdered.
For the Maple Glaze
Maple Syrup (½ cup / 120ml) — Use real maple syrup, grade A or B. Avoid “pancake syrup” which is just corn syrup with flavoring. It will taste artificial. I use a robust Grade B syrup for that deep, caramel flavor.
Heavy Cream (3 tablespoons / 45ml) — Adds richness and helps the glaze pour smoothly.
Confectioners’ Sugar (1 cup / 120g) — Sifted. Lumps are the enemy of a smooth glaze.
Pinch of Salt — Just a tiny pinch to cut the sweetness.
Optional: Extra Toasted Pecans — For garnish. Because more nuts is always better.
Equipment Needed
You don’t need fancy gadgets for this. Here’s what I actually use:
9×13 Inch Baking Pan — Glass or metal both work. I use a glass pan because I can see the bottom browning. Grease it well with butter or non-stick spray. Trust me, grease it more than you think you need to.
Large Mixing Bowl — For combining the dough. A big bowl gives you room to knead.
Rolling Pin — Any standard rolling pin works. I use a wooden one.
Dutch Oven or Large Skillet — For toasting the pecans. If you don’t have one, use a small saucepan.
Whisk — For mixing the glaze. A small whisk is perfect.
Pastry Brush — Optional, but helpful for brushing melted butter on the dough.
Aluminum Foil — For covering the dough while it rises.
How to Make It: Step-by-Step
Alright, let’s get into the nitty-gritty. This process is straightforward, but timing is everything. I’m going to walk you through it exactly as I do it.
Step 1: Activate the Yeast (5 minutes)
In a small bowl or measuring cup, combine the warm milk and 1 tablespoon of the sugar. Sprinkle the yeast on top and stir gently. Let it sit for 5-10 minutes. You’re looking for a foamy, bubbly layer on top. If it doesn’t bubble, your yeast is dead or the milk was too hot. Start over. If it bubbles, you’re golden. Smells yeasty and nice, right?
Step 2: Make the Dough (10 minutes active)
In a large bowl, whisk together the flour and remaining sugar. Make a well in the center. Add the yeast mixture, melted butter, egg, vanilla, and salt. Stir with a wooden spoon or spatula until a shaggy dough forms. It will look messy. That’s normal.
Turn it out onto a lightly floured surface. Knead for about 8-10 minutes. Push the dough away with the heel of your hand, fold it back, and turn. Add flour sparingly if it’s too sticky, but aim for a soft, slightly tacky dough—not a stiff brick. I usually knead by hand because I can feel the texture change. Once it’s smooth and springs back when you poke it, it’s done.
Step 3: First Rise (1-1.5 hours)
Place the dough in a greased bowl, turning once to coat. Cover with plastic wrap or a damp towel. Let it rise in a warm, draft-free spot until doubled in size. This takes about 1-1.5 hours. Pro tip: Turn your oven on for 1 minute, then turn it off. Place the bowl inside. The residual heat creates the perfect rising environment. Don’t let it over-proof, or it’ll collapse.
Step 4: Prepare the Pan and Filling (10 minutes)
While the dough rises, toast your pecans in a dry skillet over medium heat for 3-4 minutes. Watch them closely—they burn fast. Let them cool slightly.
In your 9×13 baking pan, mix the brown sugar, cinnamon, and toasted pecans. Spread the softened butter evenly over the bottom of the pan, then sprinkle the pecan mixture on top. It should look like a sandy, fragrant bed. Set aside.
Step 5: Roll and Cut the Buns (15 minutes)
Punch down the risen dough to release air. Roll it out into a 12×16 inch rectangle. Spread the ½ cup softened butter evenly over the entire surface, leaving a small border at the edges. Sprinkle the remaining brown sugar and cinnamon mixture (if you reserved any) over the butter, then scatter the rest of the pecans.
Starting from the long edge, roll the dough up tightly into a log. Pinch the seam to seal. Use dental floss or a sharp serrated knife to cut the log into 12 equal buns. I prefer dental floss—it cuts cleanly without squishing the dough. Place each bun cut-side down into the prepared pan. They should be snug but not crushing each other.
Step 6: Second Rise (30-45 minutes)
Cover the pan loosely with foil or plastic wrap. Let the buns rise again until they look puffy and nearly touch. This takes about 30-45 minutes. Preheat your oven to 350°F (175°C) during the last 15 minutes of rising.
Step 7: Bake (30-35 minutes)
Bake the buns in the preheated oven for 30-35 minutes. They should be golden brown on top and cooked through. If the tops are browning too fast, tent them with foil halfway through. Insert a toothpick in the center of a bun; if it comes out clean, they’re done.
Step 8: Make the Glaze and Invert (10 minutes)
While the buns bake, whisk together the maple syrup, heavy cream, confectioners’ sugar, and salt in a small saucepan over low heat. Heat until smooth and slightly thickened, about 3-4 minutes. Don’t boil it.
Once the buns are out of the oven, let them cool in the pan for 5 minutes. Then, carefully invert them onto a large serving platter. The gooey glaze should pour out with them. If some sticks to the pan, just scrape it out with a spatula and drizzle it back over the buns. Top with extra pecans if you’re feeling fancy.
Expert Tips & Tricks
I’ve learned a few things the hard way. Here’s how to avoid my mistakes:
- Don’t Overheat the Milk — If your milk is above 120°F, it will kill the yeast. If it’s below 100°F, the yeast won’t activate. Aim for 110°F. No thermometer? Dip your finger in. It should feel warm, not hot. If you can’t hold your finger in it for 3 seconds, it’s too hot.
- Knead Until Smooth — Under-kneaded dough leads to dense buns. I know it’s tedious, but 8-10 minutes is worth it. The dough should pass the “windowpane test”—stretch a small piece thin enough to see light through it without tearing.
- Toast Your Nuts — Raw pecans are fine, but toasted pecans are amazing. The heat releases their oils and adds a smoky depth that pairs perfectly with maple. It’s a 4-minute step that makes a huge difference.
- Grease the Pan Generously — The sugar burns if it sticks. Use plenty of butter or a high-quality non-stick spray. I’ve had buns stick before, and it’s heartbreaking to scrape them out. Don’t risk it.
- Don’t Rush the Second Rise — The first rise is big, but the second rise is what makes them fluffy. If you bake them too soon, they’ll be dense. Wait until they look puffy and jiggle slightly when you shake the pan.
Variations & Substitutions
Once you’ve mastered the basic recipe, here’s how you can mix it up:
- Maple Bourbon Glaze — Add 1 tablespoon of bourbon to the glaze mixture. It adds a sophisticated, warm kick. Perfect for holiday brunches.
- Chocolate Pecan Buns — Add ½ cup of mini chocolate chips to the filling. The chocolate melts into gooey pockets. My kids go crazy for this version.
- Cardamom Spice — Swap half the cinnamon for ground cardamom. It gives a floral, Nordic twist. Very elegant.
- Gluten-Free — Use a 1:1 gluten-free flour blend. The dough might be stickier, so handle it gently. It rises a bit differently, so keep an eye on the texture.
- Vegetarian — This recipe is already vegetarian! Just ensure your maple syrup is vegan-friendly (most are, but some use bone char in processing).
If you’re looking for other cozy fall treats, you might also enjoy my fall slow-cooker spiced caramel apple cider to drink alongside these buns. Or, if you want something slightly different but still nutty, check out my brown sugar bourbon pecan pie bars.
Serving & Storage
How to Serve: Serve these buns warm, right after inverting. They’re best eaten with your hands because the glaze drips. Pair them with a strong black coffee or a latte. I also like to serve them with a side of crispy bacon or sausage links for a complete brunch.
Storage: Leftovers can be stored in an airtight container at room temperature for up to 2 days. The glaze will soften, but they’ll still be delicious. For longer storage, wrap individual buns in plastic wrap and freeze for up to 3 months. Thaw at room temperature and warm in the oven.
Reheating: To reheat, wrap in foil and warm in a 350°F oven for 10-15 minutes, or microwave for 30-45 seconds. The goal is to warm the center without drying out the edges.
If you’re hosting a big brunch, these buns travel well. Just carry the pan carefully, and they’ll look impressive on the table. I’ve also made these ahead and frozen the unbaked, risen dough in the pan. Thaw overnight in the fridge, then bake as directed. It’s a lifesaver for busy weekends.
Nutrition Information
I’m not a nutritionist, but here’s the breakdown per bun (based on 12 buns):
- Calories: ~380
- Fat: 14g
- Carbs: 58g
- Fiber: 2g
- Sugar: 32g
- Protein: 6g
Look, these are sticky buns. They’re supposed to be sweet and rich. They’re not a health food. But they’re made with real ingredients, and a little goes a long way. If you’re watching your sugar, you can reduce the brown sugar in the filling by a quarter cup, though the glaze will be less gooey. Enjoy them as a special treat, not a daily habit. That’s how I do it.
Final Thoughts
So there you have it—my fall maple pecan sticky buns recipe. It’s my favorite way to welcome the season, and I hope it becomes yours too. There’s something deeply satisfying about pulling a pan of warm, gooey buns out of the oven on a crisp Saturday morning. It slows you down, it fills your home with comfort, and it reminds you that sometimes the best things in life take a little time and a lot of love.
Make these buns. Share them with friends, family, or just yourself with a good book. And if you do, I’d love to hear how they turned out. Drop a comment below with your thoughts, or tag me on social media if you post a photo. I love seeing your baking successes (and failures, because we’ve all been there).
Happy baking, and enjoy every sticky, sweet bite. Your weekend awaits.
Frequently Asked Questions
Can I use active dry yeast instead of instant yeast?
Yes! Just mix the active dry yeast with the warm milk and 1 teaspoon of sugar, and let it sit for 5-10 minutes until foamy. Then proceed with the recipe as written. The rest of the steps are the same. Instant yeast is just more convenient because you don’t need to proof it first.
Why did my buns turn out dense?
This usually happens if the yeast was dead (milk too hot or old yeast) or if the dough wasn’t kneaded enough. Make sure your milk is around 110°F, and knead until the dough is smooth and elastic. Also, don’t rush the second rise—it needs to puff up before baking.
Can I make these ahead and bake them in the morning?
Absolutely. After cutting the buns and placing them in the pan, cover the pan tightly with plastic wrap and refrigerate overnight. In the morning, let them sit at room temperature for 30-45 minutes to finish rising while you preheat the oven. Then bake as directed. This is my favorite method for lazy weekends.
Can I freeze the baked buns?
Yes, but they’re best fresh. If you must freeze, let them cool completely, wrap individually in plastic wrap, and store in a freezer bag for up to 3 months. Thaw at room temperature and warm in the oven. The texture might be slightly softer, but they’ll still be tasty.
What if I don’t have maple syrup?
You can use honey or corn syrup, but the flavor will be different. Honey will make them taste more floral, and corn syrup will be sweeter but less complex. I highly recommend using real maple syrup for the authentic fall flavor.
Can I use walnuts instead of pecans?
Yes, walnuts work great in this recipe. Toast them first for the best flavor. You can also use a mix of pecans and walnuts if you’re feeling adventurous.
Why is my glaze too thick?
If the glaze is too thick, add a teaspoon of warm milk or cream at a time until it reaches the desired consistency. If it’s too thin, add a little more confectioners’ sugar. You want it to pour easily but still coat the back of a spoon.
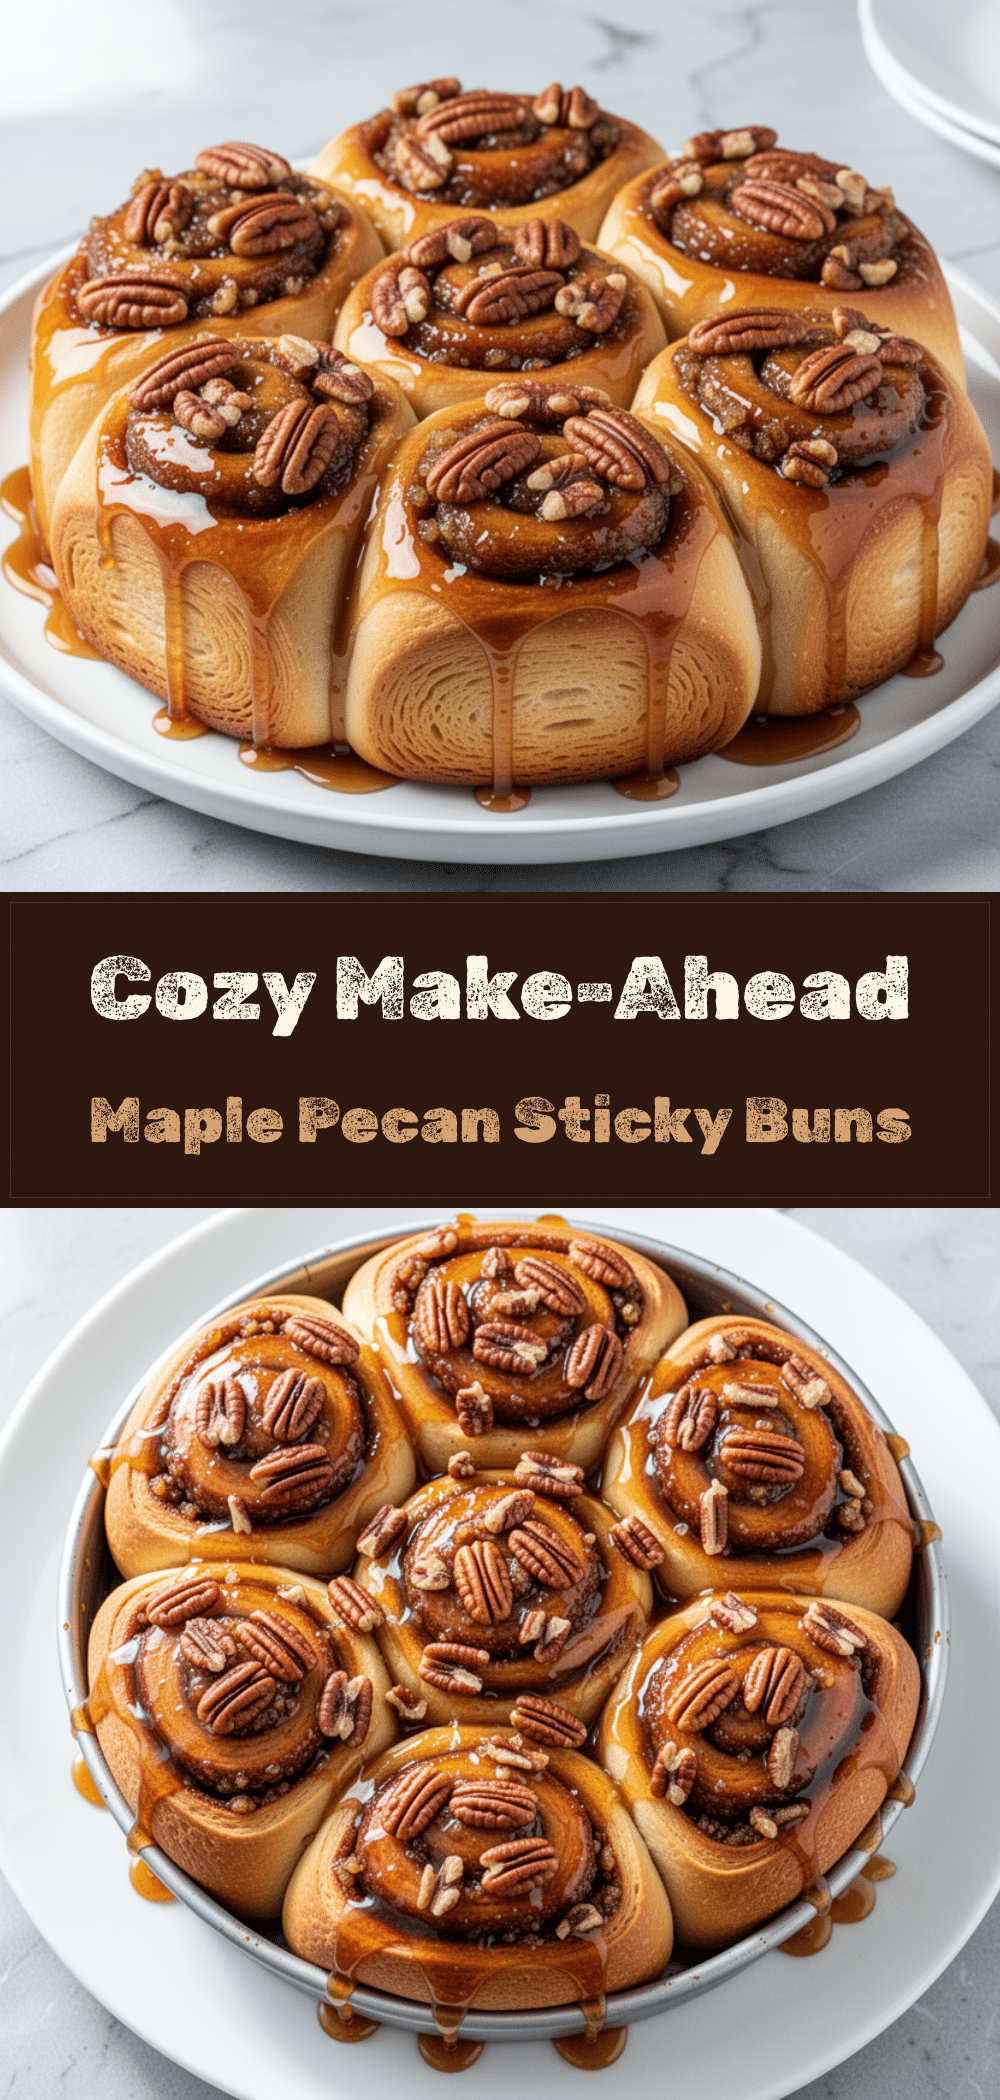
Pin This Recipe!
Fall Maple Pecan Sticky Buns
- Total Time: 1 hour 20 minutes
- Yield: 12 servings 1x
Description
Soft, pillowy sticky buns soaked in a gooey maple-pecan glaze, featuring a caramelized bottom layer and toasted pecans. This cozy weekend breakfast recipe is forgiving, make-ahead friendly, and delivers bakery-quality results.
Ingredients
- 4 to 4.5 cups (500-560g) All-Purpose Flour
- 2 teaspoons (1 packet) Instant or Active Dry Yeast
- 1 cup (240ml) Whole Milk, warm
- 4 tablespoons (60g) Unsalted Butter, melted
- 3 tablespoons (45g) Granulated Sugar
- 1 large Egg, room temperature
- 1 teaspoon Vanilla Extract
- 1 teaspoon Salt
- ½ cup (115g) Softened Butter (for filling)
- 1 cup (200g) Brown Sugar, packed
- 1 tablespoon Ground Cinnamon
- 1 cup (120g) Pecan Pieces, toasted
- ½ cup (120ml) Maple Syrup
- 3 tablespoons (45ml) Heavy Cream
- 1 cup (120g) Confectioners’ Sugar, sifted
- Pinch of Salt (for glaze)
- Optional: Extra Toasted Pecans for garnish
Instructions
- Activate the yeast: In a small bowl, combine warm milk and 1 tablespoon of sugar. Sprinkle yeast on top and let sit for 5-10 minutes until foamy.
- Make the dough: In a large bowl, whisk flour and remaining sugar. Add yeast mixture, melted butter, egg, vanilla, and salt. Stir until a shaggy dough forms.
- Knead the dough: Turn onto a floured surface and knead for 8-10 minutes until smooth and elastic.
- First rise: Place dough in a greased bowl, cover, and let rise in a warm spot for 1-1.5 hours until doubled in size.
- Prepare the pan: While dough rises, toast pecans in a dry skillet for 3-4 minutes. Mix brown sugar, cinnamon, and toasted pecans. Spread softened butter in a 9×13 inch baking pan, then sprinkle the pecan mixture on top.
- Roll and cut: Punch down risen dough and roll into a 12×16 inch rectangle. Spread ½ cup softened butter over the dough. Sprinkle with remaining sugar/cinnamon mixture and pecans. Roll tightly into a log, seal seam, and cut into 12 buns using dental floss or a serrated knife.
- Second rise: Place buns cut-side down in the prepared pan. Cover and let rise for 30-45 minutes until puffy. Preheat oven to 350°F (175°C) during the last 15 minutes.
- Bake: Bake for 30-35 minutes until golden brown. Tent with foil if browning too fast.
- Make glaze: While baking, whisk maple syrup, heavy cream, confectioners’ sugar, and salt in a saucepan over low heat until smooth and slightly thickened.
- Invert: Let buns cool in pan for 5 minutes. Invert onto a serving platter, scraping any stuck glaze from the pan and drizzling over buns. Garnish with extra pecans.
Notes
Ensure milk is warm (around 110°F) but not hot to avoid killing the yeast. Toasting the pecans enhances their flavor. The recipe can be made ahead by assembling the night before and refrigerating overnight for a slow rise. Leftovers reheat well in the oven or microwave.
- Prep Time: 45 minutes
- Cook Time: 30-35 minutes
- Category: Breakfast
- Cuisine: American
Nutrition
- Serving Size: 1 bun
- Calories: 380
- Sugar: 32
- Sodium: 350
- Fat: 14
- Saturated Fat: 7
- Carbohydrates: 58
- Fiber: 2
- Protein: 6
Keywords: fall recipes, maple pecan sticky buns, weekend breakfast, yeast dough, cozy baking, make-ahead breakfast, autumn recipes



