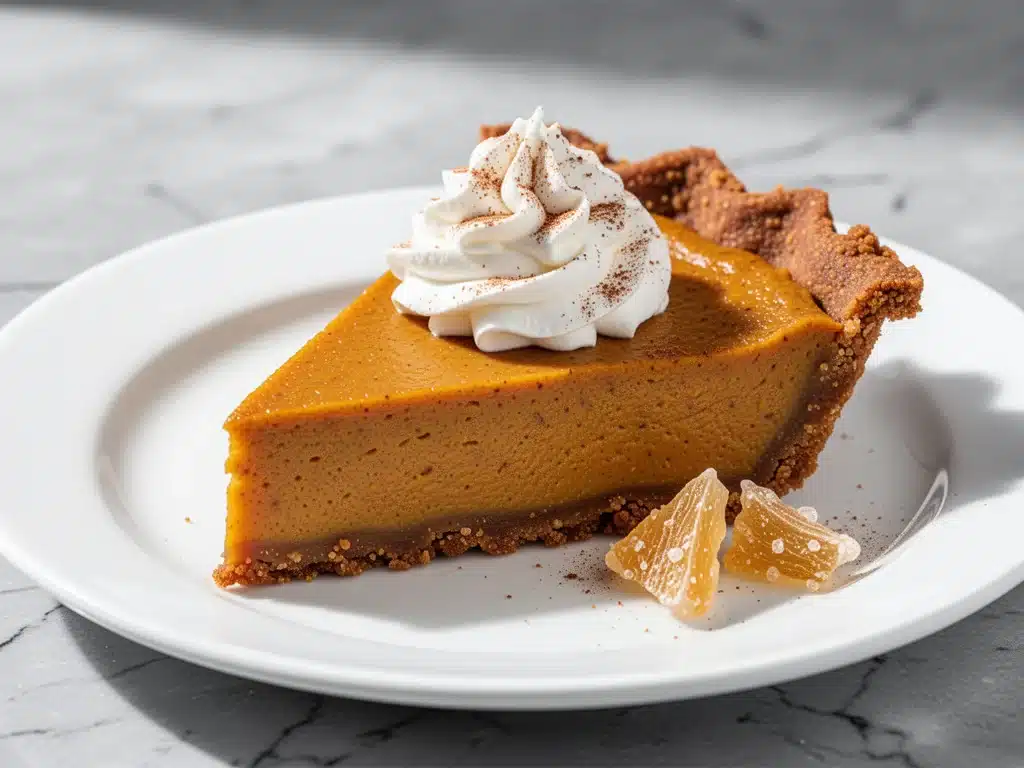
There is a specific kind of panic that sets in when you realize Thanksgiving is in three days, you still haven’t bought a pie plate, and the oven is already booked solid for the turkey and all those casseroles. I’ve been there. More than once. Last year, I stood in my kitchen at 9 PM on a Tuesday, staring at a blank calendar, feeling like a failure. I wanted to bring dessert to my sister’s house, but I didn’t want to be the person who showed up with a store-bought pie from the gas station. That’s just not how I roll.
So, I did what any stressed-out home cook does: I scavenged my pantry. I had a box of gingersnaps, a can of pumpkin puree (not pie filling, remember that distinction), some cream cheese, and a tub of whipped topping. I threw them together in a food processor, dumped the result into a springform pan, and shoved it in the fridge. I went to bed convinced I’d ruined it. But the next morning? I woke up to the smell of cinnamon and ginger, and when I took the first bite, I nearly cried. It was creamy, spicy, not too sweet, and required zero oven time.
This fall no-bake pumpkin pie with gingersnap crust has since become my secret weapon for holiday gatherings. It’s the dessert that saves my sanity. It looks elegant on the table—like you spent hours making it—but it actually takes about 15 minutes of active work. Plus, because it needs time to set, you can make it two days in advance. That means when everyone is eating turkey and arguing about politics, you’re the hero who already has dessert ready to go. No last-minute baking stress. No burnt edges. Just pure, spiced pumpkin perfection.
I’ve tested this recipe at least a dozen times, tweaking the ratio of ginger to pumpkin until it hit that sweet spot. It’s become my go-to when I need a show-stopping treat that doesn’t demand my attention. If you’re looking for a way to add some cozy fall vibes to your holiday table without the hassle, this is it. Trust me, once you try this no-bake version, you might never go back to the traditional baked crust.
Why You’ll Love This Recipe
I know, I know. You’ve seen a thousand pumpkin pie recipes. But this one is different because it respects your time. Here’s why this fall no-bake pumpkin pie with gingersnap crust has earned a permanent spot in my holiday rotation:
- Zero Oven Heat — Seriously. The oven stays off. This is huge when you’re trying to fit a turkey, stuffing, mashed potatoes, and three side dishes into a small kitchen. Keep your kitchen cool and your sanity intact.
- The Crust is the Star — Most no-bake pies use a graham cracker crust, which is fine, but boring. Gingersnaps? That’s where the magic happens. They’re crisp, buttery, and packed with warm spices that complement the pumpkin perfectly. It’s like a gingerbread cookie came to life.
- Make-Ahead Friendly — This pie needs to chill for at least 4 hours, preferably overnight. That means you can make it on Tuesday, let it do its thing in the fridge, and just grab it on Thanksgiving morning. It actually tastes better after sitting for a day because the flavors meld together.
- Only 5 Main Ingredients — You probably have most of these already. Pumpkin puree, cream cheese, gingersnaps, sugar, and whipped topping. No weird pantry items you’ll use once and never again. It’s simple, accessible, and reliable.
- Feels Fancy, Is Actually Easy — When you slice it, that distinct layer of crust and the smooth, pale orange filling looks restaurant-quality. Guests will ask for the recipe immediately. You’ll smile and say, “Oh, it’s nothing, just threw it together.” (They’ll never know you panicked last year.)
This is my answer to “What should I bring to the potluck?” or “I need a dessert that won’t fail.” It’s reliable, delicious, and it makes you look like a professional pastry chef, even if you barely know how to chop an onion.
Ingredients You’ll Need
Here’s the best part: you don’t need a trip to a specialty store for this. The ingredients are simple, but the quality matters. Since there are only five main components, each one has to do heavy lifting. I’m particular about three of these, so pay attention.
For the Gingersnap Crust
Gingersnap cookies (15-20 cookies, about 2 cups crumbs) — This is non-negotiable. Do not use gingerbread men or soft ginger snaps. You need the crisp, dry, store-bought gingersnaps (like Nabisco or store brand). They crush easily and have that distinct spicy kick. Soft cookies will make a soggy mess.
Unsalted butter (6 tablespoons, melted) — Butter binds the crumbs. Use real butter, not margarine. It adds richness and helps the crust crisp up in the fridge. If you’re salty, reduce to 5 tablespoons, but I prefer 6 for that buttery crunch.
Granulated sugar (2 tablespoons) — Just a little bit to help the crust bind and add a hint of sweetness. The cookies are already sweet, so don’t overdo it.
For the Pumpkin Filling
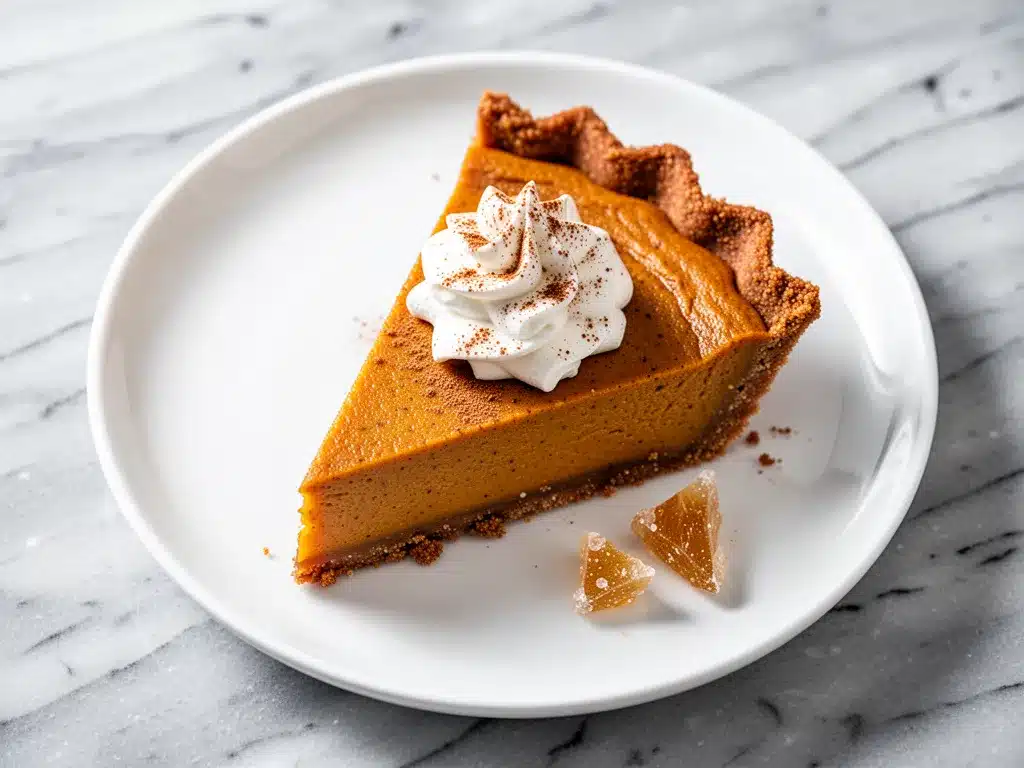
Pumpkin puree (15 ounces, 1 can) — CRITICAL: Check the label. It must say “100% Pure Pumpkin,” not “Pumpkin Pie Mix.” The mix already has sugar and spices, which will throw off the balance. If you use the mix, you’ll end up with a cloyingly sweet, mushy dessert. Pure pumpkin is bland and perfect for us to season.
Cream cheese (8 ounces, softened) — Full-fat brick cream cheese is a must. The tub stuff is too airy and watery. Soften it in the microwave for 30 seconds or leave it on the counter for an hour. If it’s cold, you’ll get lumps, and nobody wants lumpy pie.
Whipped topping (8 ounces, thawed) — I use Cool Whip (or a generic store brand). It’s light, airy, and stabilizes the filling so it holds its shape when sliced. Don’t use whipped cream you made yourself unless you’re okay with the pie deflating slightly. The frozen tub is the secret to that perfect texture.
Pumpkin pie spice (1 teaspoon) — Or make your own mix (see below). This gives it that classic fall aroma. Cinnamon, ginger, nutmeg, and cloves. If you don’t have the blend, just use ½ tsp cinnamon, ¼ tsp ginger, ¼ tsp nutmeg, and a pinch of cloves.
Optional but recommended:
Maple syrup (1 tablespoon) — I add this for depth. It makes the flavor feel more complex and less like “canned pumpkin.” It pairs beautifully with the gingersnaps.
Pinch of salt — Always add a pinch of salt to balance the sweetness. It makes the spices pop.
Pro Tip: I always buy two cans of pumpkin puree. One for this pie, and one for fall slow cooker spiced caramel apple cider or a quick soup later in the week. Never let a can go to waste.
Equipment Needed
You don’t need fancy gadgets for this. Here’s what I actually use:
Food processor — This is the easiest way to crush the gingersnaps. Pulse until you have fine crumbs. If you don’t have one, put the cookies in a zip-top bag and crush them with a rolling pin or a heavy pan. It takes more effort, but it works.
9-inch springform pan — This is the traditional pie pan for no-bake pies. The sides come off, making it super easy to remove the pie without breaking it. If you don’t have one, a standard 9-inch pie plate works, but slicing might be trickier. Just make sure the bottom is secure.
Electric mixer or stand mixer — You need to beat the cream cheese until it’s smooth and creamy before adding anything else. Doing this by hand is possible but tiring. I use my KitchenAid, but a hand mixer works fine too.
Spatula — A rubber spatula is essential for folding in the whipped topping. You want to keep the air in the mixture, so gentle folding is key. Don’t use a spoon; you’ll deflate the filling.
Measuring cups and spoons — Standard stuff. Accuracy matters here because the balance of pumpkin to sugar is delicate.
Small bowl — For melting the butter. Microwave-safe is best.
Knife — For slicing. Dip it in hot water between cuts for clean slices. Learned this trick from watching too many baking shows.
How to Make It: Step-by-Step
Alright, let’s make this! It’s incredibly straightforward, but there are a few tricks to get that perfect texture. I’m walking you through exactly how I do it.
Step 1: Prep the Crust (5 minutes)
Crush your gingersnap cookies into fine crumbs. If using a food processor, pulse until they look like wet sand. If doing it by hand, seal them in a bag and crush until fine. Transfer the crumbs to a small bowl. Add the melted butter and sugar. Stir until it looks like wet gravel. This mixture should hold together when you squeeze it in your hand. If it’s too dry, add another tablespoon of melted butter.
Press this mixture firmly into the bottom of your springform pan. Use the bottom of a measuring cup or a flat glass to pack it down tight. You want an even layer. Don’t worry about the sides unless you want a crust that goes up the edges—this recipe works best with just a bottom crust. Place the pan in the freezer for 10 minutes to set while you make the filling. This helps the crust hold together.
Step 2: Beat the Cream Cheese (3 minutes)
In a large mixing bowl, beat the softened cream cheese until it is completely smooth and creamy. This is the most important step. If there are lumps, they will show up in the final pie. Scrape down the sides of the bowl and beat for another minute. It should look like thick, white frosting.
Step 3: Add Pumpkin and Spices (2 minutes)
Add the pure pumpkin puree, pumpkin pie spice, maple syrup (if using), and salt to the cream cheese. Beat on low speed just until combined. Don’t overmix once the pumpkin is in, or you might incorporate too much air. Scrape the bowl again. The mixture should be a uniform pale orange color.
Step 4: Fold in the Whipped Topping (3 minutes)
This is where you need to be gentle. Add the thawed whipped topping to the pumpkin mixture. Using a rubber spatula, gently fold it in. Fold from the bottom up, turning the bowl as you go. You want to keep as much air in the mixture as possible. Stop when you see no more white streaks of whipped topping. The filling should be light, fluffy, and airy. If you mix it too vigorously, it will become dense and heavy.
Step 5: Assemble and Chill (4+ hours)
Pour the filling into the chilled crust. Smooth the top with your spatula. Cover the pan loosely with plastic wrap or foil. Place it in the refrigerator for at least 4 hours, but ideally overnight. This gives the filling time to set firmly so it slices cleanly. If you cut it too soon, it will be mushy.
Total Time: About 15 minutes active, plus 4 hours chilling.
Expert Tips & Tricks
Here’s everything I’ve learned from making this dozens of times. These tips will save you from my mistakes.
Soften Your Cream Cheese Properly
If your cream cheese is cold, it won’t blend smoothly. Cut it into cubes and let it sit at room temperature for 30-60 minutes. If you’re in a rush, microwave it in 10-second bursts, checking frequently. It should be soft enough to leave a fingerprint but not melted into liquid.
Don’t Skimp on the Ginger
The crust is half the experience. If you buy gingersnaps that are too mild, the pie will taste flat. Look for brands that list ginger high in the ingredients. If you want extra spice, add an extra ½ teaspoon of ground ginger to the crust mixture.
Thaw the Whipped Topping Correctly
If you thaw Cool Whip in the microwave, it can turn watery. The best method is to thaw it in the fridge overnight. If you’re short on time, thaw it on the counter for 30-45 minutes. Check the texture—it should be fluffy, not runny. If it’s watery, your pie will be soupy.
Chill Your Knife
For clean slices, dip your knife in hot water and wipe it dry before every cut. The heat helps the knife glide through the cold, creamy filling without dragging or crumbling the crust. This is a game-changer for presentation.
Common Mistake: Lumpy Filling
If your filling is lumpy, you didn’t beat the cream cheese enough. Start over with the cream cheese step. It’s frustrating, but it’s worth it. The rest of the pie depends on that smooth base.
Pro Trick: Toast the Crumbs
For a deeper flavor, spread the gingersnap crumbs on a baking sheet and toast them in a 350°F oven for 5 minutes before adding the butter. Let them cool completely, then press into the pan. It adds a nutty, roasted depth that is absolutely delicious.
Variations & Substitutions
Once you’ve nailed the basic version, here’s how you can mix it up. I’ve tried all of these.
Spiced Latte Version
Add 1 tablespoon of instant espresso powder to the pumpkin mixture. It enhances the pumpkin flavor without making it taste like coffee. Perfect for morning gatherings or brunch.
Maple Pecan Twist
Sprinkle chopped toasted pecans on top of the filling before chilling. Or, mix ½ cup of chopped pecans into the filling. This adds crunch and pairs beautifully with the maple notes.
White Chocolate Pumpkin
Replace the whipped topping with a mixture of white chocolate chips (melted and cooled) and whipped cream. This makes it richer and sweeter. Great for holiday parties.
Gluten-Free
Use gluten-free gingersnaps (like those from FreeFrom Bakers) and ensure your pumpkin puree is certified GF. Everything else is naturally gluten-free. The texture is nearly identical.
Dairy-Free
This is trickier. Use dairy-free cream cheese (like Kite Hill or Miyoko’s) and dairy-free whipped topping (like So Delicious). The texture might be slightly different, but it’s still tasty. I’ve made this for my dairy-free friends, and they loved it.
Lower Sugar
Reduce the sugar in the crust to 1 tablespoon and use unsweetened pumpkin puree (check labels, some have added sugar). Use a sugar-free whipped topping. It’s not as sweet, but the spices still shine.
Other Holiday Flavors
Swap pumpkin puree for sweet potato puree for a fall sweet potato casserole-inspired twist. Add more cinnamon and less ginger. It’s a nice variation for those who prefer sweet potato.
Serving & Storage
How to Serve:
I usually serve this straight from the springform pan. It looks rustic and elegant. Garnish with a dollop of fresh whipped cream, a sprinkle of cinnamon, or a few crushed gingersnaps. It’s pretty enough for a dinner party but casual enough for a weeknight treat.
Side Dishes:
This pie is rich, so pair it with something light. A simple green salad or some cozy fall roasted red pepper and smoked gouda soup works well if you’re serving it as part of a larger meal. It also pairs nicely with fall slow cooker spiced caramel apple cider for a complete autumn experience.
Refrigerator:
Store in the refrigerator for up to 5 days. Cover tightly with plastic wrap or foil. It actually tastes better on day 2 or 3 as the flavors meld. Do not leave it out at room temperature for more than 2 hours.
Freezing:
You can freeze this pie! Wrap the entire springform pan (with the bottom removed) in plastic wrap and then foil. Freeze for up to 2 months. Thaw in the refrigerator overnight before serving. The texture might be slightly softer, but it’s still delicious.
Pro Tip: If you’re making this for a party, make it 2 days in advance. It’s less stressful, and the flavor improves. Just keep it covered so it doesn’t absorb any fridge smells (like onions or garlic).
Nutrition Information
I’m not a nutritionist, but here’s the breakdown if you’re tracking. Keep in mind that this is a rich dessert, so portions matter.
Per Serving (based on 12 slices):
– Calories: 280
– Protein: 4g
– Carbs: 32g
– Fiber: 1g
– Sugar: 22g
– Fat: 16g
– Saturated Fat: 8g
– Cholesterol: 35mg
– Sodium: 180mg
What’s Good:
– No baked crust means less flour
– Pumpkin adds some vitamin A
– Gingersnaps provide a bit of iron
What to Know:
– High in sugar due to cookies and whipped topping
– Contains dairy and gluten
– Moderate calories, but very rich
My Take:
Look, this is a dessert. It’s meant to be enjoyed. It’s way better than store-bought pie because you control the ingredients. When I make it, I try to balance it with a lighter meal earlier in the day. But honestly? It’s worth every calorie. It’s comfort food in the best way.
Final Thoughts
So that’s my go-to fall no-bake pumpkin pie with gingersnap crust! I’ve probably talked your ear off at this point, but when you make a recipe this often, you have a lot to say about it. This pie has saved me more times than I can count. It’s my answer to “What do I bring?” when I’m tired, don’t want to bake, and still want to impress.
It’s my kids’ favorite, my husband’s “safe” choice, and my guests’ “wow” factor. It’s reliable, delicious, and it makes everyone happy without the stress. Make it yours! Try different toppings, swap in your favorite spices, or adjust the sweetness. The best recipes are the ones you adapt to your family’s tastes.
If you make this, drop a comment and let me know what you think! I love hearing how recipes turn out in your kitchen. And if something doesn’t work, tell me that too—I’m here to help troubleshoot. Happy cooking! And I hope your kitchen smells half as good as mine does right now.
Frequently Asked Questions
Can I use pumpkin pie filling instead of pure pumpkin?
Technically, yes, but I don’t recommend it. Pumpkin pie filling already has sugar and spices added. If you use it, you’ll need to reduce the sugar in the recipe and skip the pumpkin pie spice. The texture might also be sweeter and denser. I always use pure pumpkin for better control over the flavor.
Why did my pie turn out watery?
This usually happens if the whipped topping was too warm or if the pumpkin puree had extra liquid. Make sure your whipped topping is fully thawed but not melted. Also, if you’re using fresh pumpkin (not canned), make sure to squeeze out excess moisture. For canned, just stir it well before measuring. If your pie is watery, chill it for a few more hours—it might set up.
Can I make this ahead for a dinner party?
Absolutely! This pie is best made 1-2 days in advance. It needs time to set, so making it ahead is actually better. Just keep it covered in the fridge. Bring it to the party still cold, and it will slice perfectly. I do this for every holiday.
Can I use a different type of cookie for the crust?
You can, but gingersnaps are the star. Graham crackers are a good backup (use 1.5 cups crumbs + 6 tbsp butter), but it won’t have that spicy kick. Nilla Wafers work too, but they’re sweeter. If you use soft cookies like gingerbread men, the crust will be chewy, not crisp. Stick with crisp gingersnaps for the best texture.
How do I store leftovers?
Store in the refrigerator, covered tightly with plastic wrap or in an airtight container. It will last for up to 5 days. Do not freeze leftovers if they’re already sliced, as the texture changes. Freeze the whole pie if you know you won’t eat it all.
Can I double this recipe?
Yes! Just use a larger springform pan (like a 10-inch or 12-inch) or two 9-inch pans. The cooking/chilling time stays the same. I’ve doubled this for large parties, and it works great. Just make sure your mixer bowl is big enough for the filling.
Is this pie too sweet?
It’s moderately sweet. The gingersnaps and whipped topping add sugar, but the pumpkin and spices balance it out. If you prefer less sweet, reduce the sugar in the crust to 1 tablespoon and use unsweetened whipped topping. I find the standard recipe is well-balanced, but taste preferences vary.
Pin This Recipe!
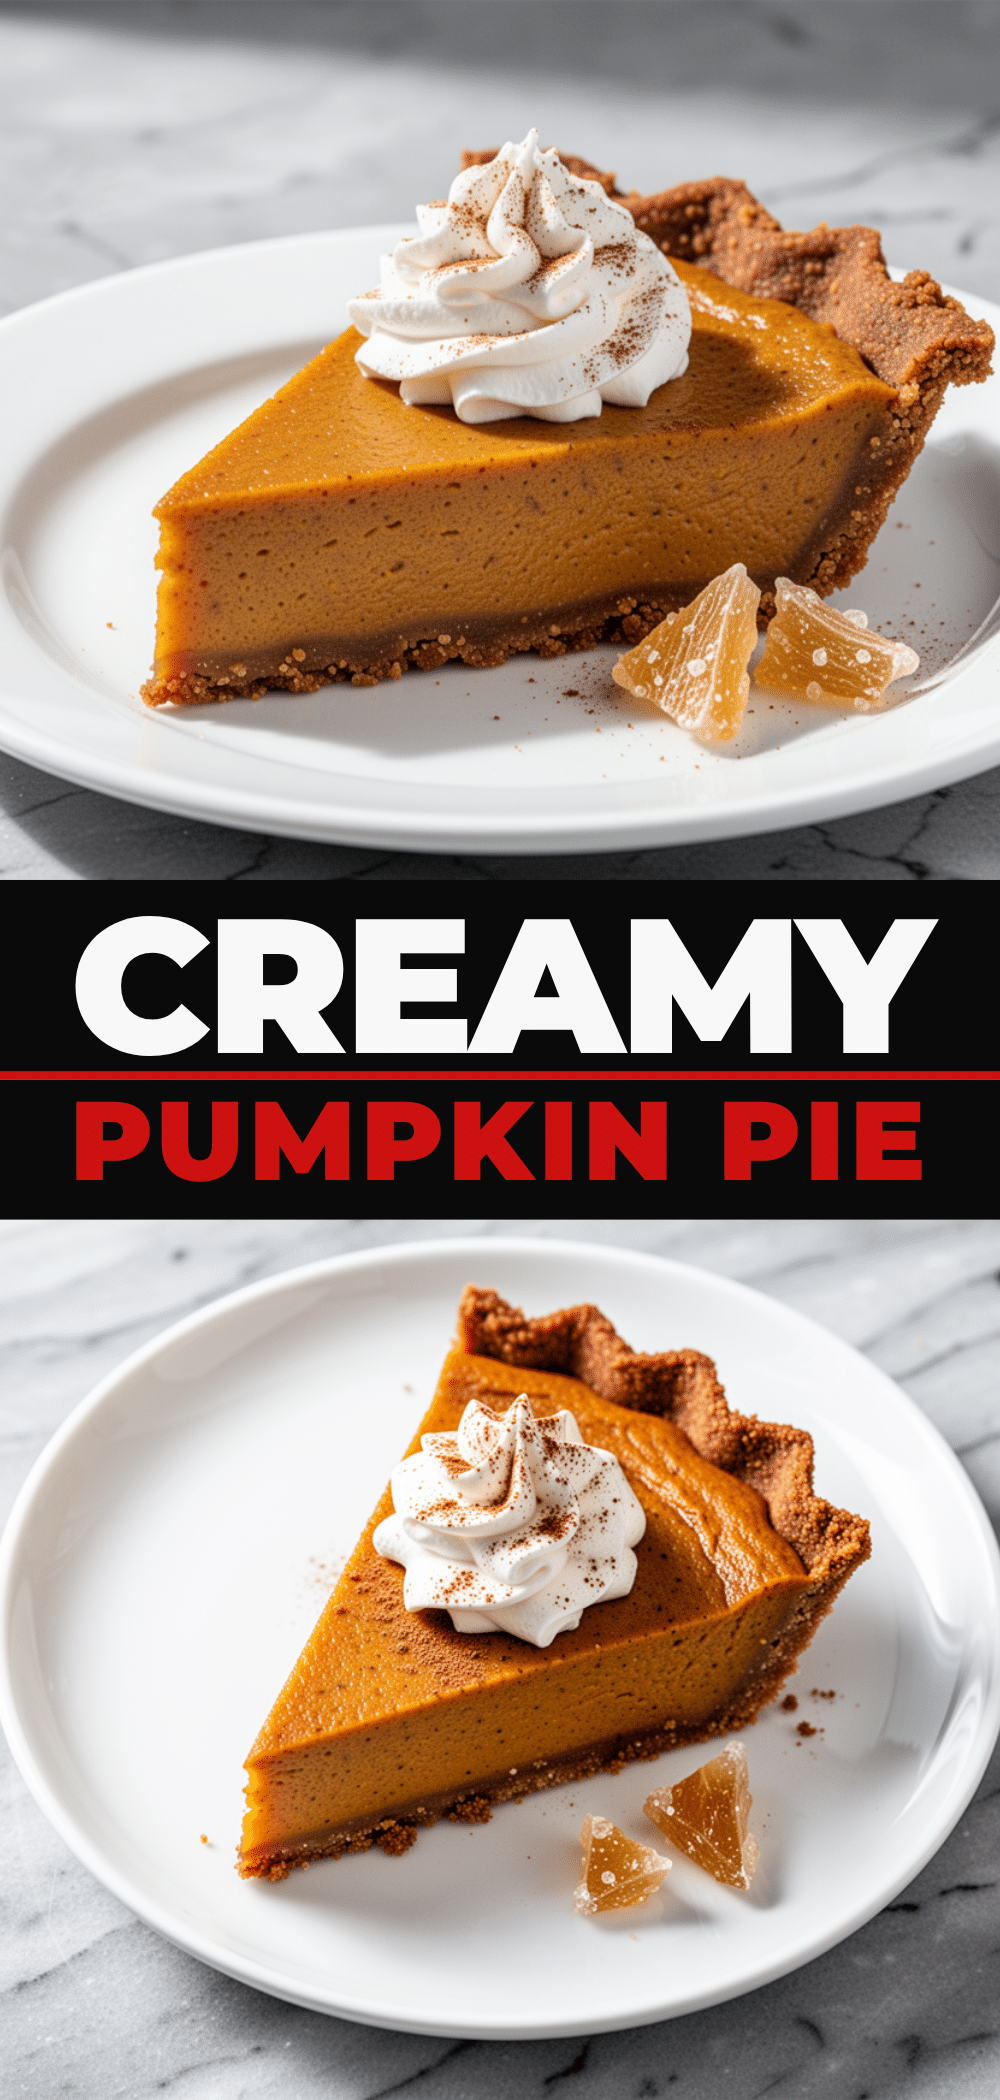
Fall No-Bake Pumpkin Pie: 5-Ingredient Gingersnap Dessert
- Total Time: 4 hours 15 minutes
- Yield: 12 servings 1x
Description
A creamy, spiced no-bake pumpkin pie with a crisp gingersnap crust that requires zero oven time. This make-ahead dessert is perfect for holiday gatherings and takes only 15 minutes of active prep.
Ingredients
- 15–20 gingersnap cookies (about 2 cups crumbs)
- 6 tablespoons unsalted butter, melted
- 2 tablespoons granulated sugar
- 15 ounces (1 can) 100% pure pumpkin puree
- 8 ounces full-fat brick cream cheese, softened
- 8 ounces whipped topping (e.g., Cool Whip), thawed
- 1 teaspoon pumpkin pie spice
- 1 tablespoon maple syrup (optional)
- Pinch of salt
Instructions
- Crush gingersnap cookies into fine crumbs using a food processor or rolling pin.
- Mix crumbs with melted butter and sugar until resembling wet gravel.
- Press crust mixture firmly into the bottom of a 9-inch springform pan.
- Place pan in the freezer for 10 minutes to set.
- Beat softened cream cheese in a large bowl until smooth and creamy.
- Add pumpkin puree, pumpkin pie spice, maple syrup, and salt; beat on low until combined.
- Gently fold in thawed whipped topping using a rubber spatula until no white streaks remain.
- Pour filling into the chilled crust and smooth the top.
- Cover and refrigerate for at least 4 hours, preferably overnight, until set.
- Slice with a hot knife for clean cuts and serve.
Notes
Ensure you use 100% pure pumpkin puree, not pumpkin pie filling. Cream cheese must be fully softened to avoid lumps. For best results, make the pie 1-2 days in advance to allow flavors to meld. Store in the refrigerator for up to 5 days or freeze the whole pie for up to 2 months.
- Prep Time: 15 minutes
- Cook Time: 0 minutes
- Category: Dessert
- Cuisine: American
Nutrition
- Serving Size: 1 slice
- Calories: 280
- Sugar: 22
- Sodium: 180
- Fat: 16
- Saturated Fat: 8
- Carbohydrates: 32
- Fiber: 1
- Protein: 4
Keywords: no-bake pumpkin pie, gingersnap crust, fall dessert, holiday recipes, make-ahead dessert, pumpkin dessert, easy pie



